Some questions now, if I was already using the Microsoft Deployment Toolkit (MDT), why should I run Autopilot afterwards? There are several reasons why it can be useful, here are some examples:
- Provide virtual machines for testing with less effort.
- Deploy existing hardware with the latest version of Windows 10 for Autopilot.
- Install your own image for Autopilot on the systems.
- Get the latest updates for the systems.
- Preinstalled software, even if it cannot be managed in Intune.
With new devices, it is, of course, easier to let the manufacturer do this directly. Unfortunately, this does not work with existing devices and VMs.
Preparations for Autopilot
Even though there are other ways now, I still use the hardware hash. The reason for this is that I don’t need to store the autopilot profiles in the image. And I can change the profiles in the Azure AD if necessary.
I’ve been using a Powershell script for such purposes for a while, which uploads the hash directly to the device directory via an Azure webhook.
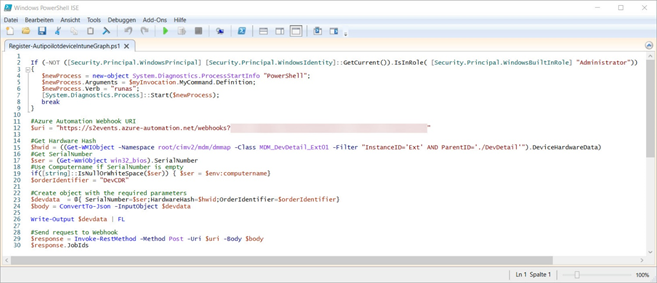
The instructions for this process can be found on Roger Zander’s blog: “Automatically register the existing device in AutoPilot“
I just leave out the Sysprep command in the script, it’s my own task sequence. I execute this without shutdown, that shutdown makes the task sequence end.
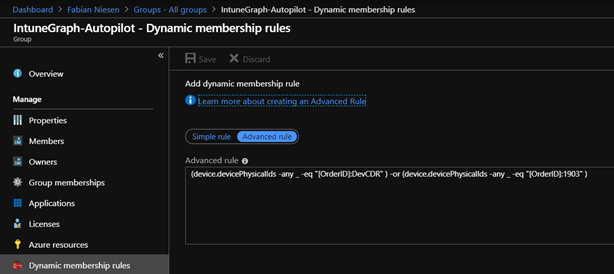
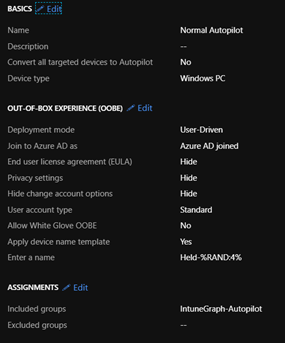
To make life easier, I set an Order-ID with the script, which is used for a dynamic group. This dynamic group automatically assigns an autopilot profile.
Task sequence in MDT
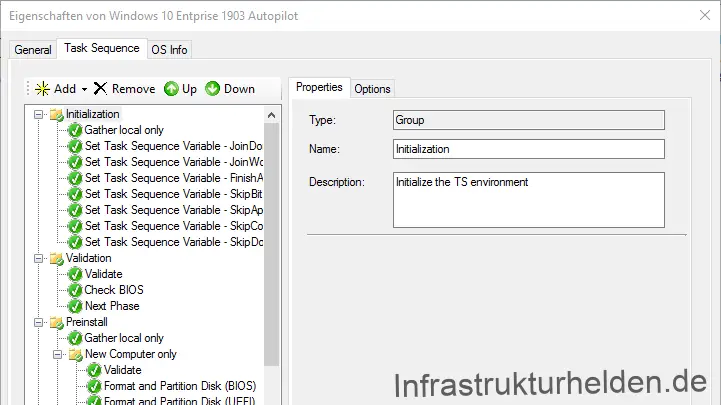
I use a normal installation task sequence to install it, which I have adapted a bit. By adjusting the variables I prevent a domain join and skip some steps like the software installation.
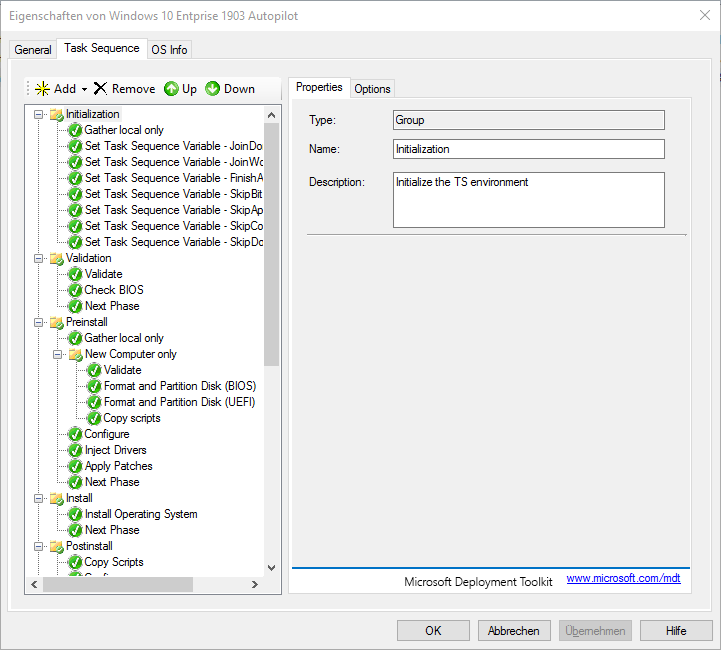
In my task sequence, I install the C++ Runtimes and BGinfo. Since the C++ runtime environments are updated via Windows updates, I don’t need any software management or maintenance by Intune. The second last step is to run the Power Shell script, which creates the hardware hash and uploads it via the webhook.
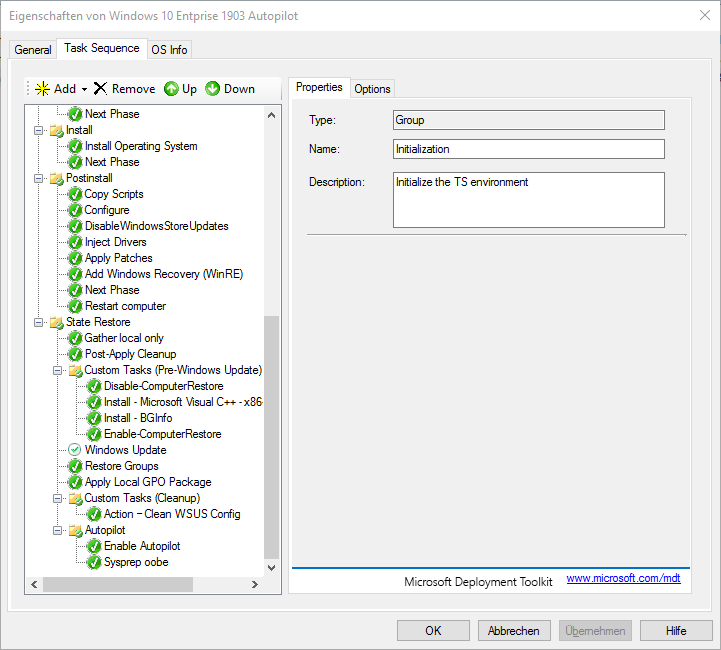
Within the task sequence, I also update the system against the WSUS server. In addition, I use a golden image. This means that I create and update a reference image. This installation is then captured and used as a base. Since I do this once a month, I save time with each installation.
I execute the Sysprep only with “/OOBE”, so the task sequence is finished cleanly with the shutdown over the MDT.
This article first appeared on Infrastrukturhelden.de in German.
This article is a translation of the Infrastrukturhelden.de article “Autopilot mit Microsoft Deployment Toolkit verteilen” from July 2, 2019. Links may refer to other Infrastrukturhelden.de articles, these may also be available in English language.
Also it can be, that I still use screenshots of German systems. However, where it is possible for me with little effort, I insert screenshots of English systems.

