This is the last part of the article series. The series consists of Part 1 is “Network Installation with the Microsoft Deployment Toolkit – Part 1: Notes, Preparation and Setup“, Part 2 is “Network Installation with the Microsoft Deployment Toolkit – Part 2: Service Account, Drivers, Software, Base Image Considerations” and Part 3 is “Network Installation with the Microsoft Deployment Toolkit – Part 3: Task Sequences.”
Creating and integrating Base Images / Golden Images
Creating a Task Sequence for a Base Image
In the chapter “Considerations on Base Images / Golden Images” I have already written about the advantages and disadvantages. Here I show you how to create a base image as simply as possible.
In preparation, you need a virtual machine with:
- 2 CPU cores, UEFI support (Hyper-V Gen. 2 or compare),
- min 4GB Ram
- Network card with static MAC address
- CD-Rom drive with mounted boot ISO, if you have not yet set up the WDS
I use the static MAC address for the automatic assignment of the correct task sequence. I want to avoid unnecessary work. Before you start the first deployment, please make sure to take a snapshot or checkpoint. This way you can always return to a clean machine.
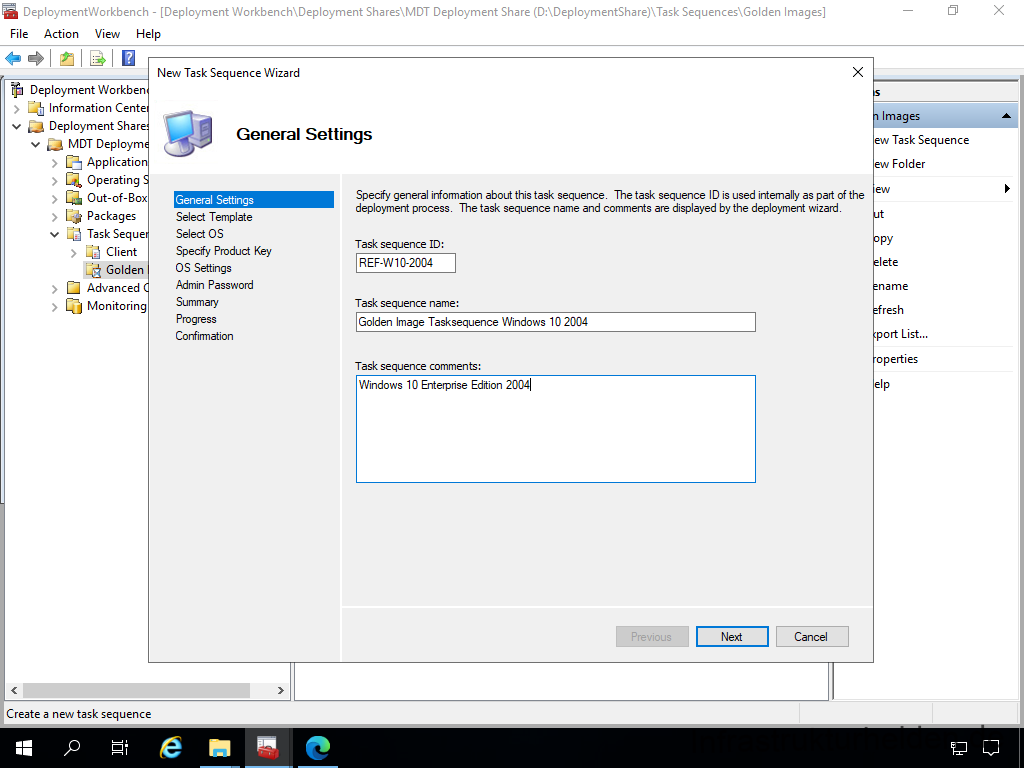
Create a new task sequence for the base image. I recommend creating a separate task sequence for each Windows release. The virtual machines can be reused when a release change is made
Name this task sequence appropriately.
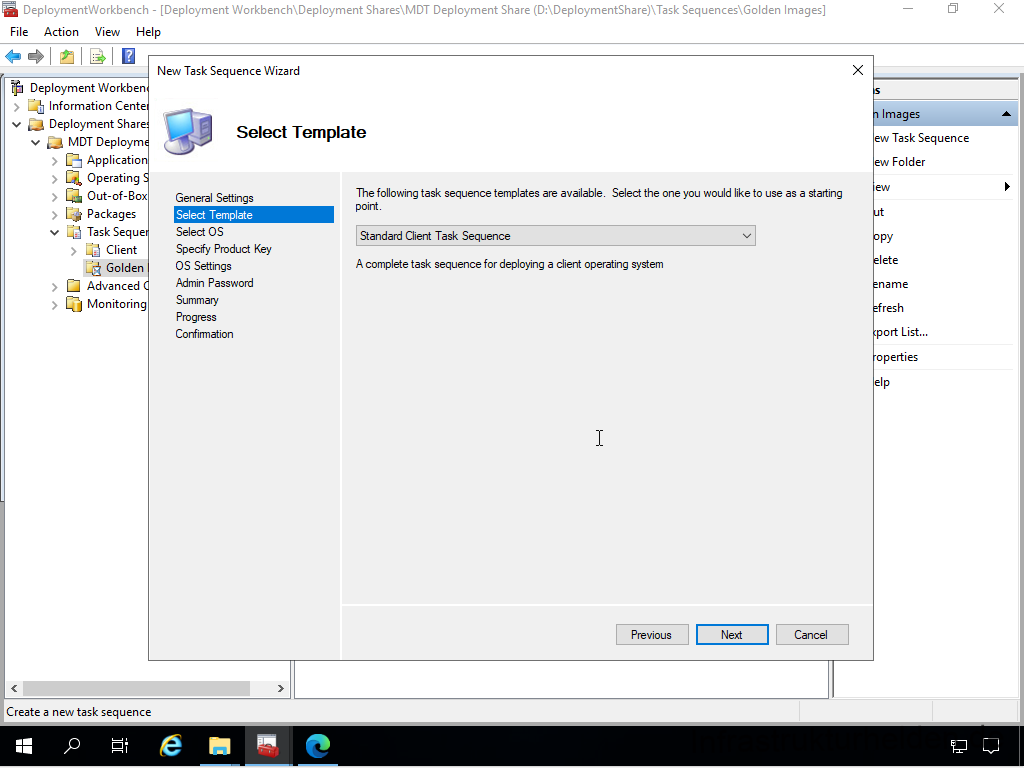
Again, select “Standard Client Task Sequence” as the template.
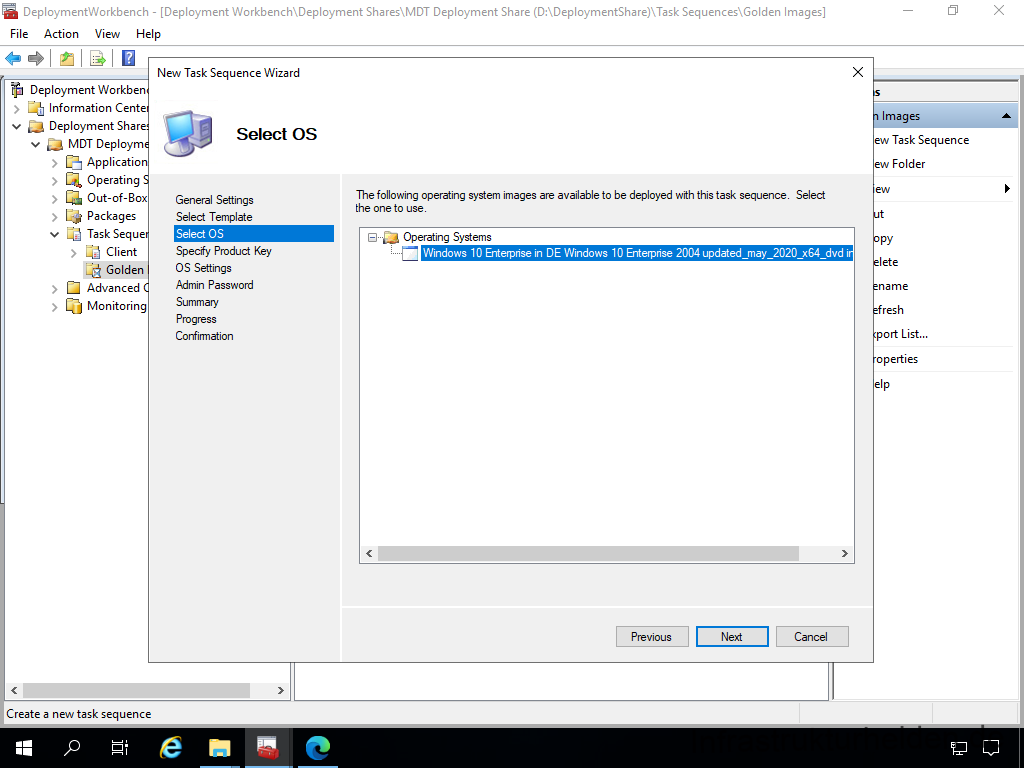
Select the operating system you want to use in the base image. Never use an existing base image as a source. This causes problems due to internal mechanisms in Microsoft Windows.
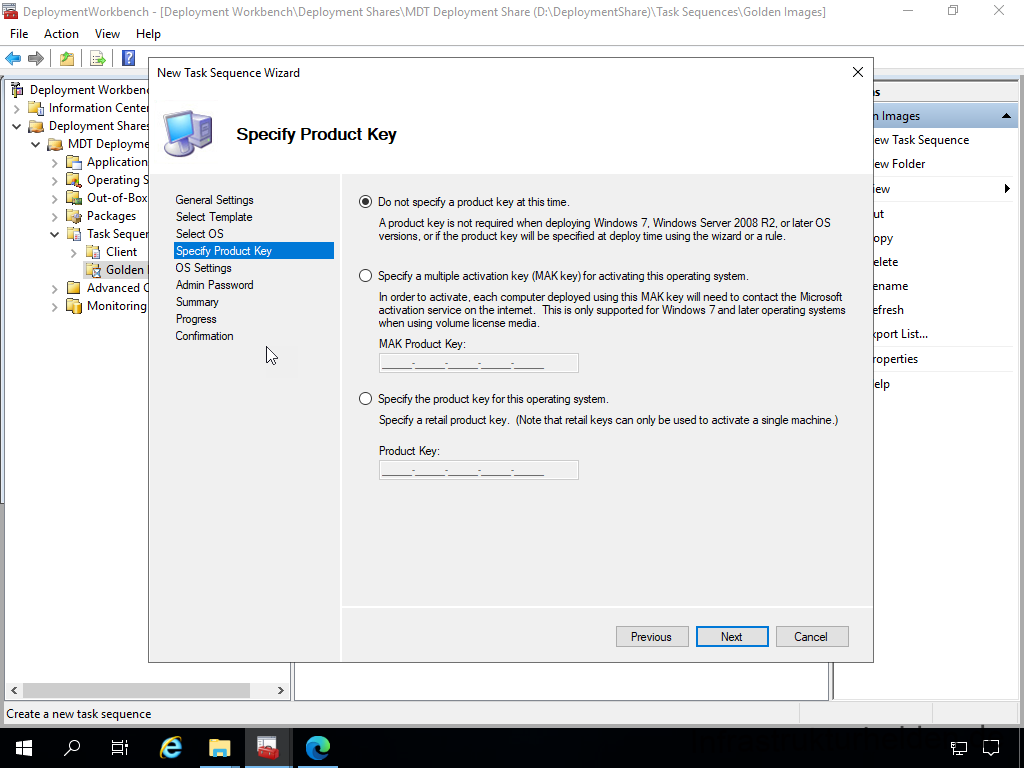
A serial number should not be assigned. This is unnecessary because a sysprep is carried out at the end and the serial number is removed again.
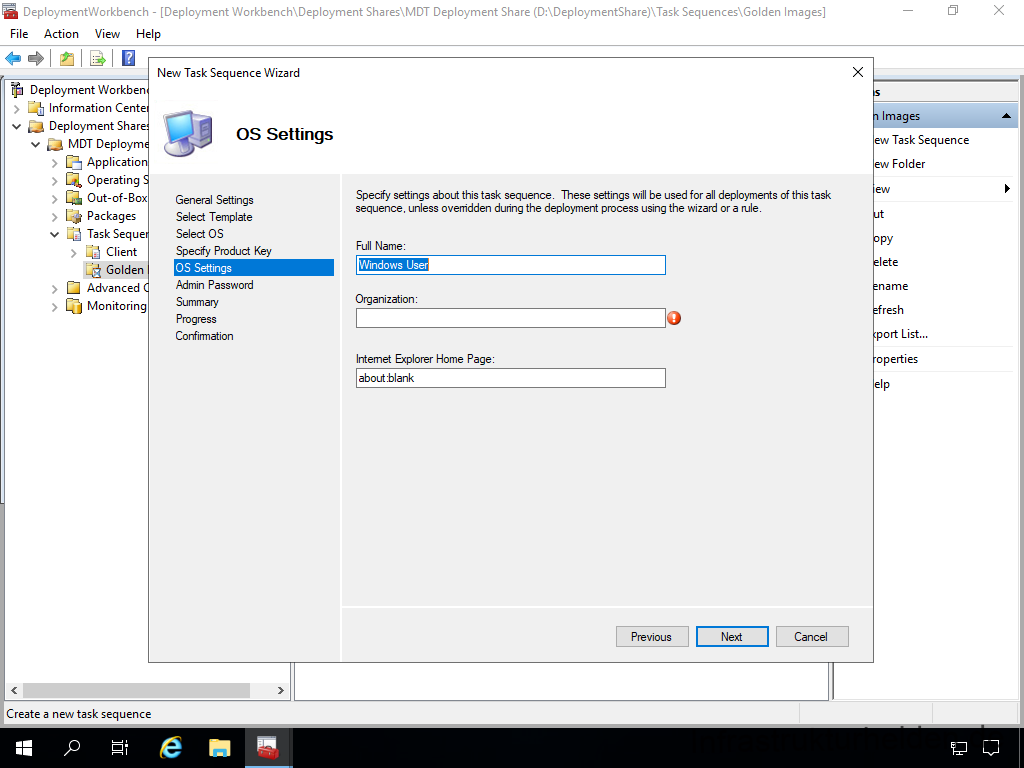
The operating system settings do not need any useful information, as these are also deleted by the sysprep.
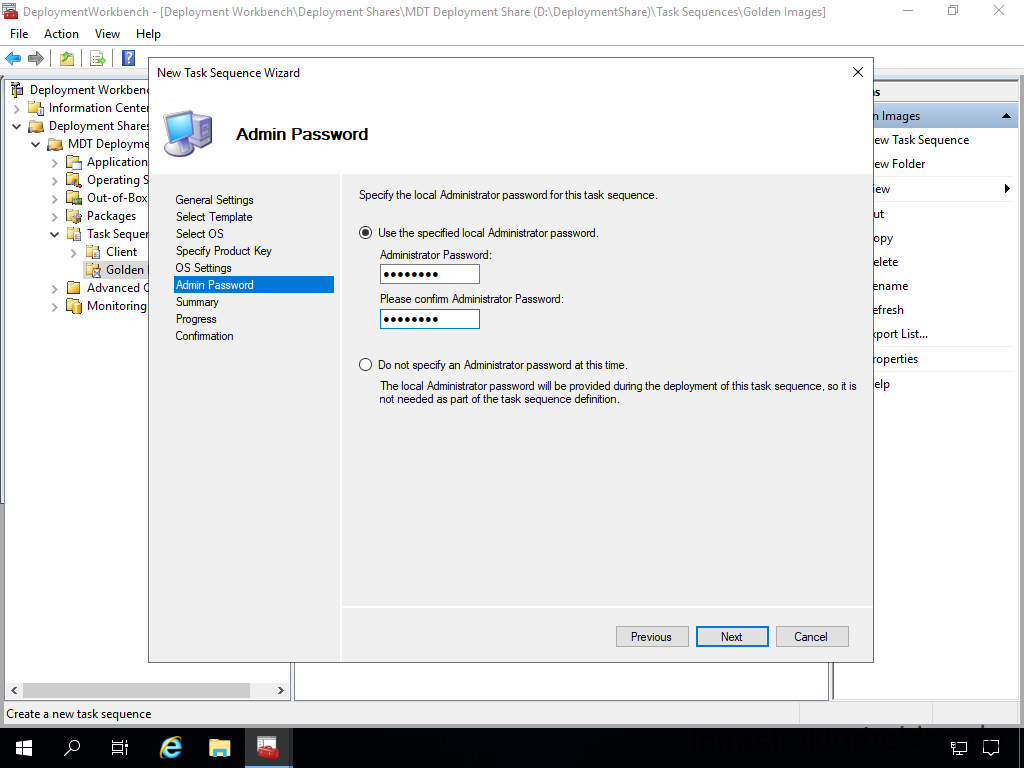
Assign an administrator password of your choice.
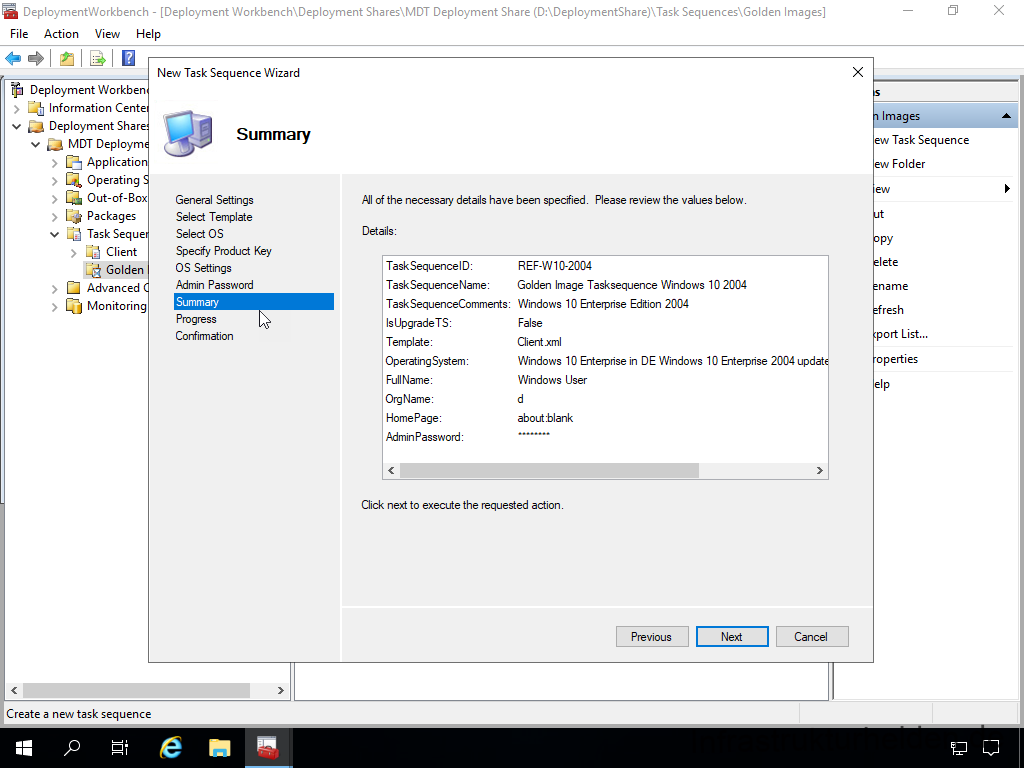
A summary follows again.
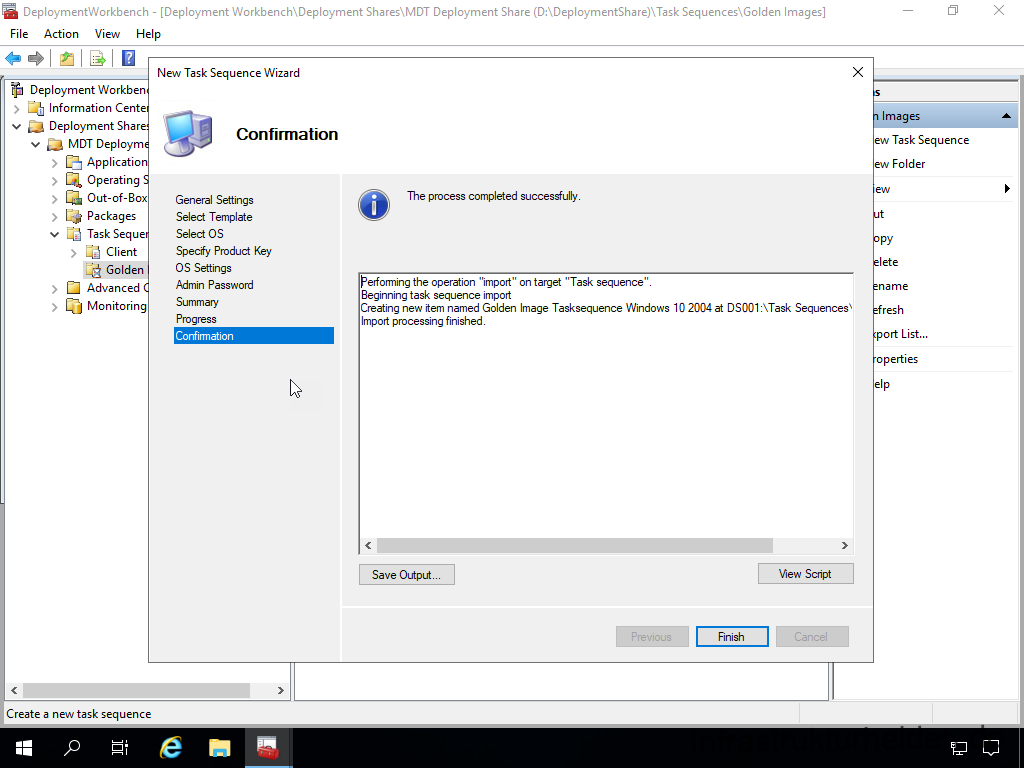
And after the short process of creating the task sequence, a confirmation
Adjusting the Task Sequence
To prevent the task sequence from being displayed at every boot, select the checkbox “Hide this task sequence in the Deployment Wizard”. This prevents the task sequence for the base image from being used by mistake during the installation.
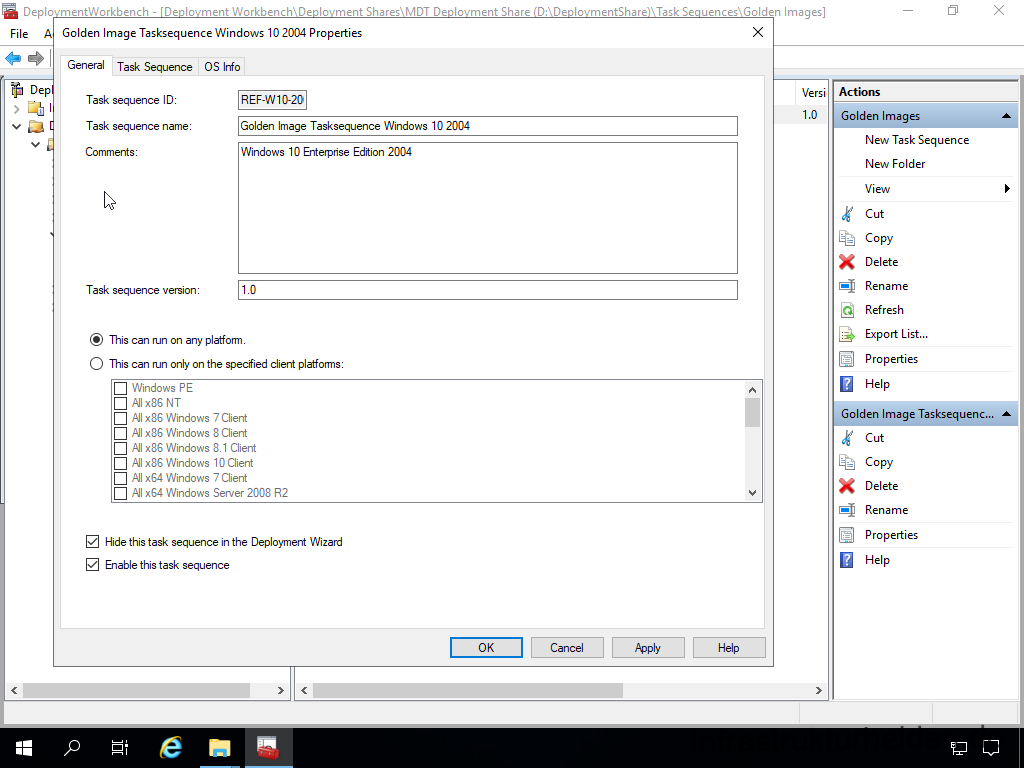
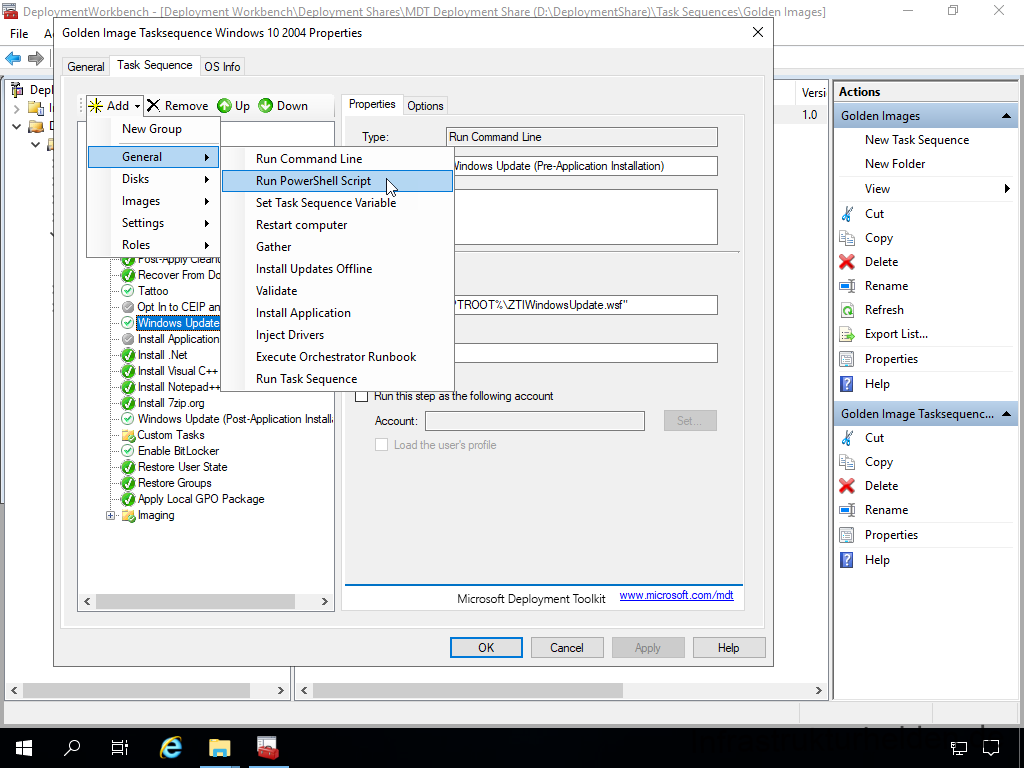
Add the required software to the task sequence and activate Windows Update. You can find the activation and deactivation of the steps under “Options” of the respective step.
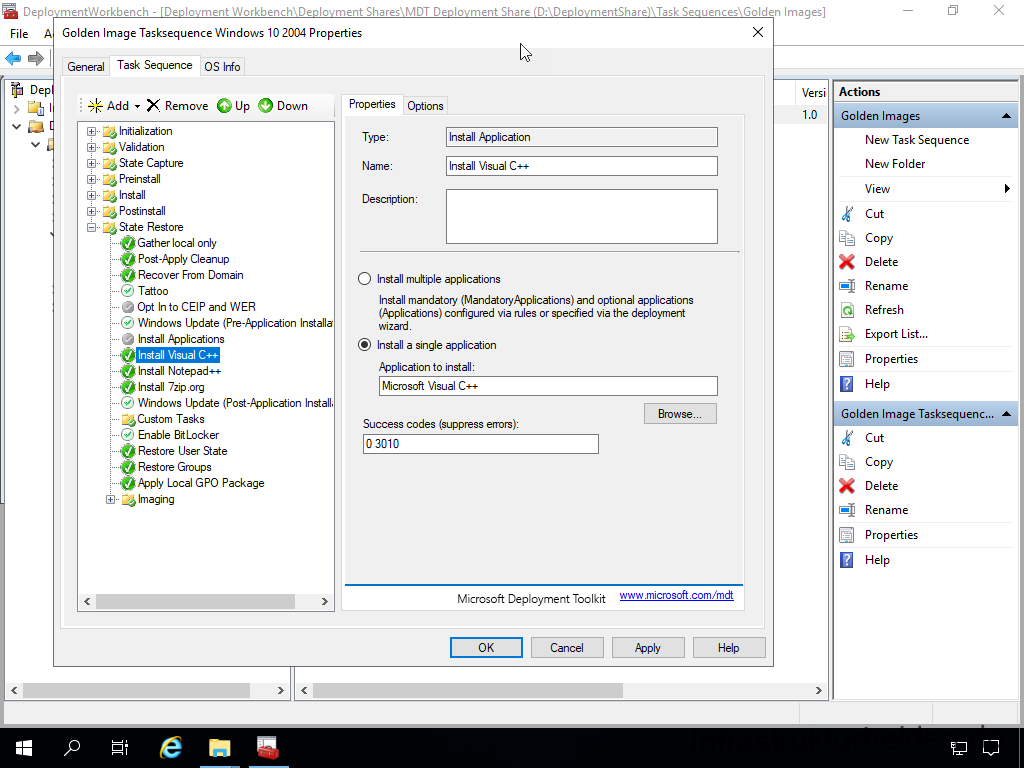
In addition to the software, you can also add roles and functions to the Base Image. To do this, click on the menu “Add” > “Roles” and then “Install Roles and Features”.
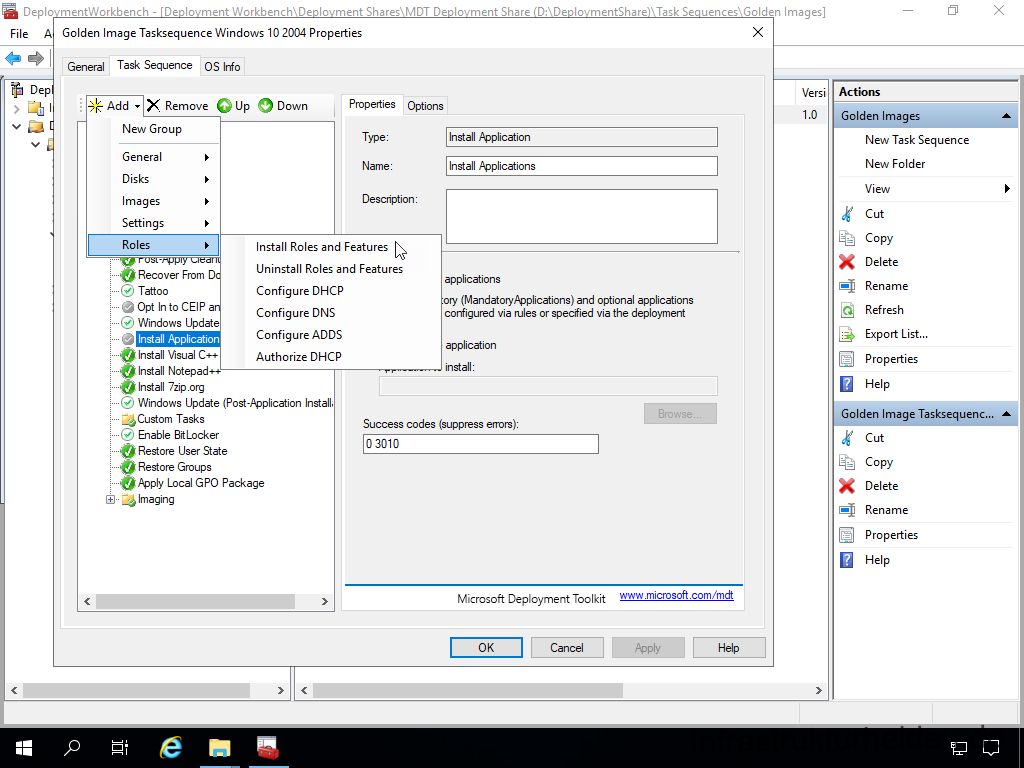
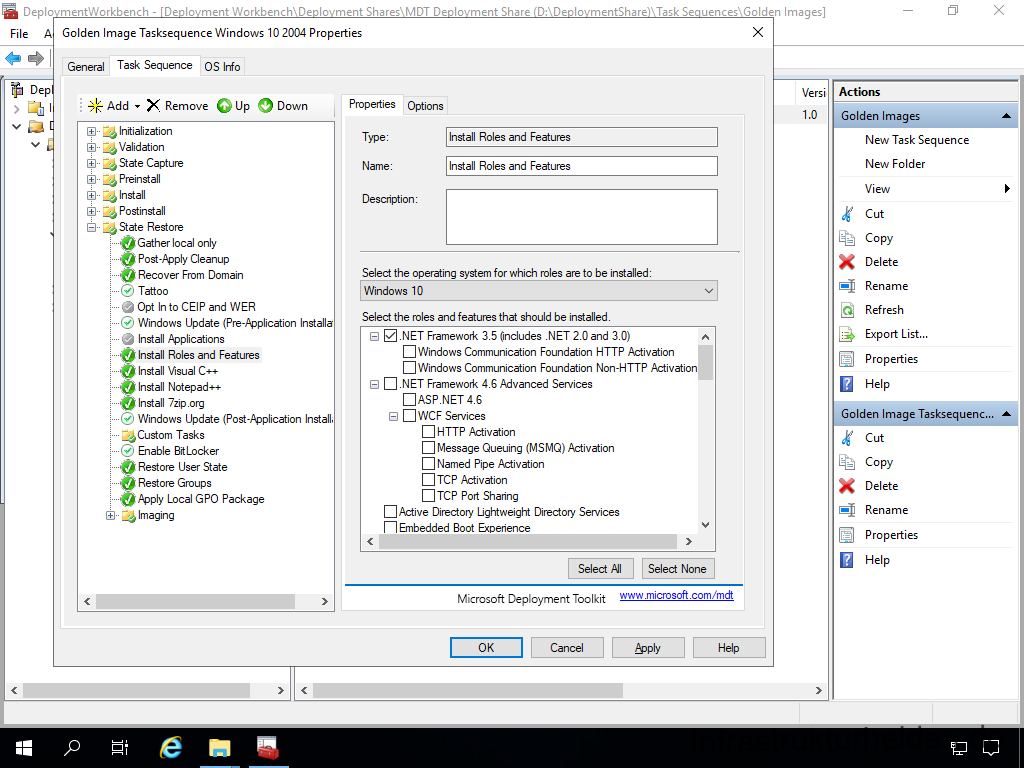
One role I add most often is .Net 3.5, which is still needed for many applications. If you have older file servers that require SMB 1.0, you can also add this directly here.
In addition, I use a few PowerShell scripts. Among other things, I deactivate and reactivate the Windows restore points to save time and disk space. The scripts look like this:
Enable-ComputerRestore.ps1
Enable-ComputerRestore -Drive "C:\"
Disable-ComputerRestore.ps1
Disable-ComputerRestore -Drive "C:\"
These scripts must be stored in the “Scripts” directory of the deployment share.
The shutdown script should be before the Windows Update. For safety’s sake, the option “Continue on error” should be activated under “Options”.
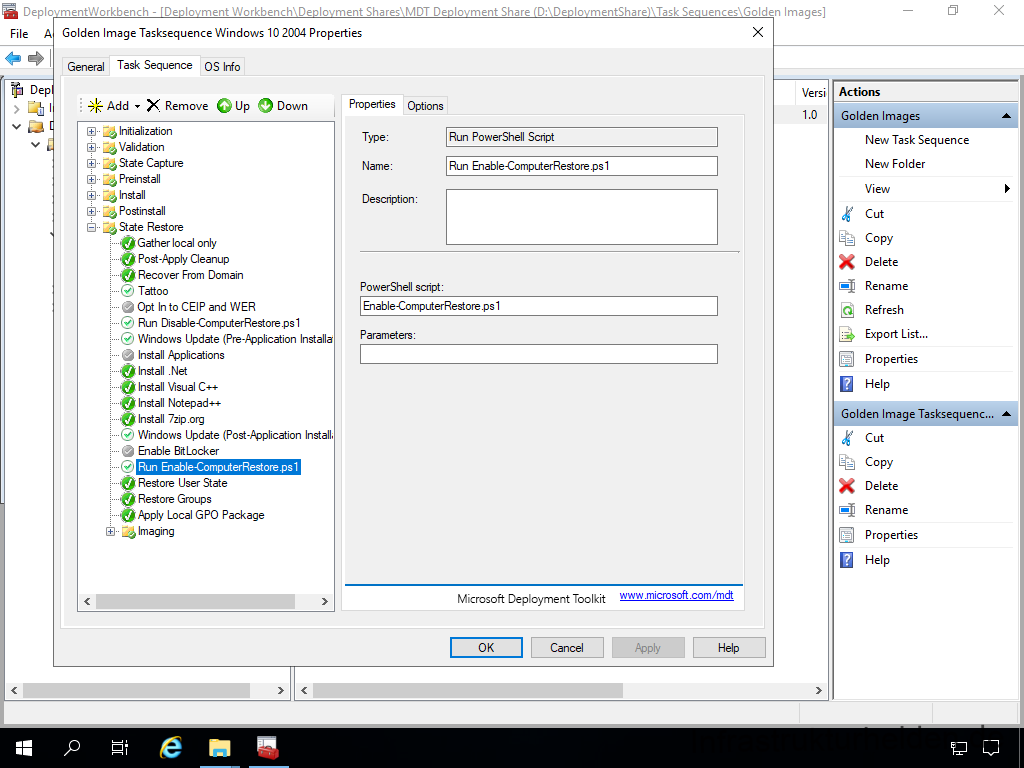
The script for activating the restore points should be executed below the last Windows update. Unnecessary steps such as “Enable BitLocker” should also be deactivated
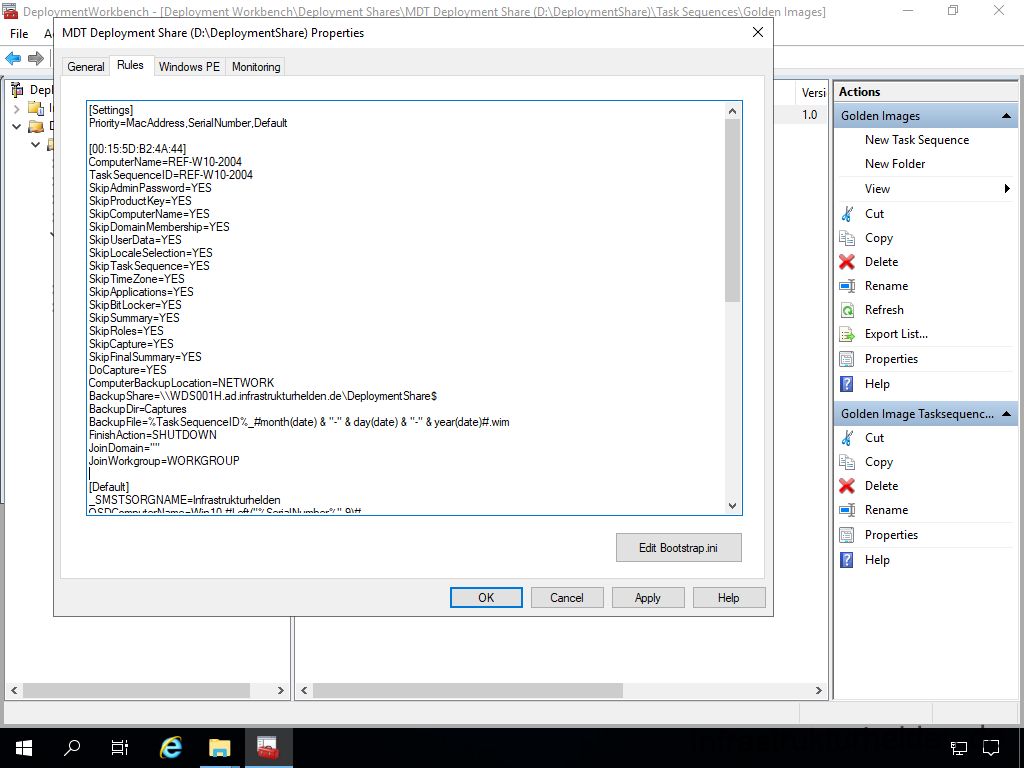
So that the VM starts the correct task sequence directly, insert the following block, replacing 00:15:5D:B2:4A:44 with the MAC address of your virtual machine for image creation. Of course, you may also have to adjust the paths.
[00:15:5D:B2:4A:44
]
ComputerName=REF-W10-2004TaskSequenceID=REF-W10-2004SkipAdminPassword=YES

SkipProductKey=YES
SkipComputerName=YES
SkipDomainMembership=YES
SkipUserData=YES
SkipLocaleSelection=YES
SkipTaskSequence=YES
SkipTimeZone=YES
SkipApplications=YES
SkipBitLocker=YES
SkipSummary=YES
SkipRoles=YES
SkipCapture=YES
SkipFinalSummary=YES
DoCapture=YESComputerBackupLocation=NETWORKBackupShare=\\WDS001H

.ad.infrastrukturhelden.de\DeploymentShare$BackupDir=CapturesBackupFile=%TaskSequenceID%_#month

(date) & "-" & day(date) & "-" & year(date)#.wimFinishAction=SHUTDOWNJoinDomain=
""
JoinWorkgroup=WORKGROUP
The network access data is not needed. This is due to the processing of the rules. First the “default” rules are taken and then overwritten by more specific ones. This is similar to what happens with group policies at different levels. Therefore, the parameter “JoinDomain=”” must also be set to overwrite the value from the default rules.
This should then look something like this:
Now update the deployment share as described in the chapter “Preparations for the first test”. Then start the VM from the MDT Iso. If everything is correct, the task sequence starts without prompting.
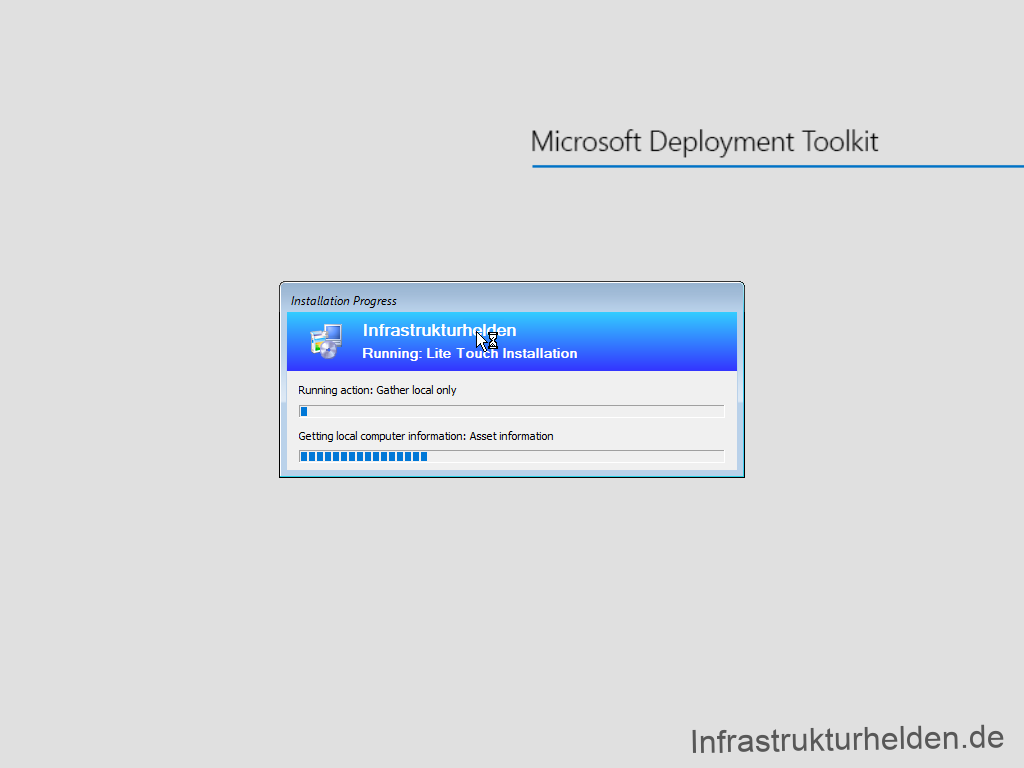
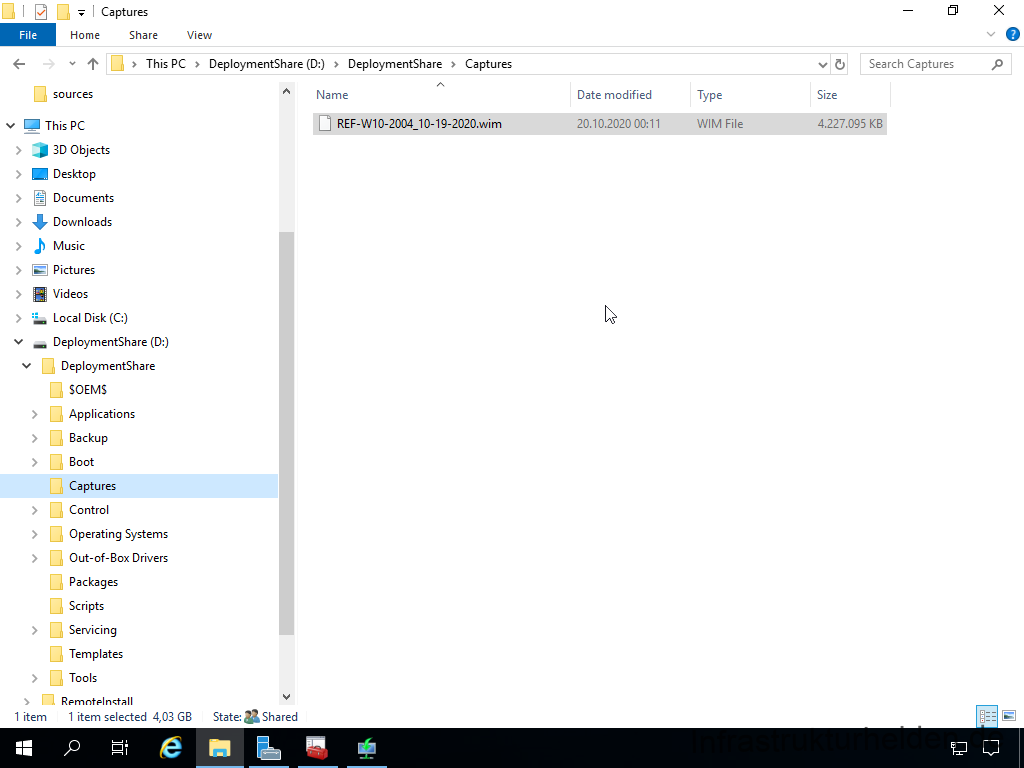
At the end, the created base image is in the Capture folder.
Integrating the base image into the normal task sequence
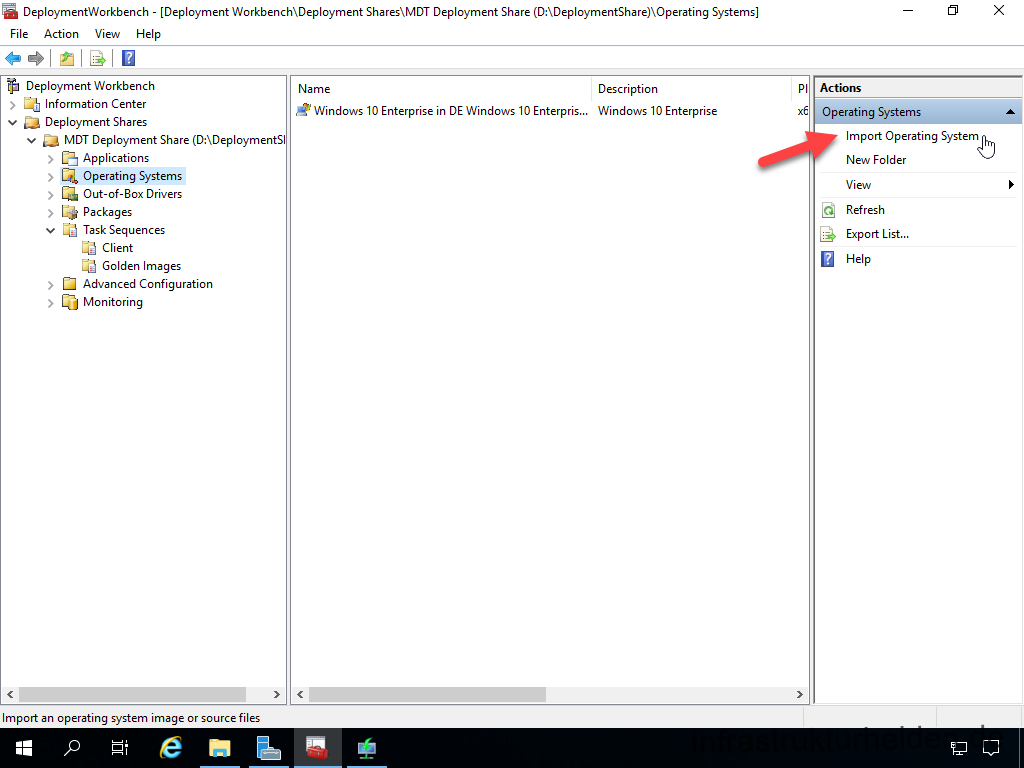
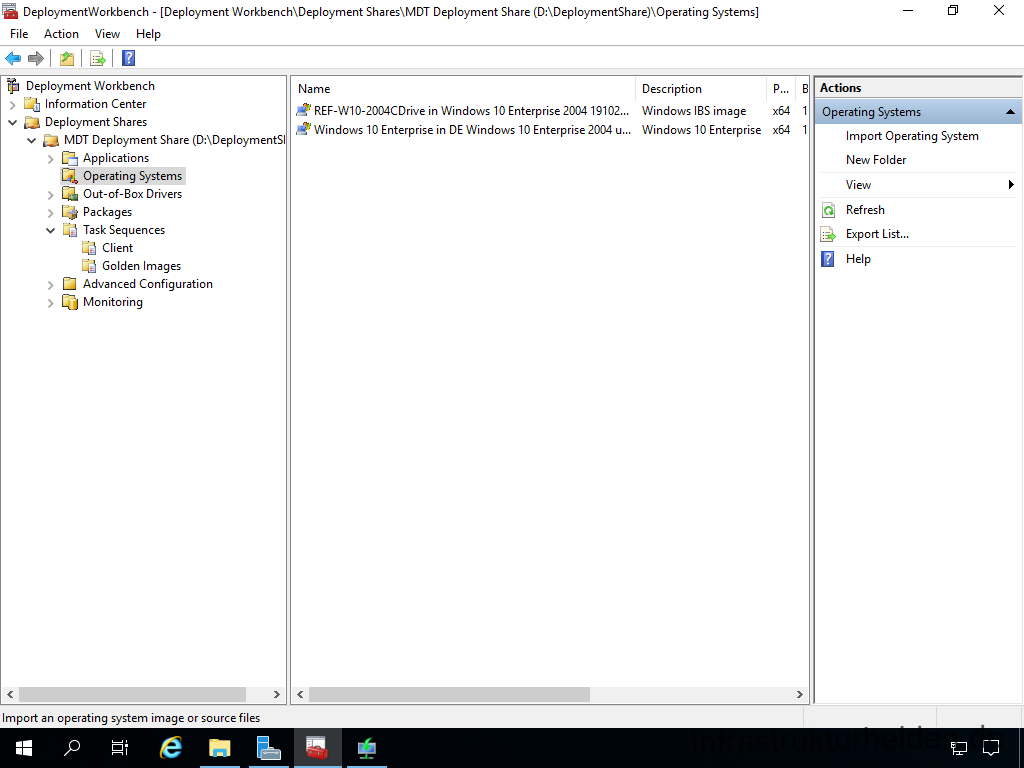
To use the base image, import it as an operating system
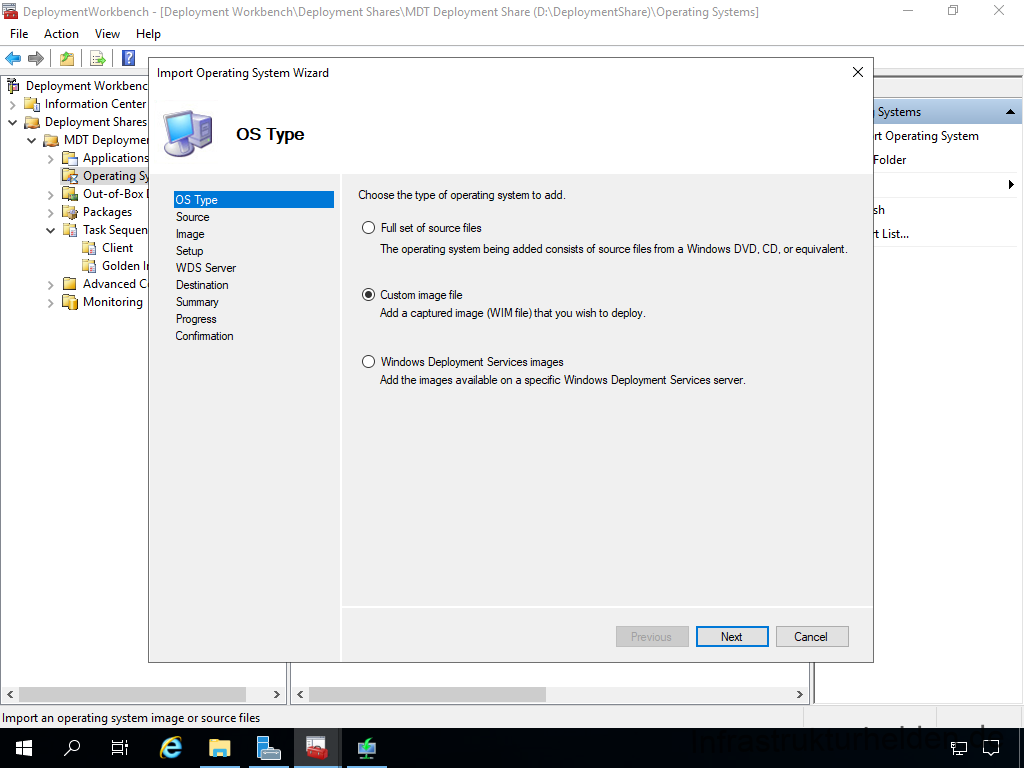
This time, select “Custom image file” in the wizard.
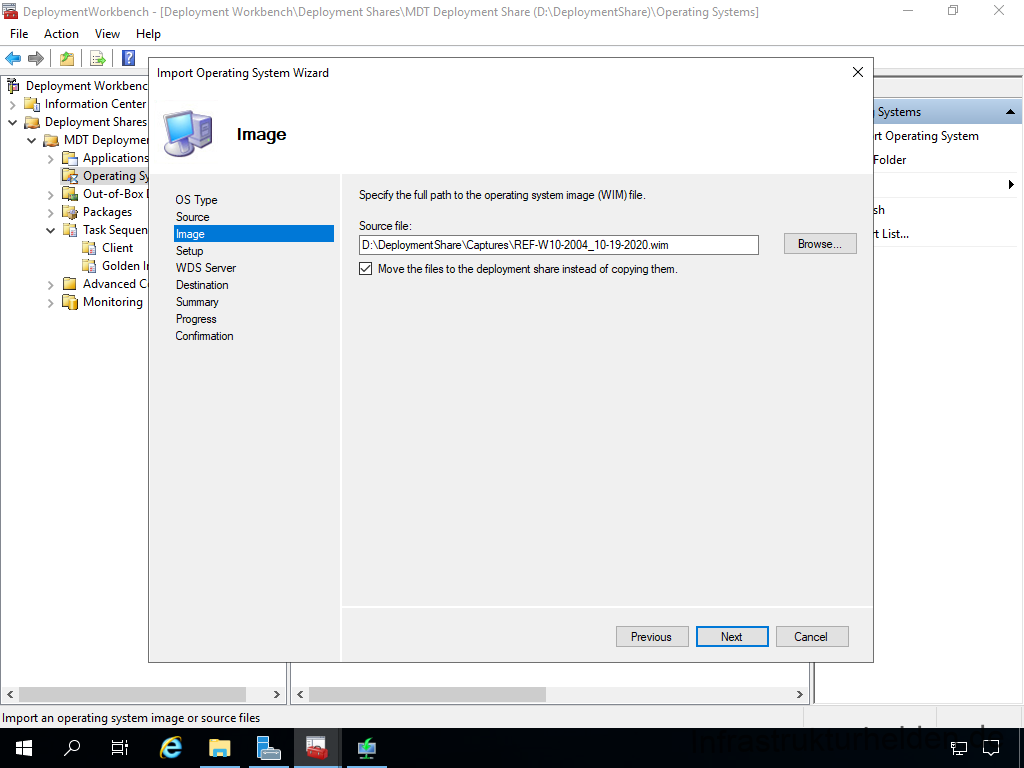
Now enter the path to the captured image. Personally, I always have the file moved to save storage space.
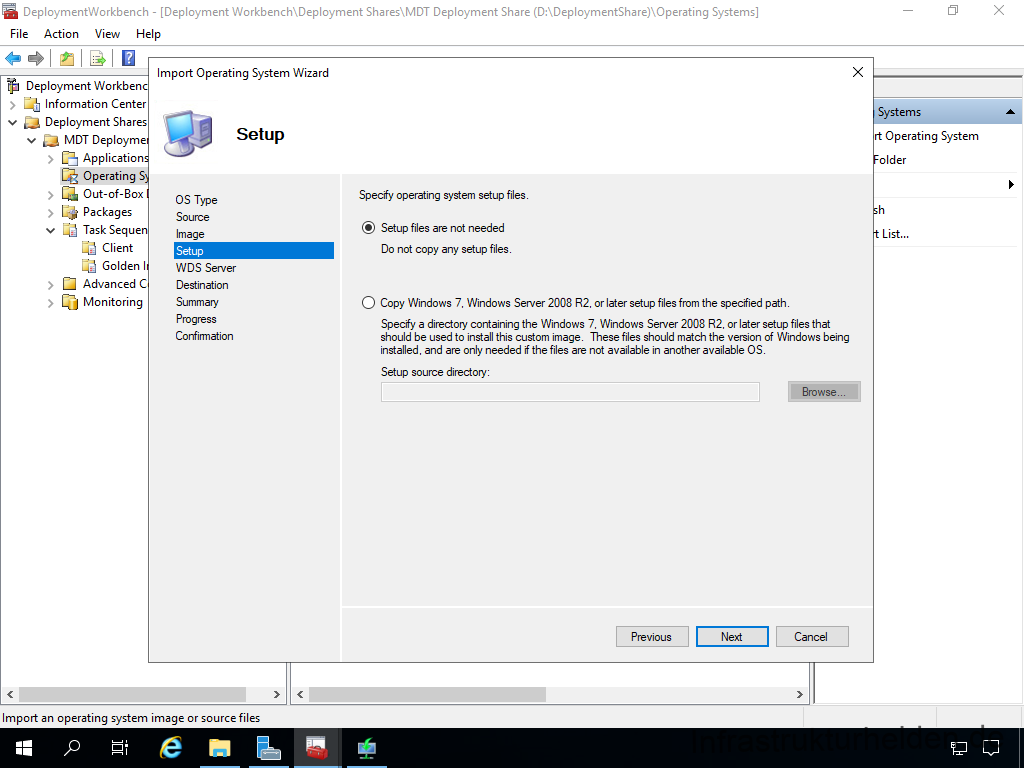
Since we have captured a completed installation, the installation files are not necessary.
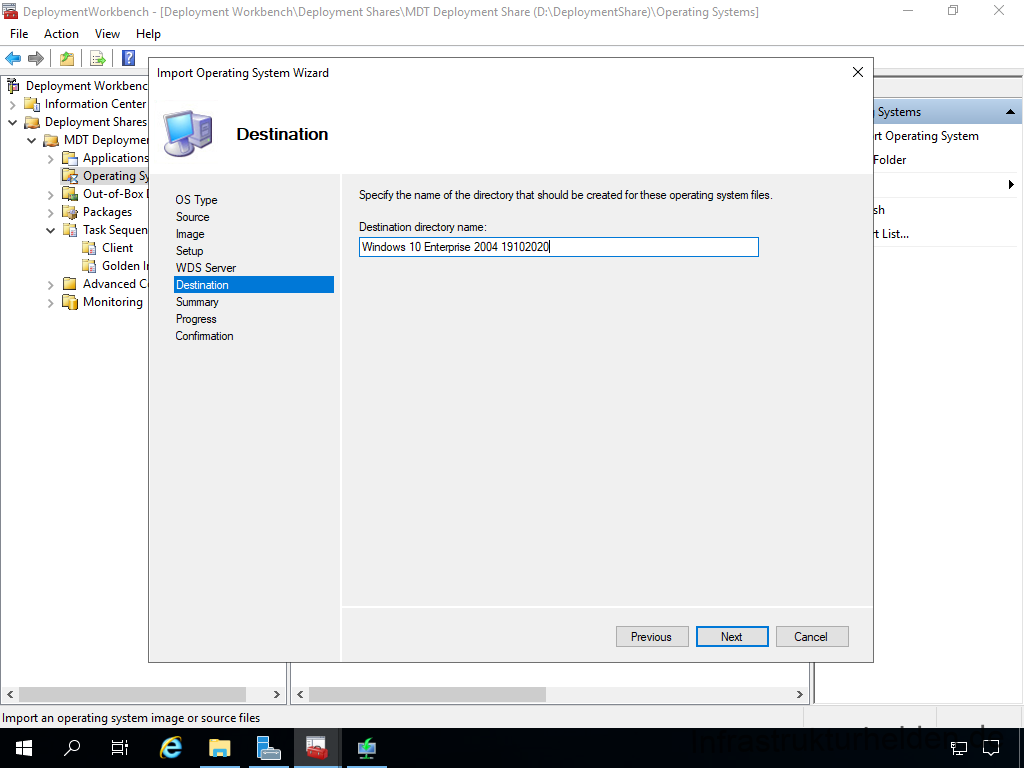
Assign a name that makes sense for you
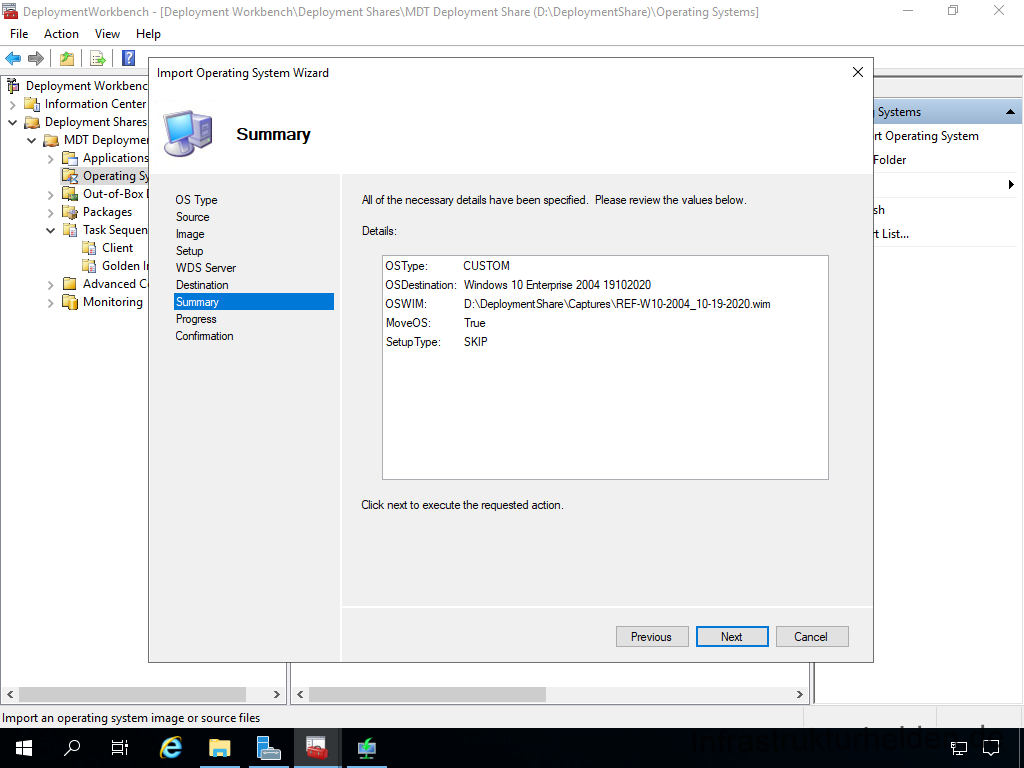
Confirm the summary
Close the wizard when finished
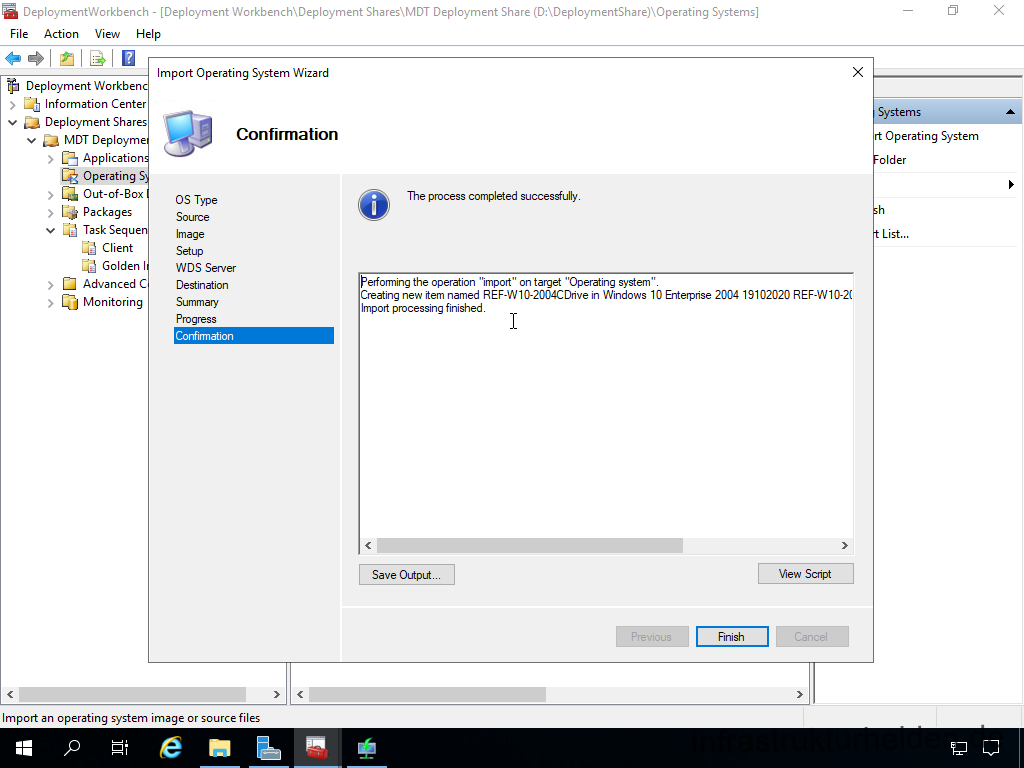
The name that is displayed is somewhat awkward, but can be renamed.
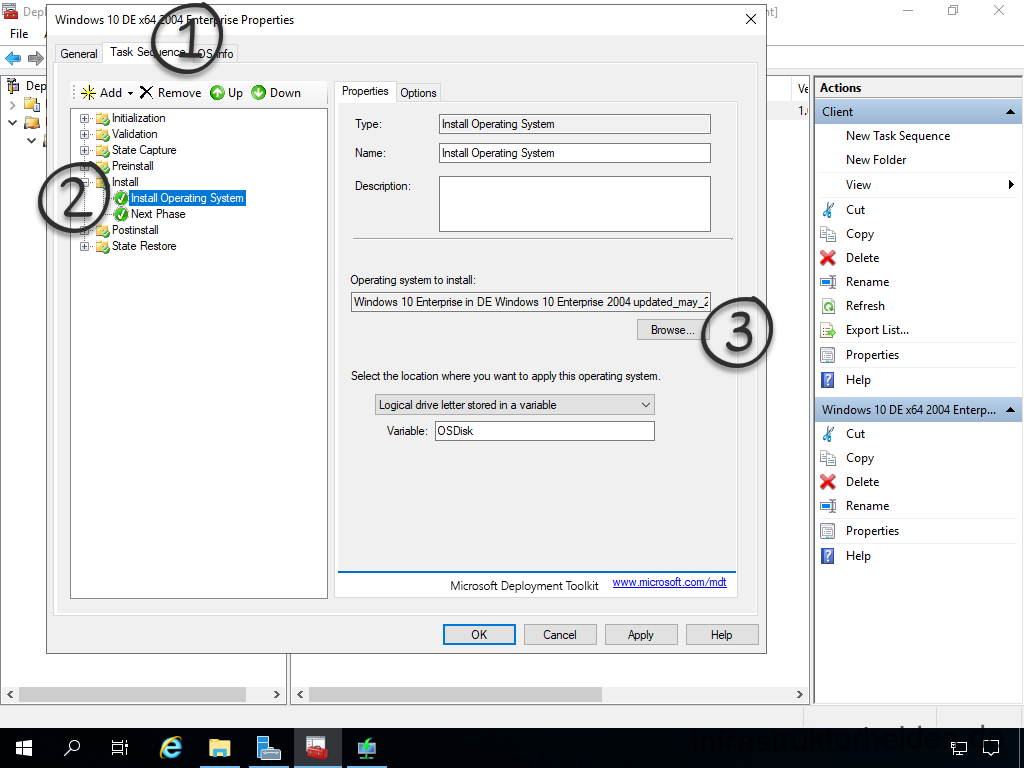
To use the golden image now, open the properties of the task sequence again. And change the operating system in the “Install” section of the task sequence.
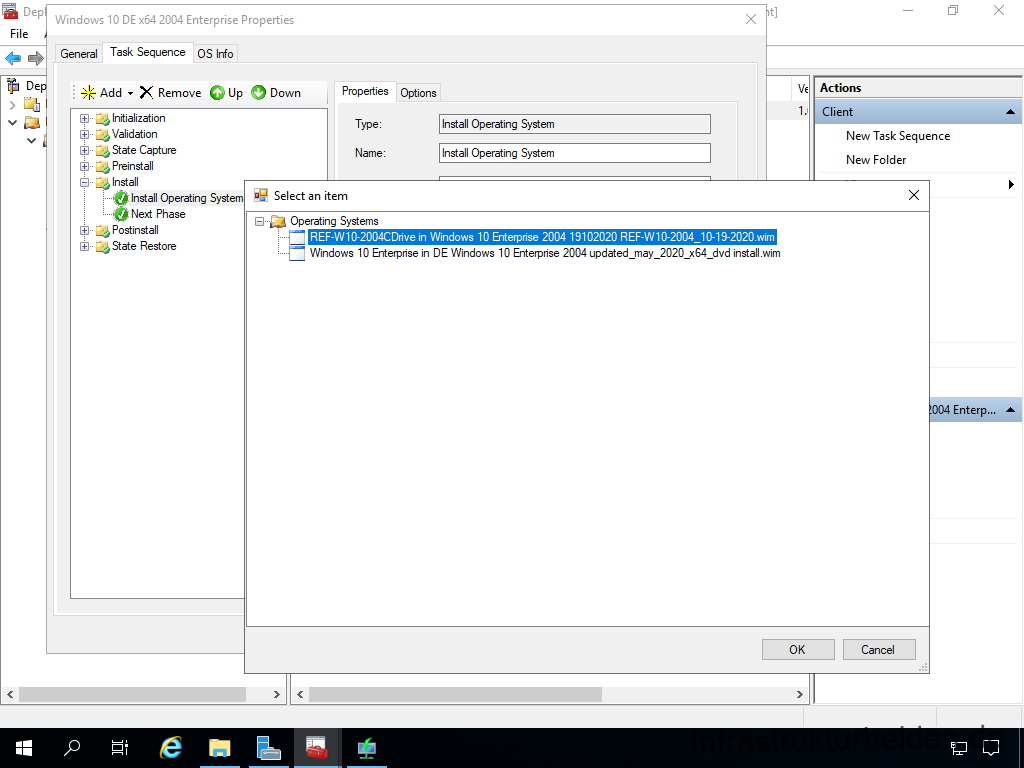
Select the new image.
Now test the task sequence for function.
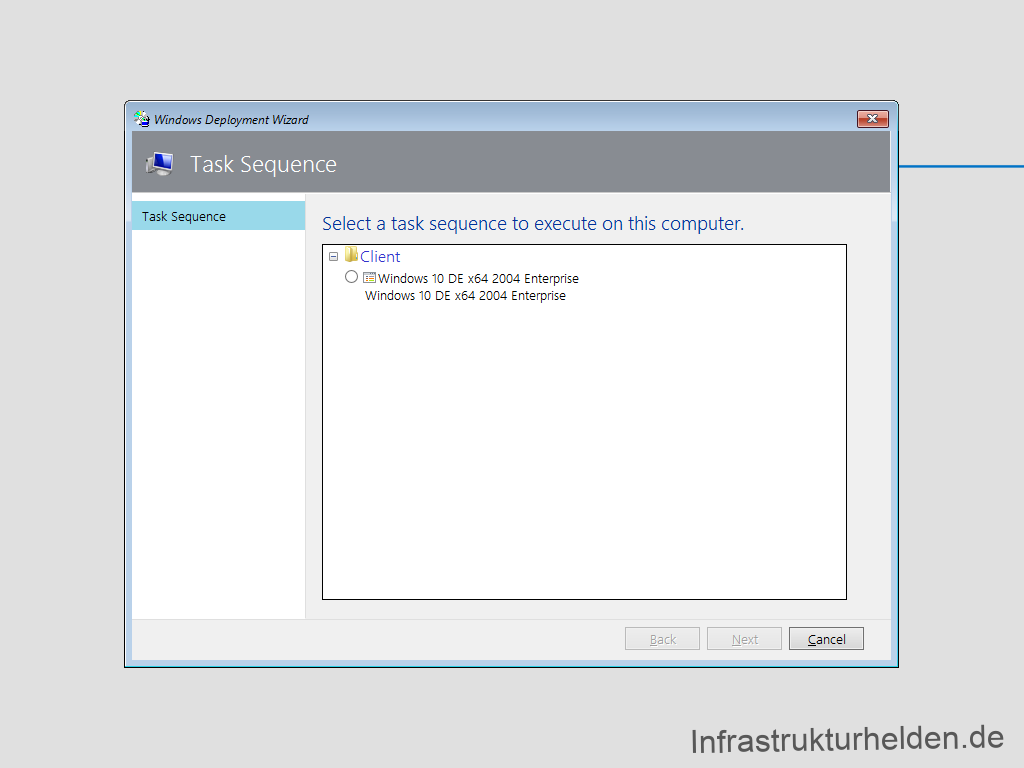
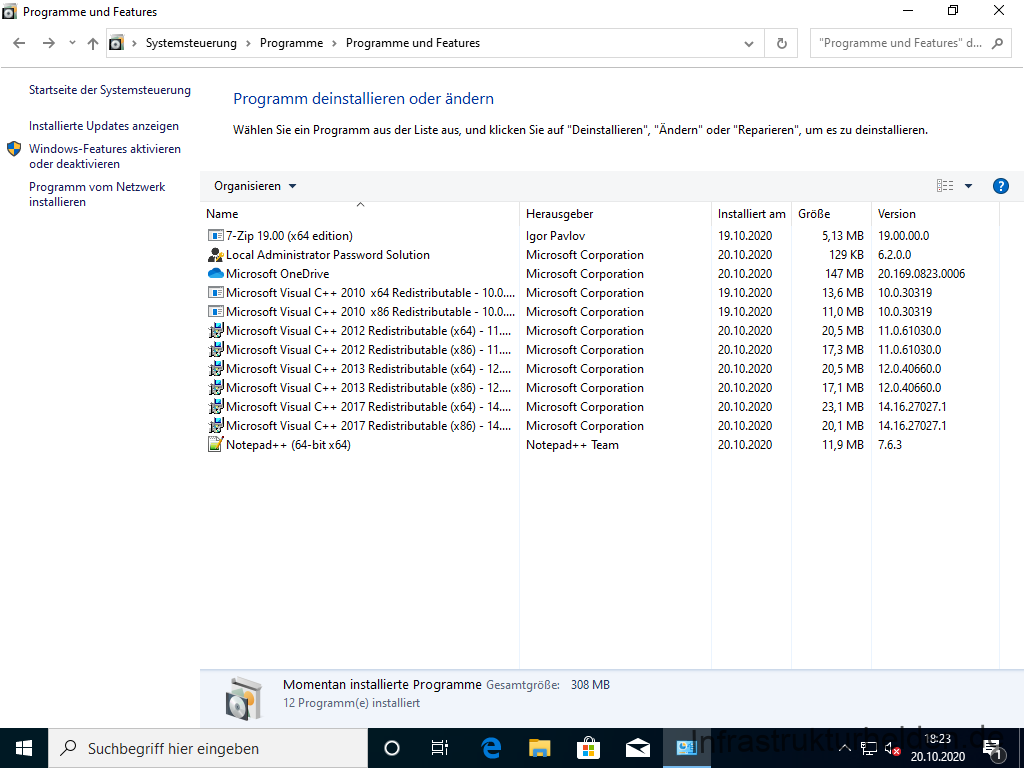
After the installation is complete, both the software from the golden image (e.g. C++ runtimes) and the software from the task sequence (e.g. LAPS) are installed.
Software installation with Microsoft Deployment Toolkit (MDT) via Windows Deployment Service (WDS)
Always having to have an ISO image or a USB stick is inconvenient. Why not boot over the network? This is relatively easy to do via the Windows Deployment Service. One important note in advance, if the computer is in a different subnet than the server WDS server, you need a DHCP helper or a DHCP server that you can configure accordingly. Most routers or routing switches can do this. The background is that PXE is a DHCP request that requires a response with some additional information.
I will describe the configuration for other DHCP servers in a later chapter.
Installing Windows Deployment Service (WDS)
I install the WDS on the same server as the MDT, both can run together without problems. Installing the Windows Deployment Services Tools role is like installing any other role and can be done through Server Manager or PowerShell. Also install the appropriate Remote Server Administration Tools (RSAT) with the WDS.
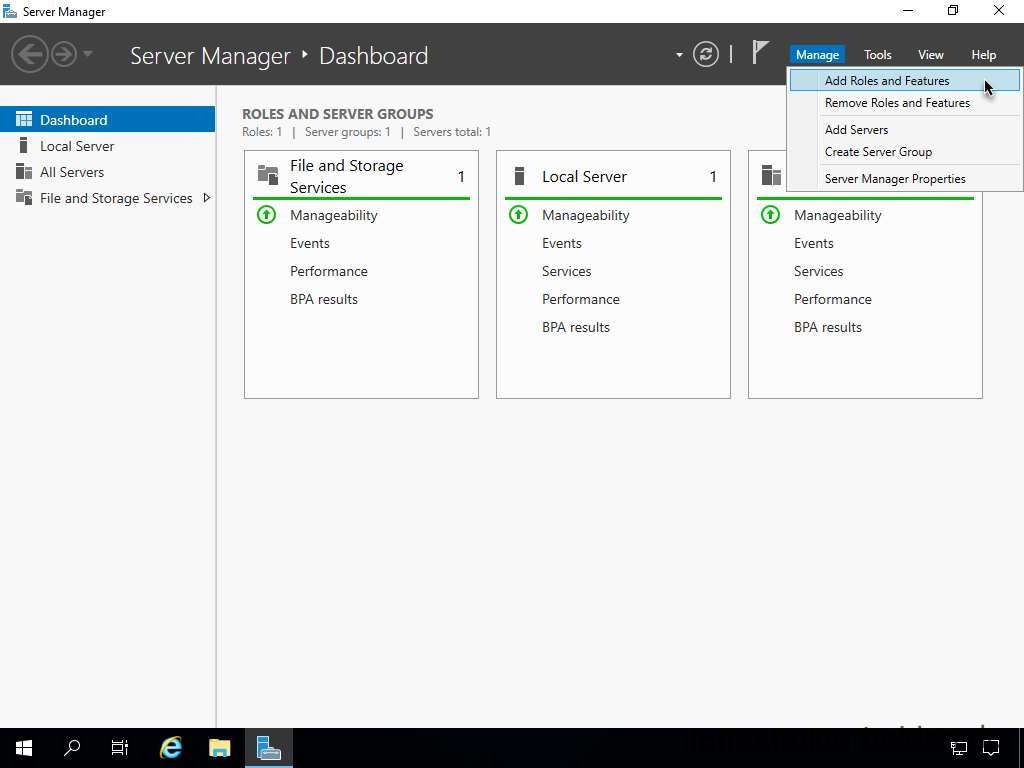
Select the role or feature installation.
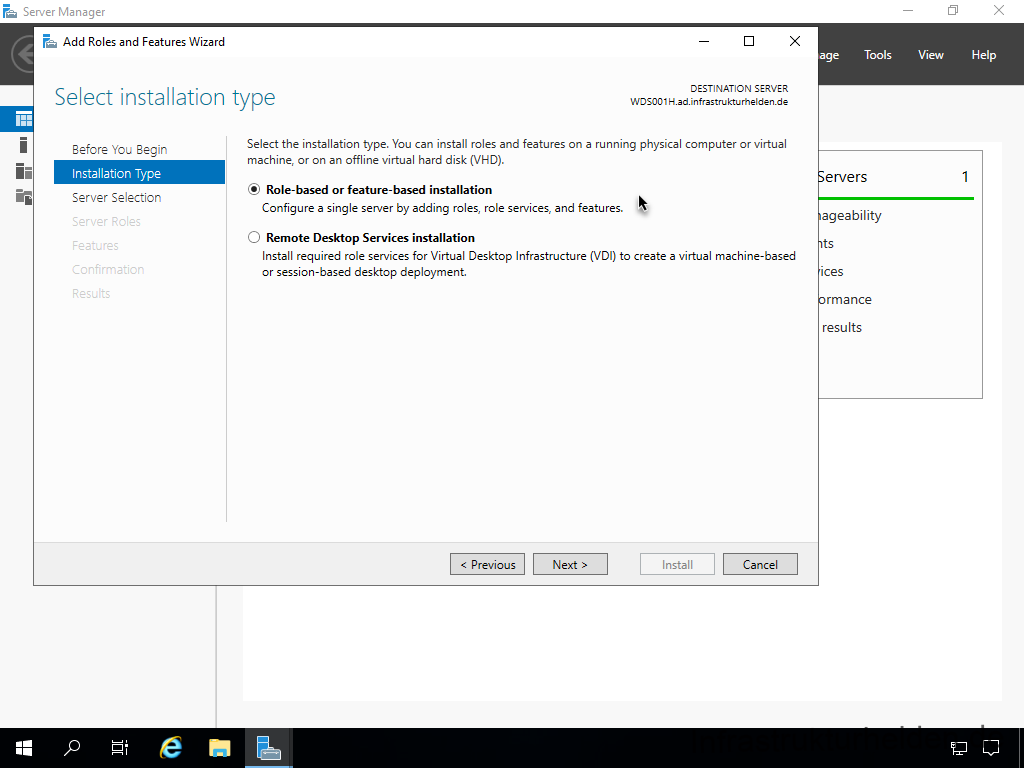
Select your desired server
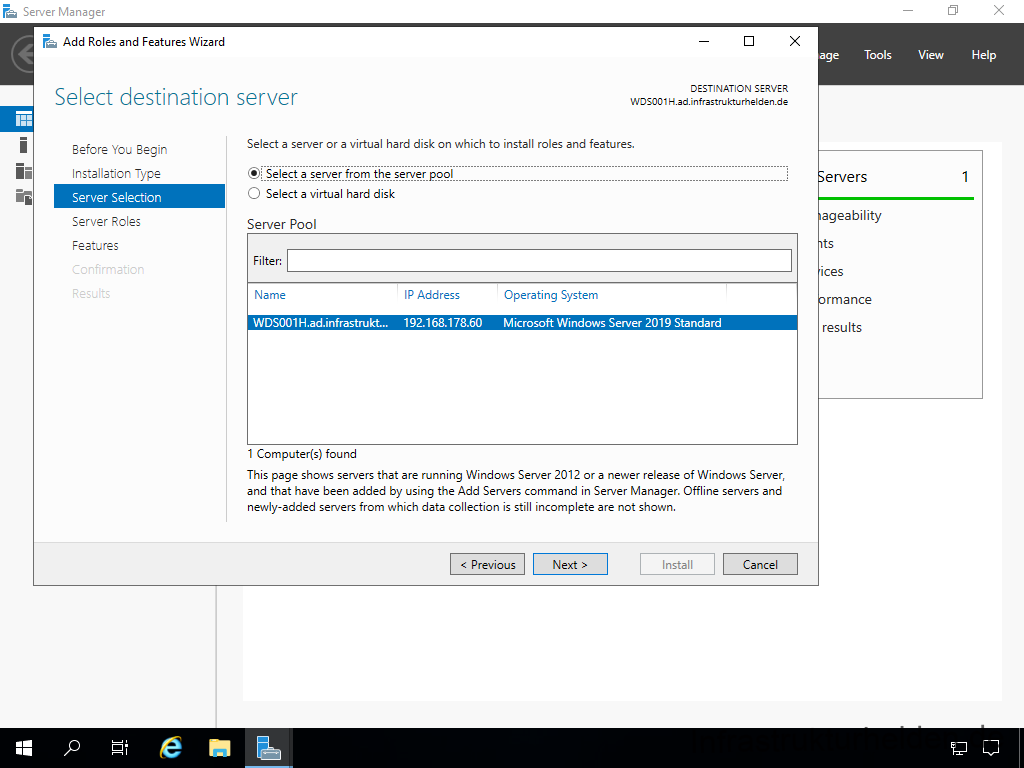
Select “Windows Deployment Services
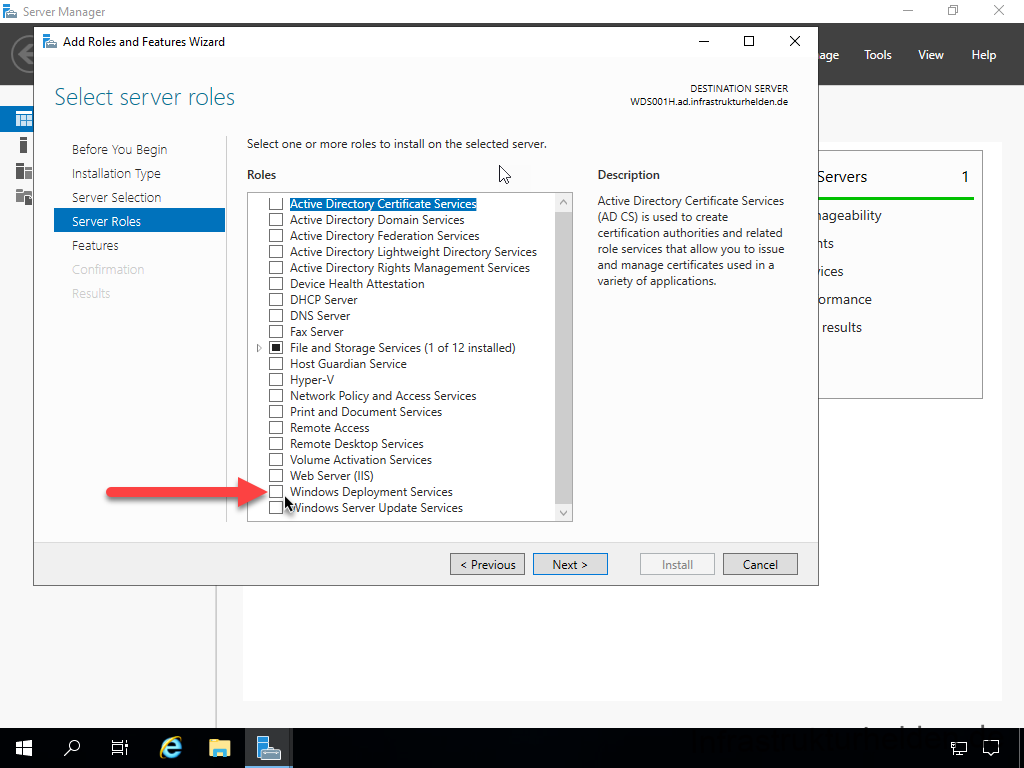
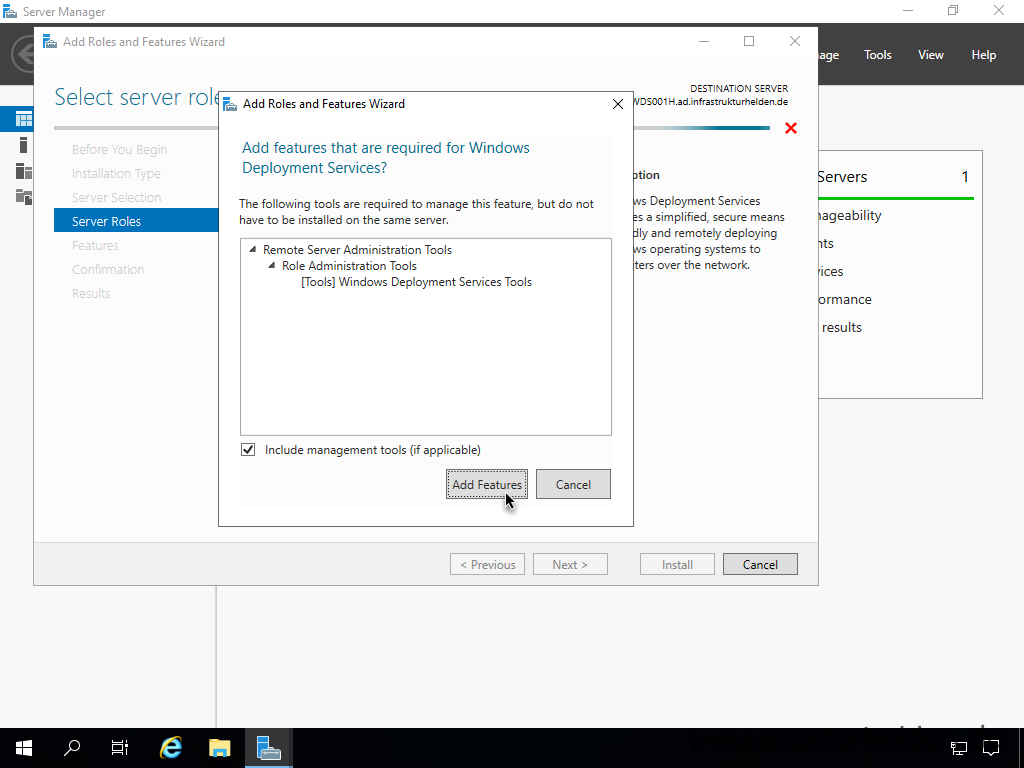
Confirm the installation of the appropriate Remote Server Administration Tools (RSAT)
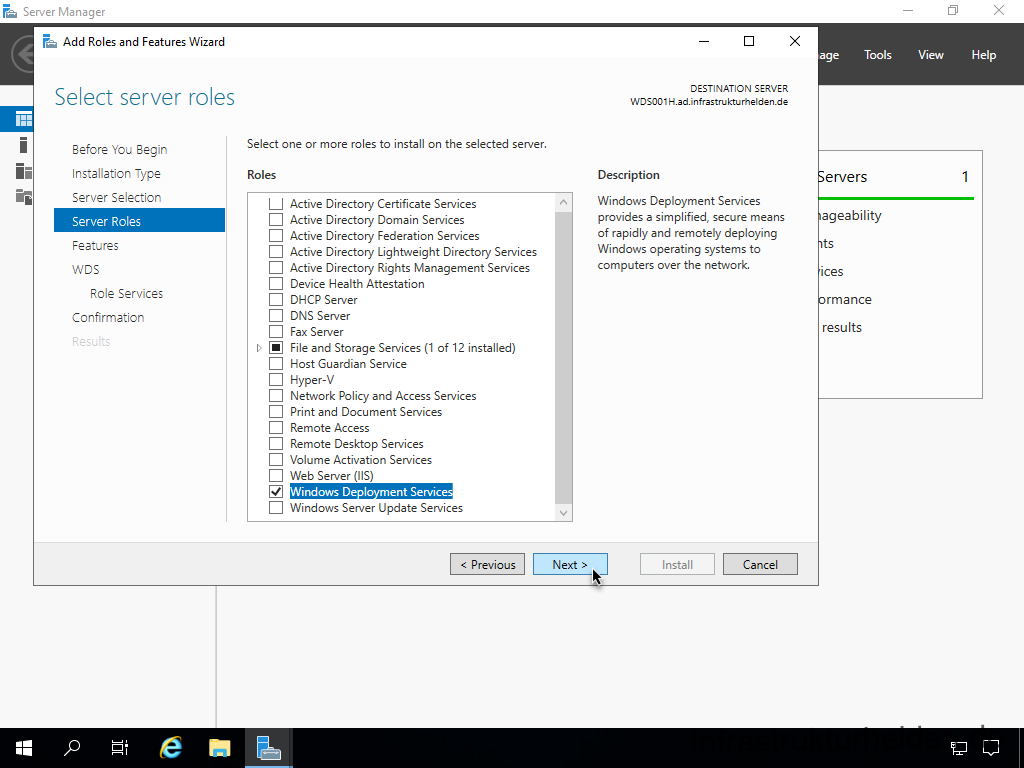
Click on Next for the next step
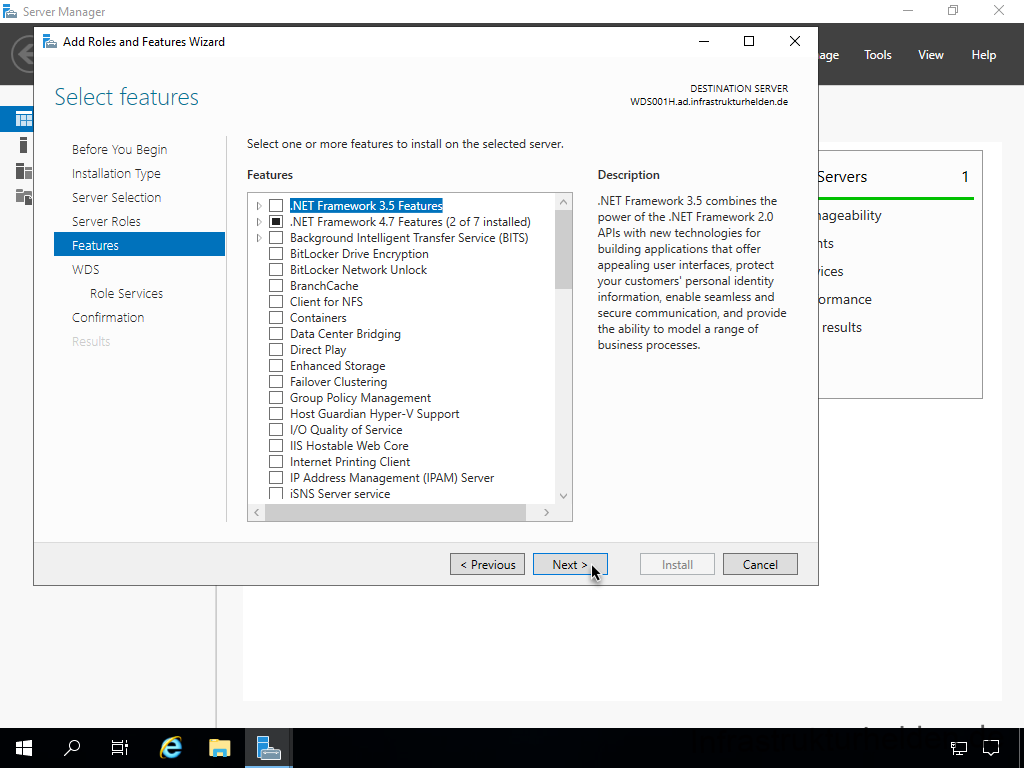
You can skip the prompt for additional features
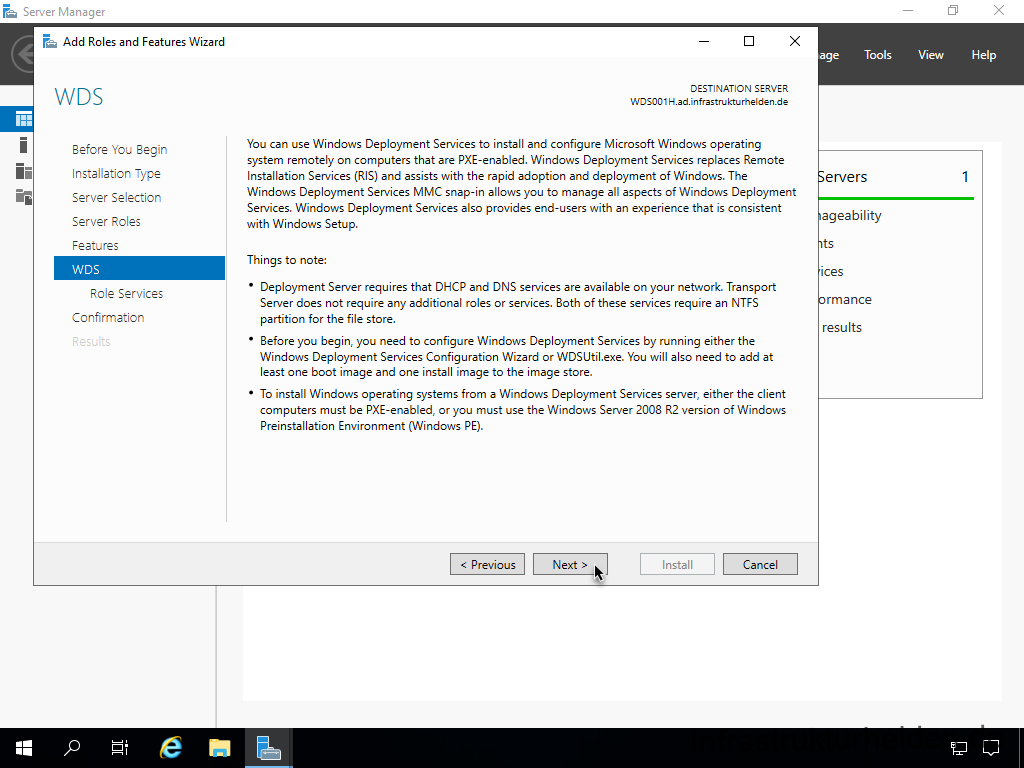
Read the information about the WDS and click Next to continue.
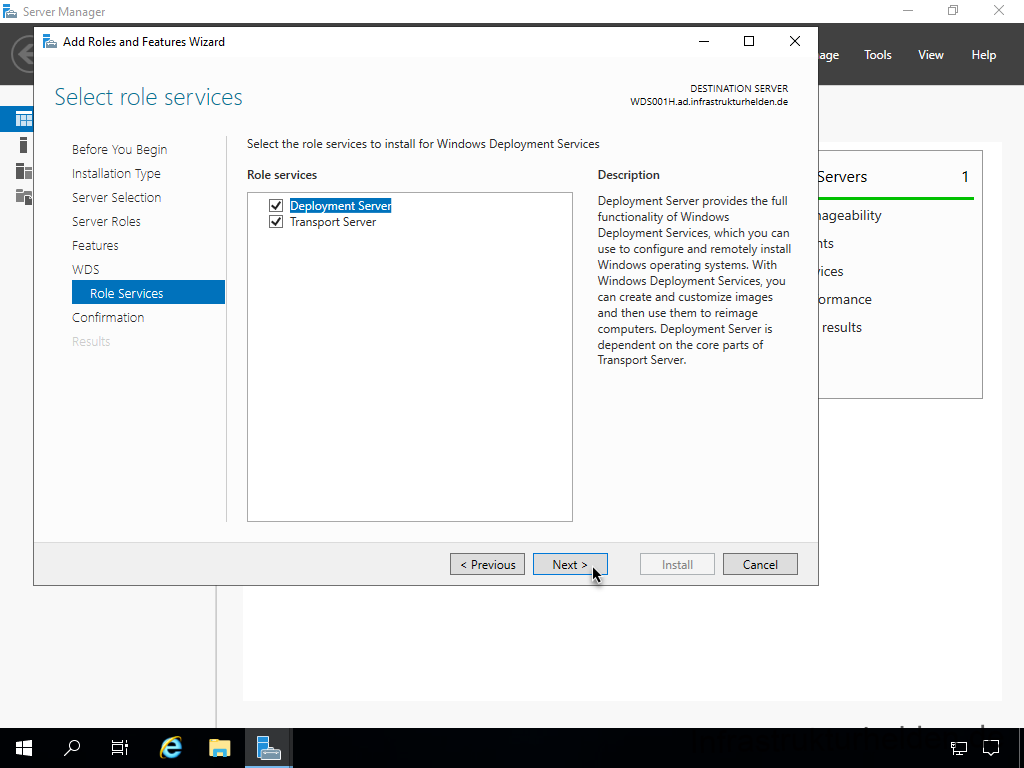
For the WDS roles, both roles are required. This should be the pre-selection.
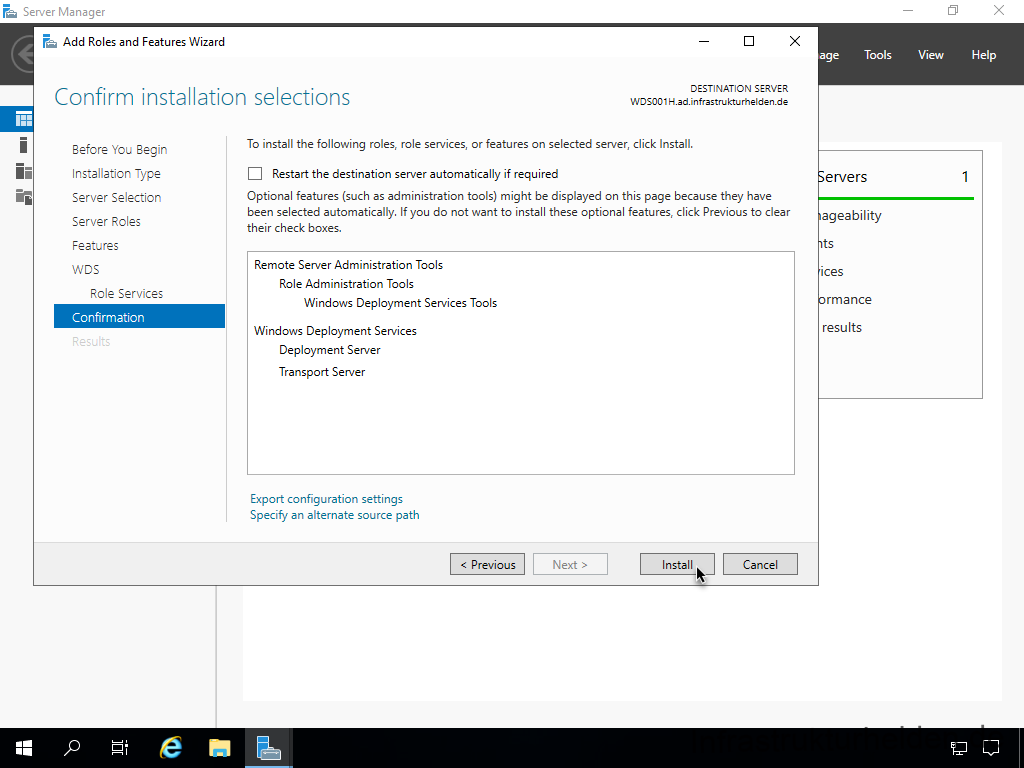
Confirm the summary with “Install”.
While the system is working in the background, you can close the wizard.
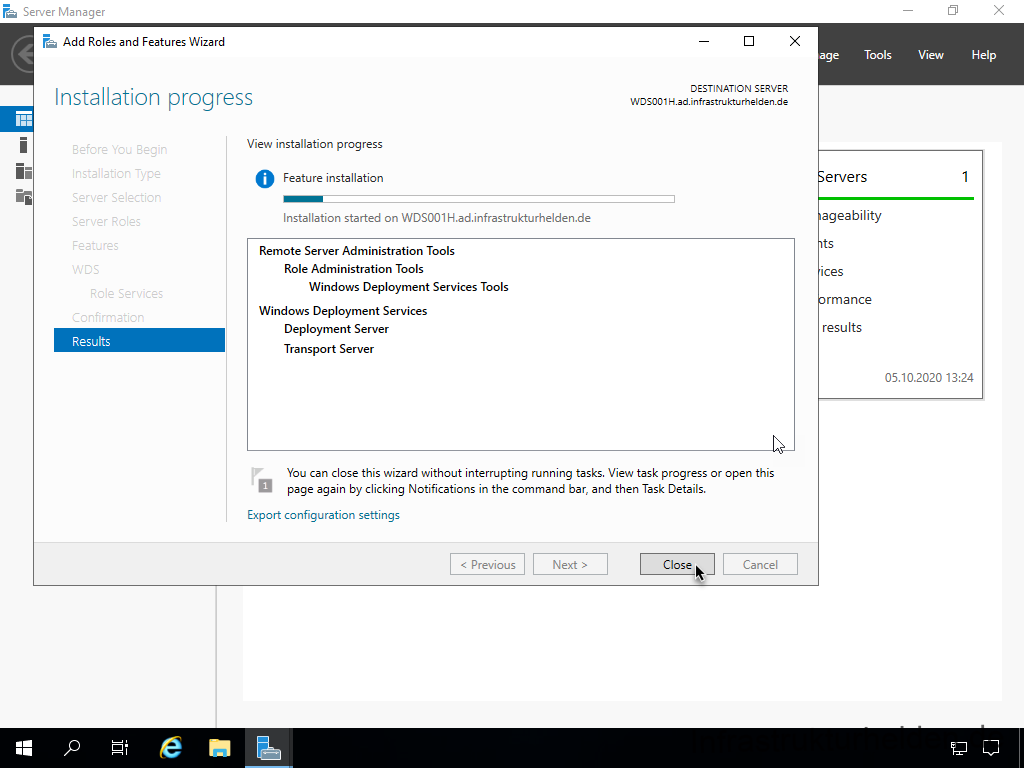
In the Server Manager you will see when the installation is complete
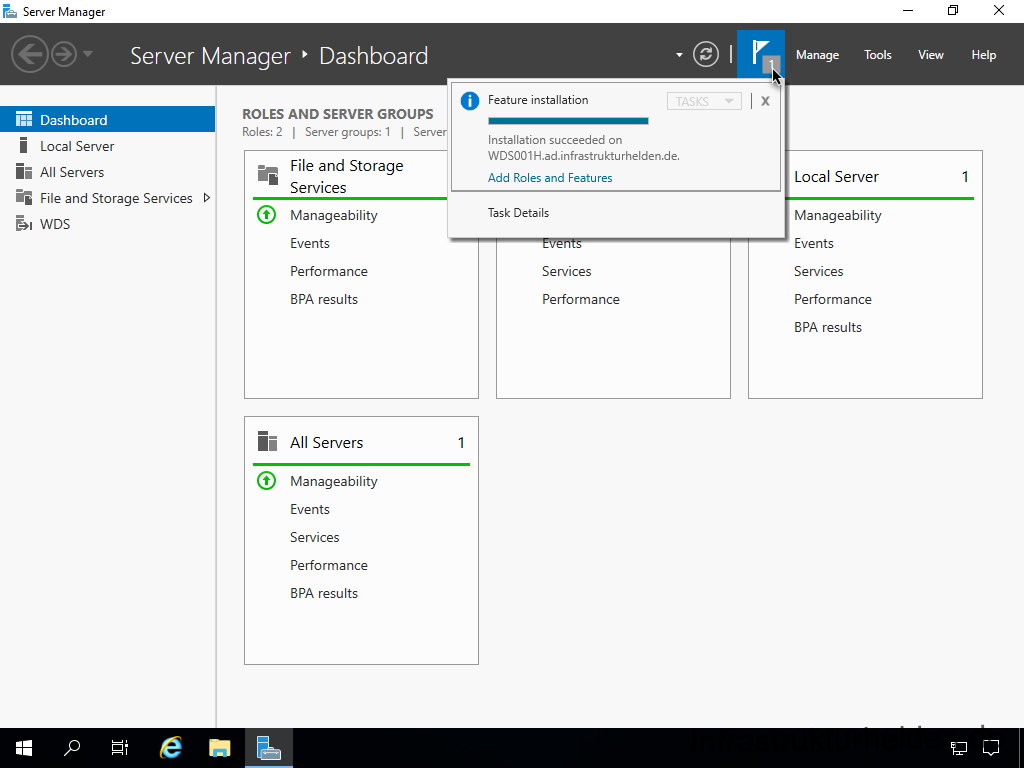
Setting up the WDS
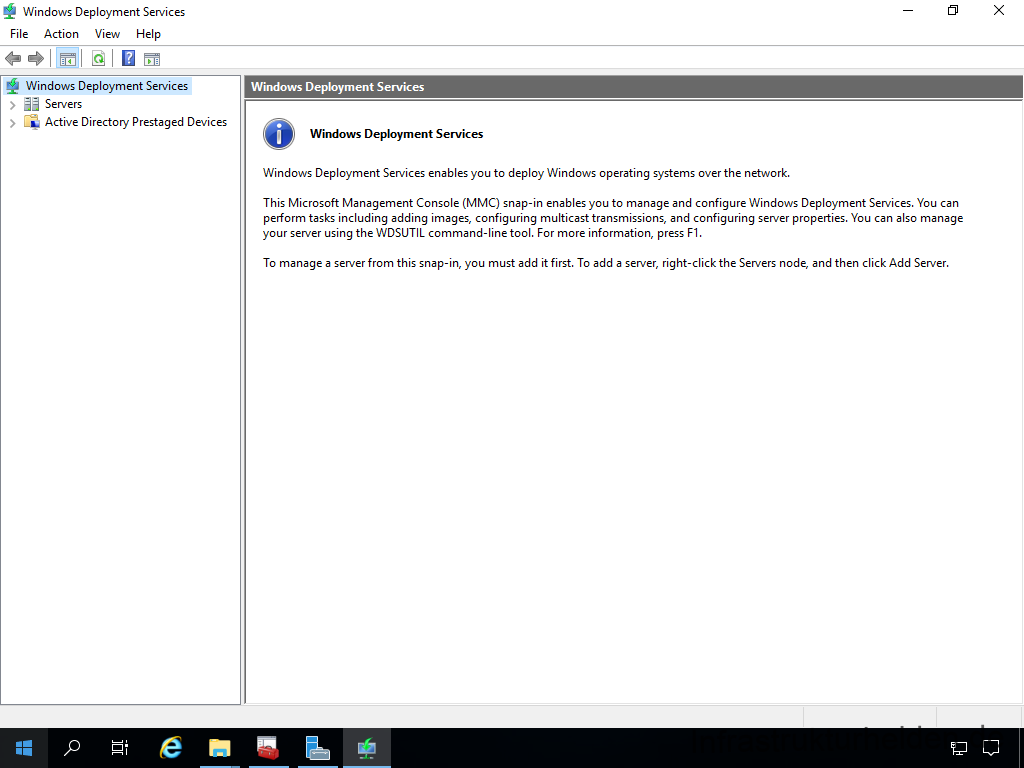
Now start the “Windows Deployment Services” console
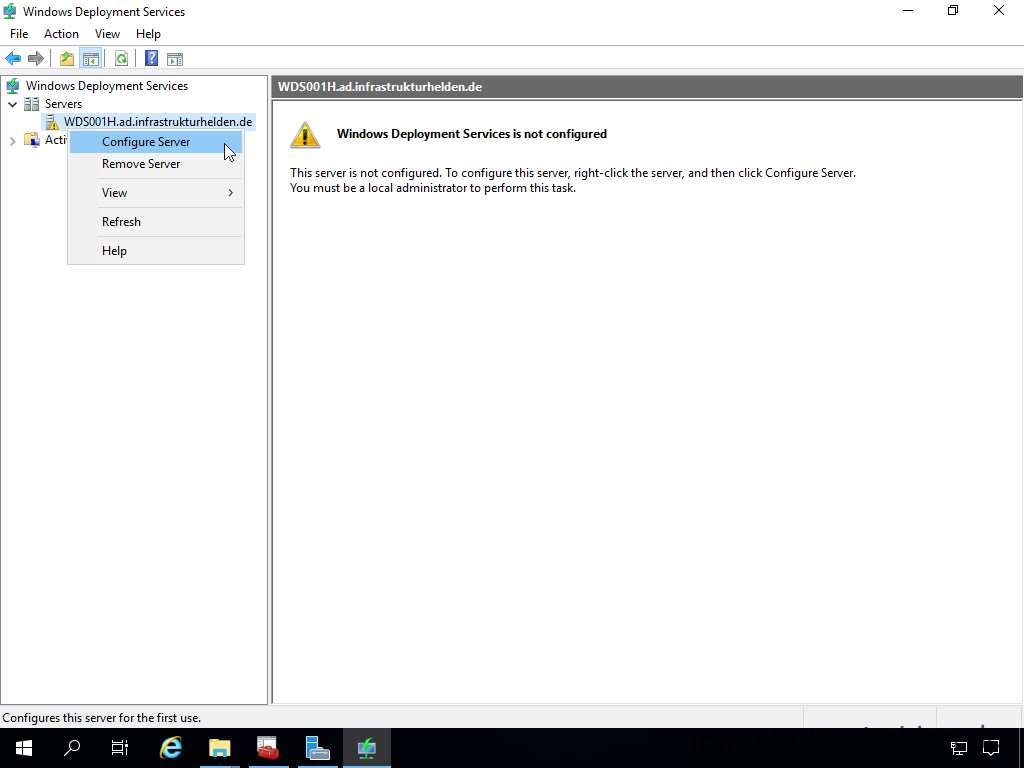
To configure the server, right-click on the server and select “Configure Server”
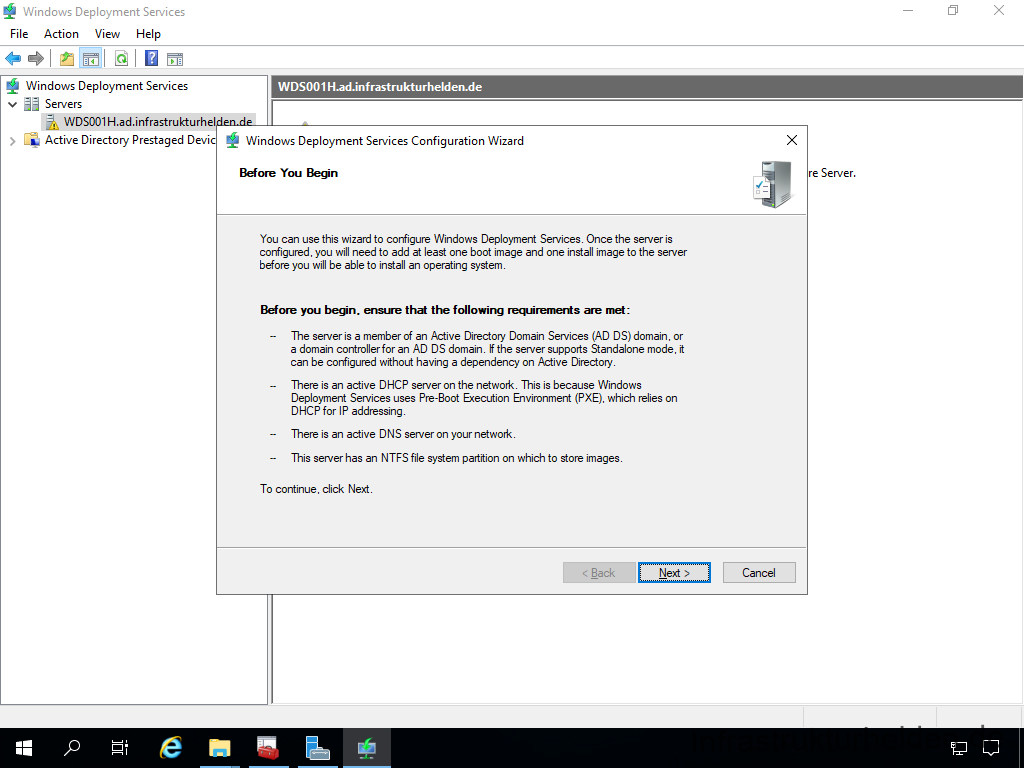
Check the requirements for WDS
I almost always recommend an Active Directory Integrated Server, there are only a few scenarios where a stand alone server makes sense.
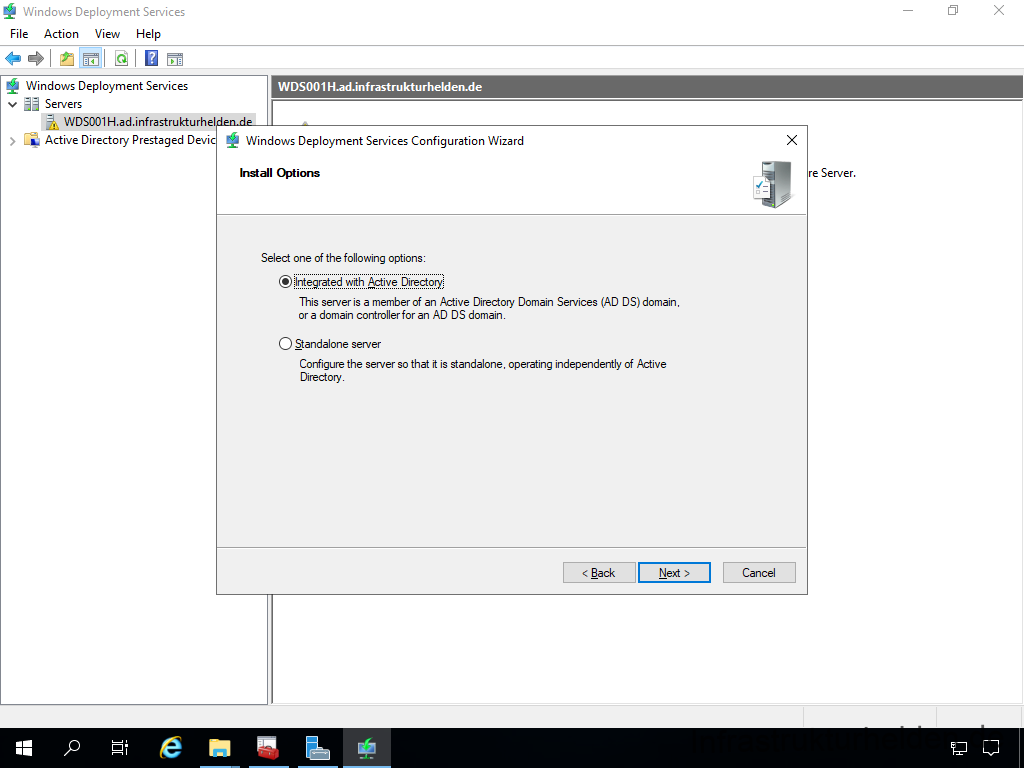
I deliberately do not link the MDT folder to the WDS. I prefer to have a manual intermediate step when the boot image changes.
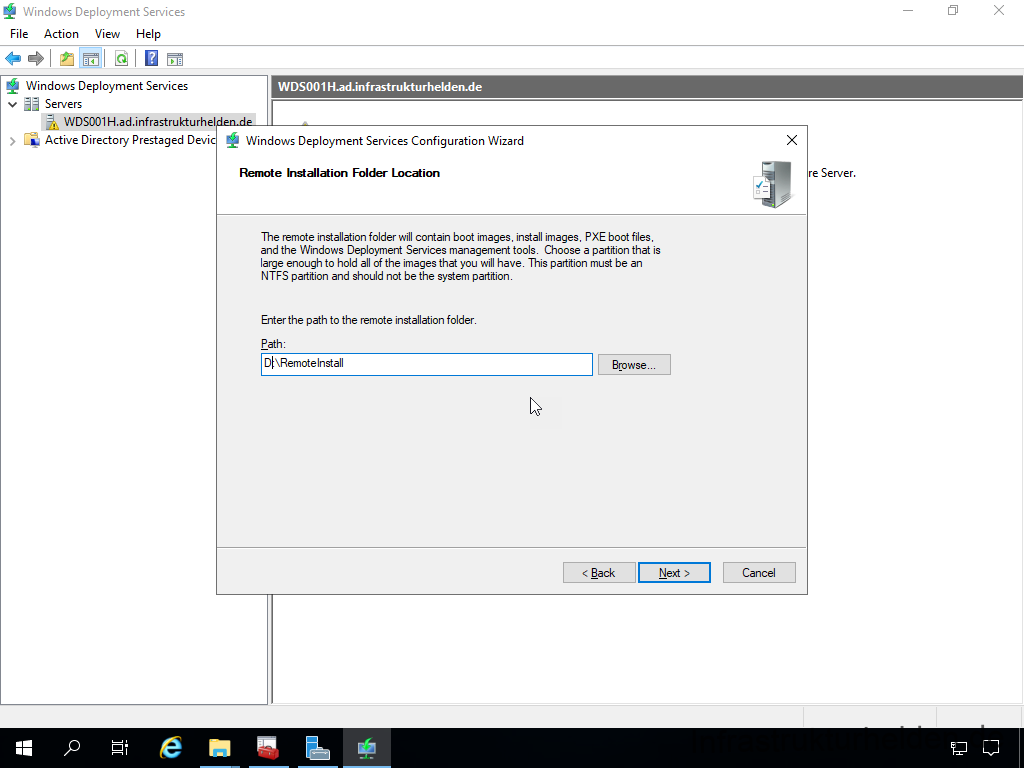
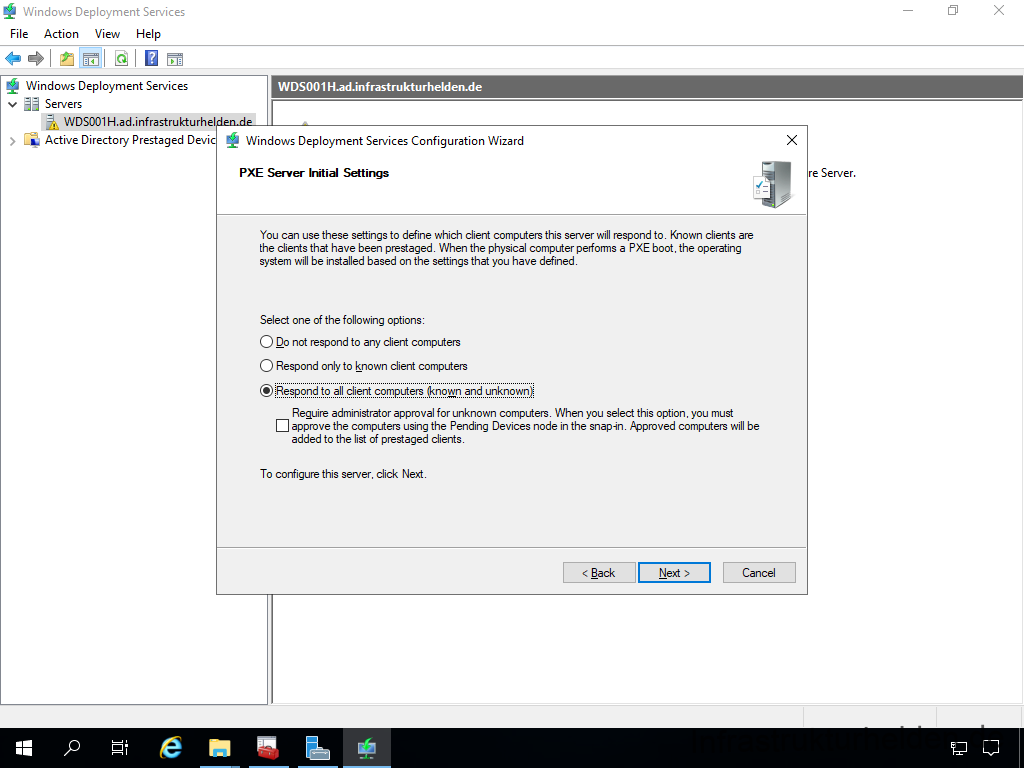
Since I want to keep it simple, the MDT should always respond to requests. This may not be the right decision for your environment.
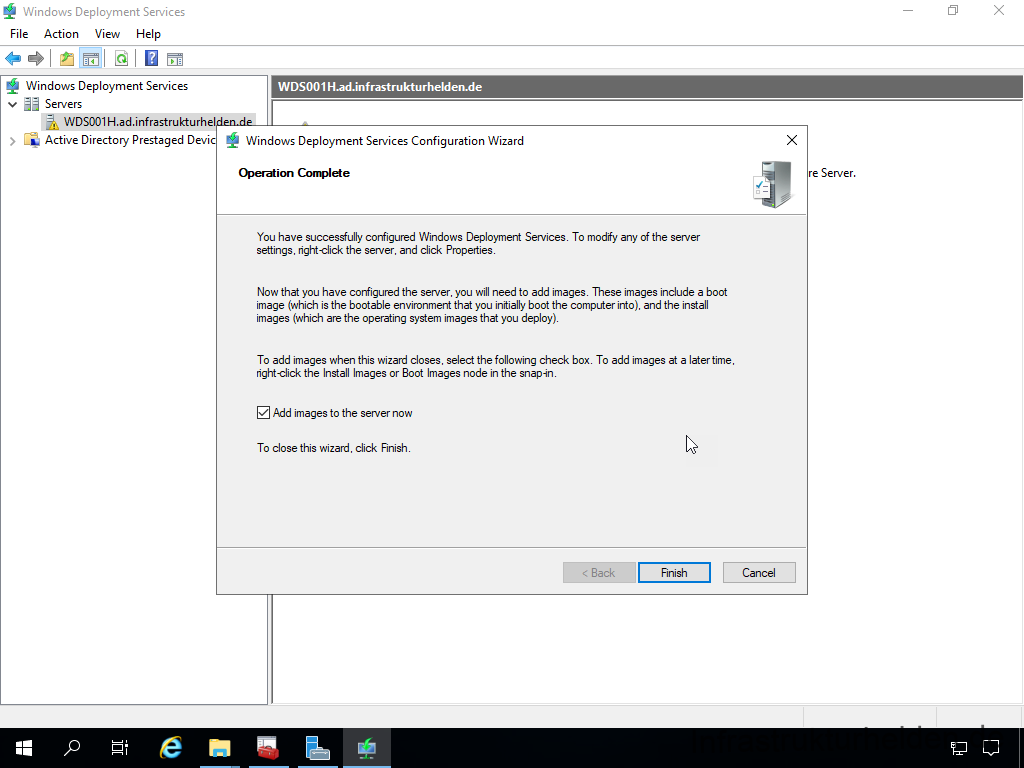
After the short configuration, the wizard is ready and you can directly mount the installation and boot images. Since we only have one boot image for the MDT, remove the checkbox “Add images to the server now”. If you want to install other Windows OS via the network without CD and task sequence, leave the checkbox “Add images to the server now” selected. Then you can mount these media directly with the wizard. Before you do this with a server image, why not create a task sequence for servers? I would do it.
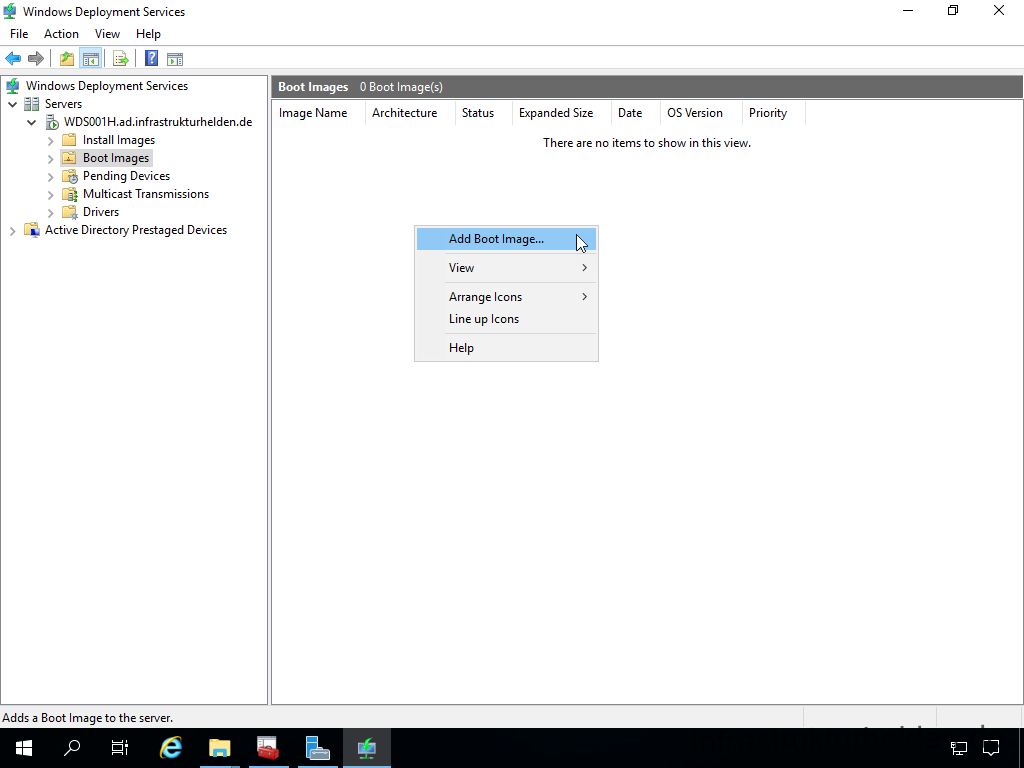
To add the MDT image, select the “Boot Images” branch and, after right-clicking, select “Add Boot Image”
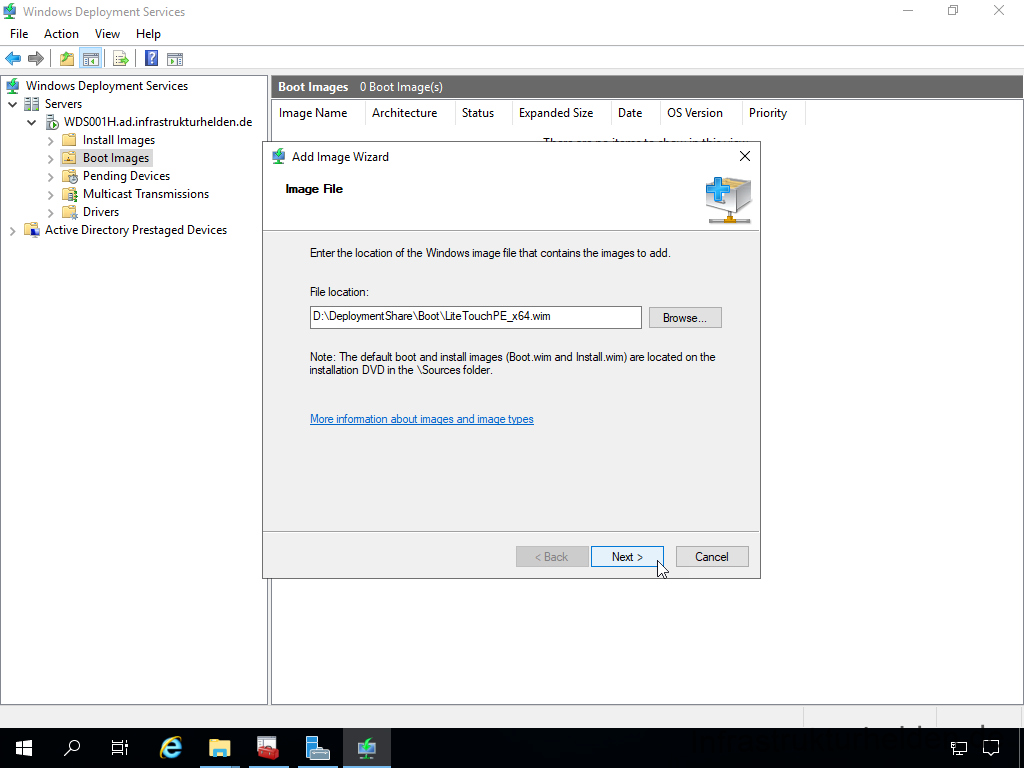
As image, please select your corresponding WIM image, which can be found in the deployment share in the “Boot” folder.
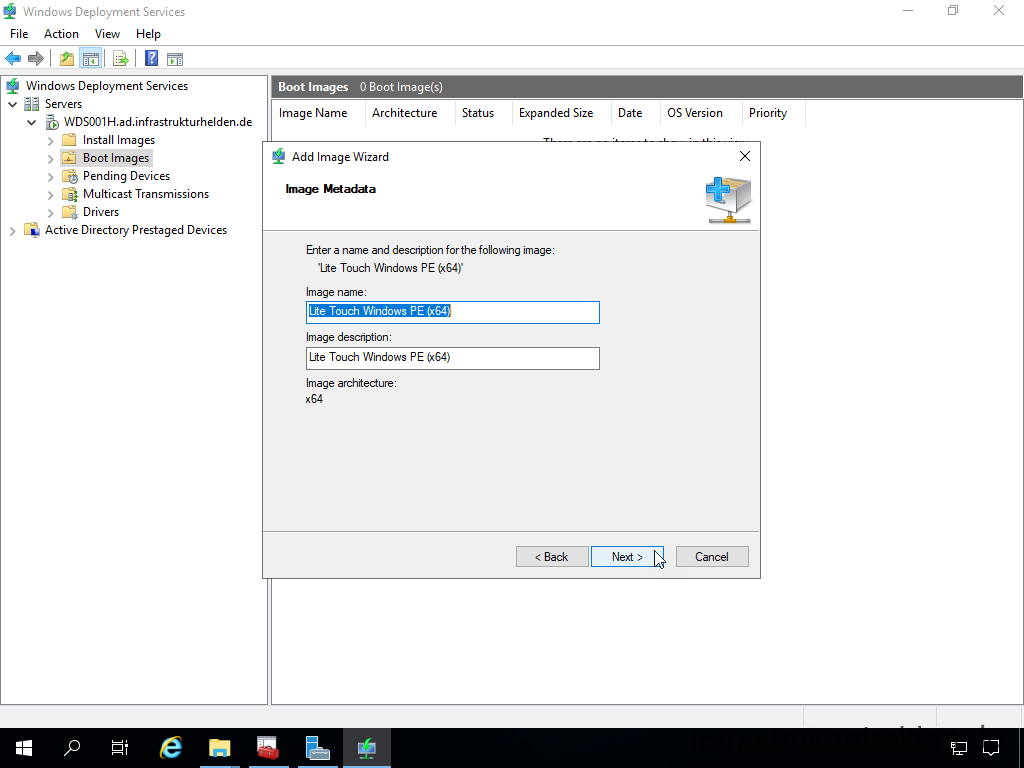
Assign a suitable name, which will be displayed during the PXE boot.
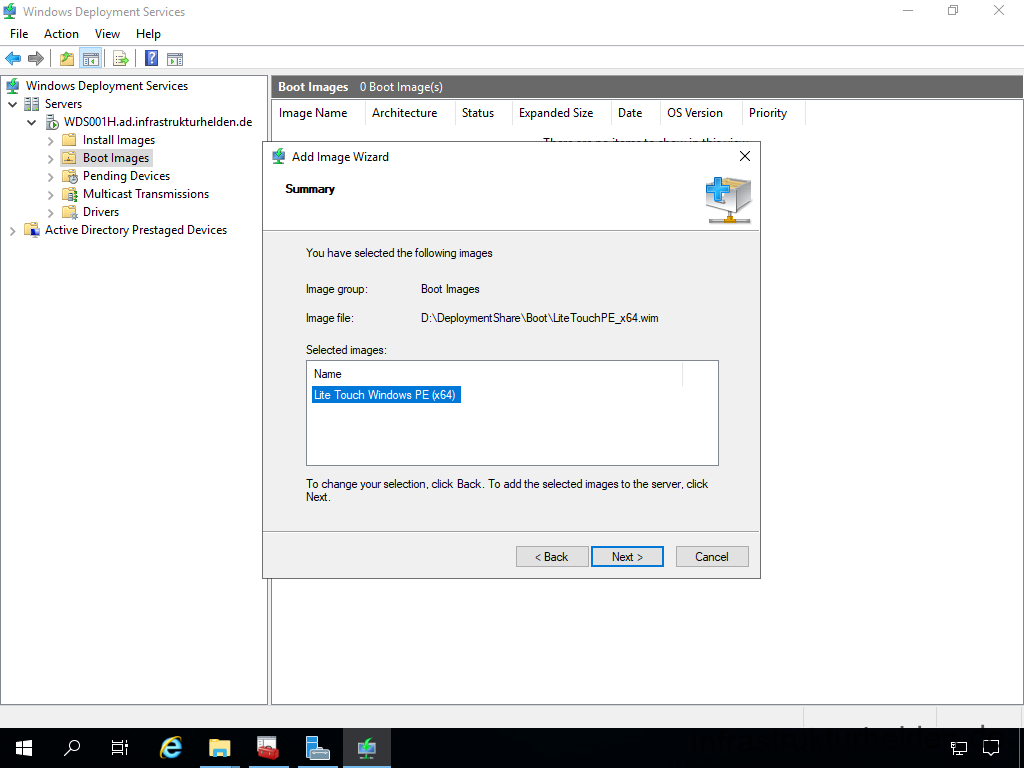
A summary follows again.
And the image is added. The image is copied into the WDS folder. When this is done, the wizard can be closed.
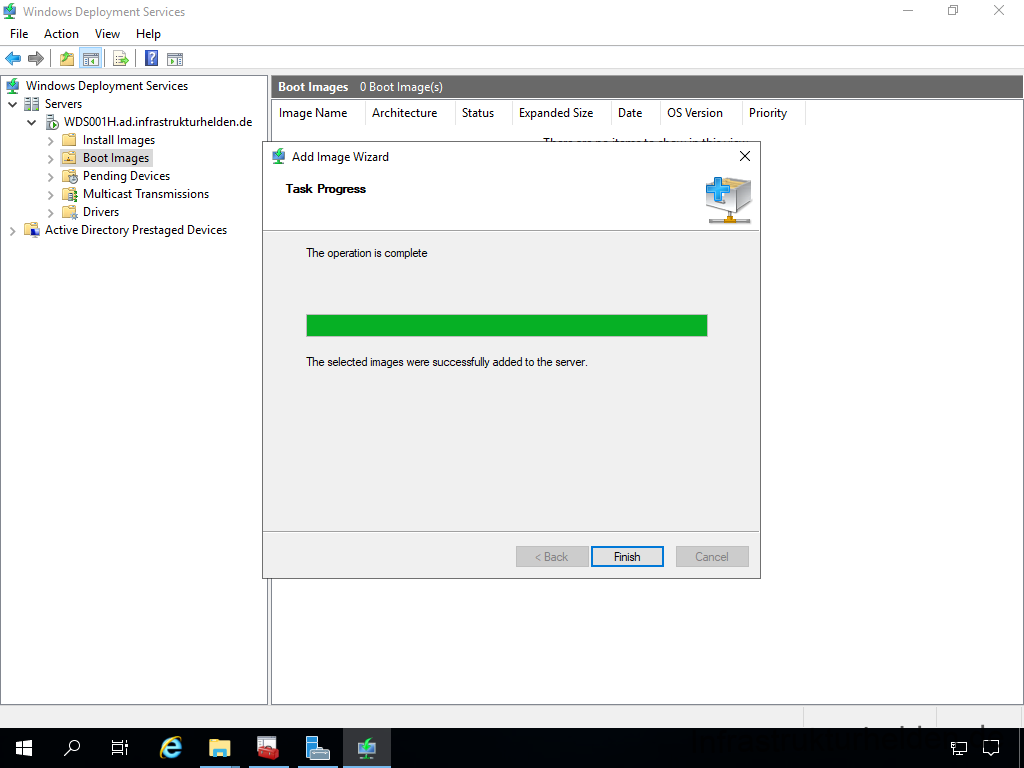
No further configuration is necessary in the WDS.
Setting up DCHP
In order for WDS to work across network boundaries or with non-Microsoft DCHP servers, a few settings must be made in the corresponding segments. To do this, you must set the following DHCP options:
066: Hostname of the start server: [IP of the WDS]
067: Startup file name: smsboot\x64\wdsmgfw.efi
Collection of articles mentioned in the article series
- Possibilities of computer installations for companies
- List of different group policy templates (Updated)
- Choosing the right Windows 10 edition
- Unattended installation of software
- Unattended installation of software – follow-up
- Packaging business applications with MSI-X
- Updating, maintaining and using Windows Image Files (WIM)
- Strategies for Windows as a Service – A Process-Oriented Perspective
- Key Management Service (KMS) Client Serial Numbers [Updated 2019]
- Key Management Service (KMS) – An Overview
- Local Administrative Password Solution (LAPS)
- Using and auditing PowerShell scripts with Local Administrator Password Solution (LAPS)
- Creating Offline Media with the Microsoft Deployment Toolkit (MDT)
Note to this article
This article was automatically translated from German from our German partner blog InfrastrukturHelden.de.
