In further articles I will explain what you can do with the packaged MSI-X applications
This article, however, is about creating MSIX packages. I will guide you step-by-step.
Here is a list of all the articles in the series and the more detailed articles on specific requirements:
What is MSI-X
MSI-X is a new packaging format. It is intended to inherit the existing MSI format and builds on it in parts. MSI-X is supported since Windows 10 version 1709. To install MSI-X packages via the Windows Store or Store 4 Business, you need Windows 10 version 1809.
Many components of MSIX are available as an open source project on GitHub, for example the SDK.
Requirements
First you need the MSIX Packaging Tool, this is available for free from the Microsoft Store.
For optimal creation of the MSI-X packages, they should be created in a VM. My tip: a local Hyper-V VM with Windows 10 1809 or later. At the moment, I am deliberately using 1809 despite the availability of 1903. 1809 was the first release to support MSI-X natively. I want to avoid any problems that might occur if the package is run on an older system on which it was packaged. If you want, you can still clean up the pre-installed applications.
I recommend creating a test pukt or snapshot before carrying out the clean-up and restoring it afterwards. This way the VM stays clean.
What does not work?
Not every application is suitable. Here are a few examples of applications that will not work in this scenario.
- Applications that require elevated privileges are not supported.
- Applications that require access to kernel-mode drivers or Windows services
- Applications that modify the computer part of the HKLM registry
- Depending on the application and packaging, there may be problems processing the application-specific group policies. More about this here.
The complete list, partly with alternative suggestions, can be found in Microsoft Docs.
Example application 7-Zip.org as MSI package
For the creation of an MSI-X package it does not matter whether the installation is done via MSI, EXE or a ZIP file to be unpacked with a .REG file. The procedure and restrictions are all the same in this case.
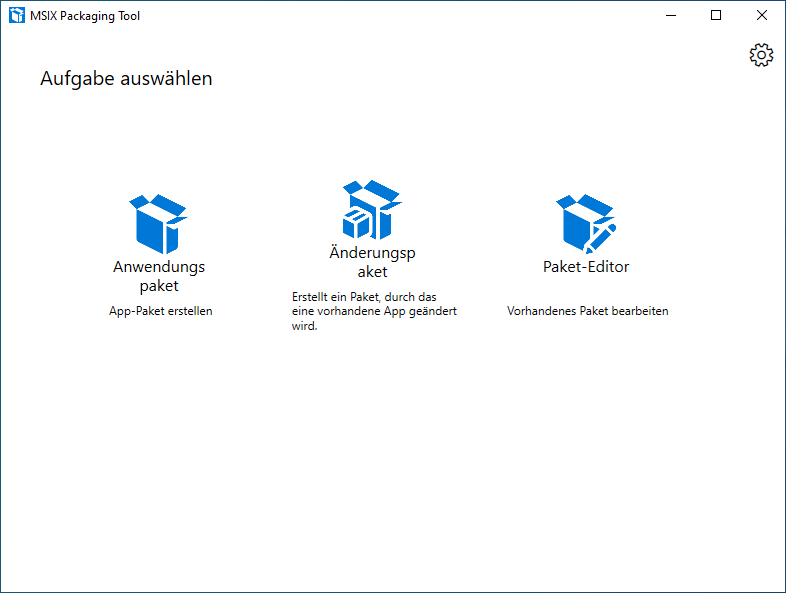
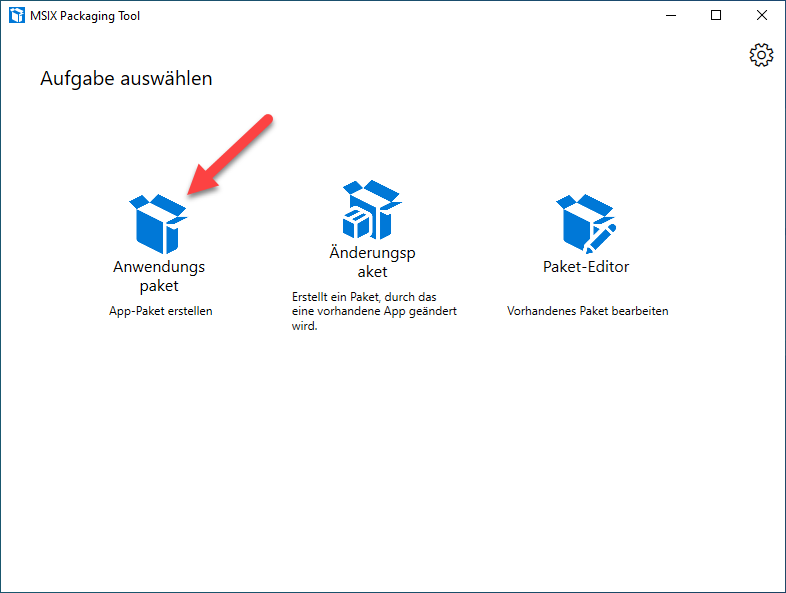
In the first step, you create a new application package in the MSI-X Packaging Tool.
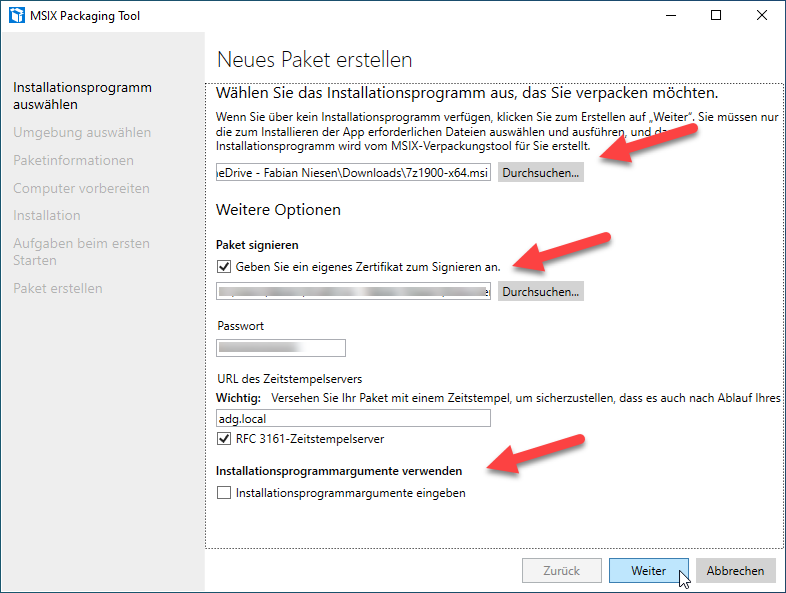
In the second step, please select the installation programme. If you have your own internal code signing certificate, you can use it. If you want to install the application with certain parameters, you can also specify them here.
Next, you can choose how the package should be created. It is recommended to use an empty VM for this. If there are certain dependencies and they are installed in your base image, you can also try to use your base image. For best compatibility, however, an empty VM is the best solution. The user used needs a password, local administrator rights, RDP permission and PS remoting enabled. I use a machine local user in the VM for this.
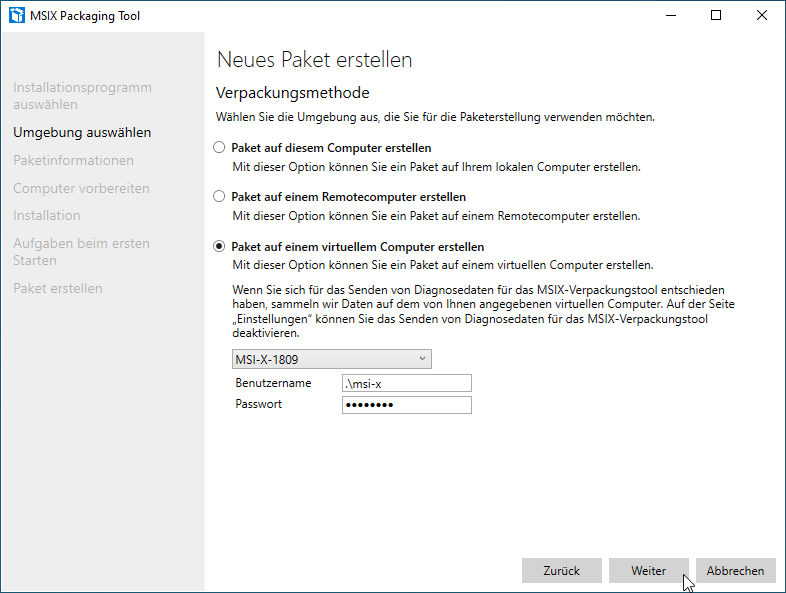
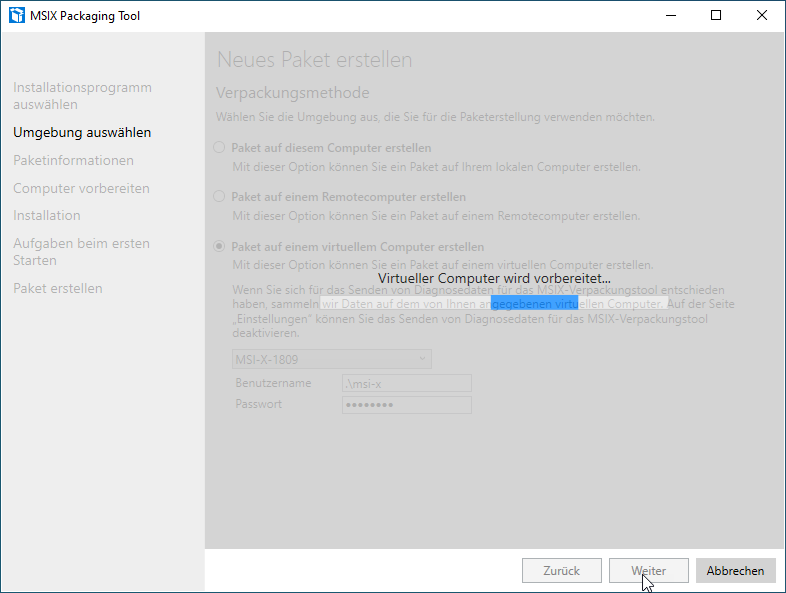
The next step is to prepare the VM. This must already exist and is not newly created. My VM is a 2 generation Hyper-V VM on my Windows 10 notebook. The VM is equipped with 2 vCPU and 4 GB RAM.
The accessibility is also checked as part of this step. So also watch out for error messages from RDP or login windows popping up spontaneously.
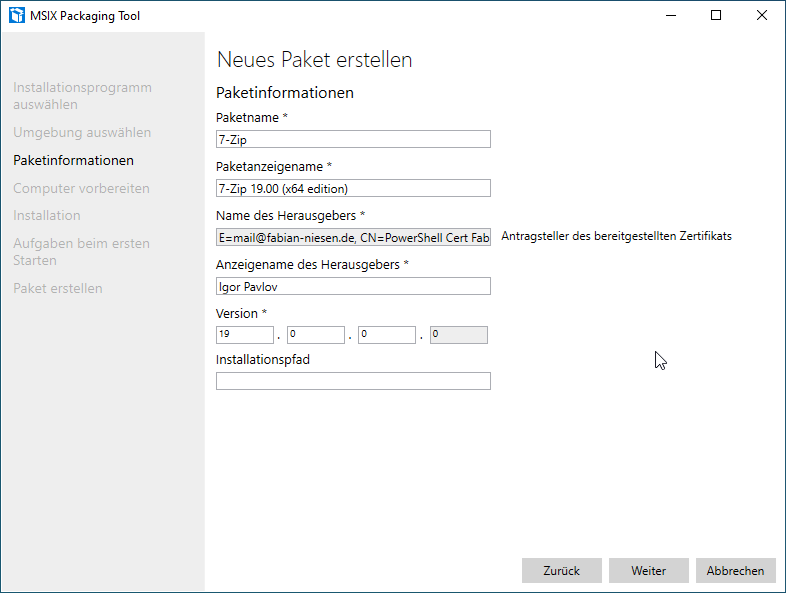
Filling in the package information, this is among other things metadata stored in the package.
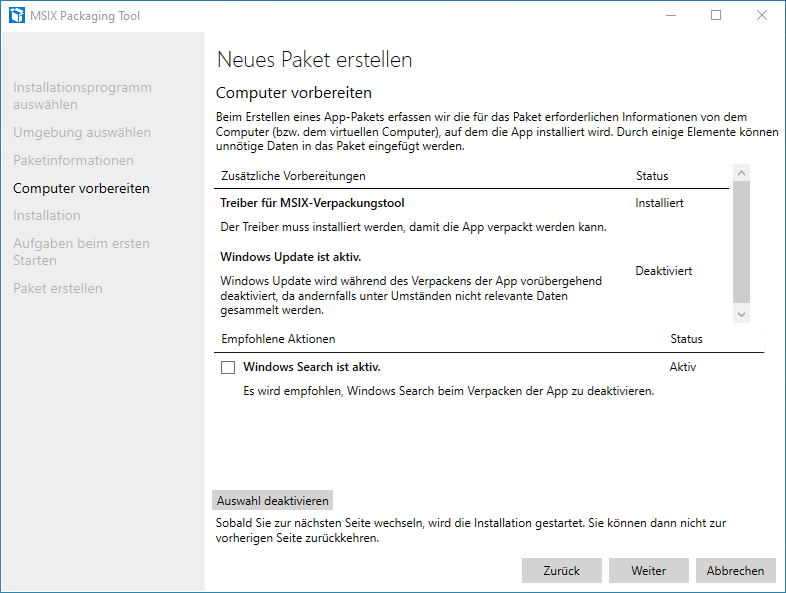
The next step is to check the requirements. The drivers should be automatically included in a normal Windows 10 from 1809. Windows updates are deactivated so that they do not interfere with the process.
Now we start the installation. An RDP session should start at the same time. The installation programme is already waiting here if it is not a silent installation.
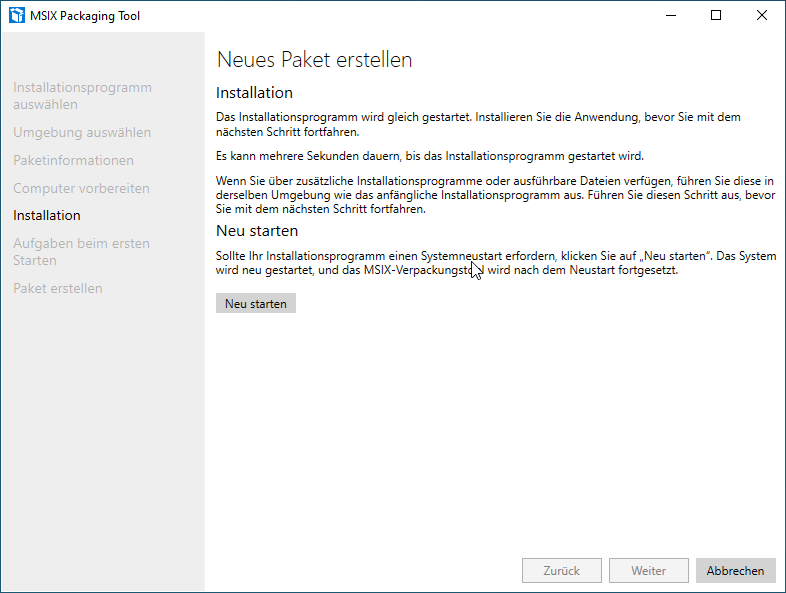
In the RDP session, the installation is now carried out manually.
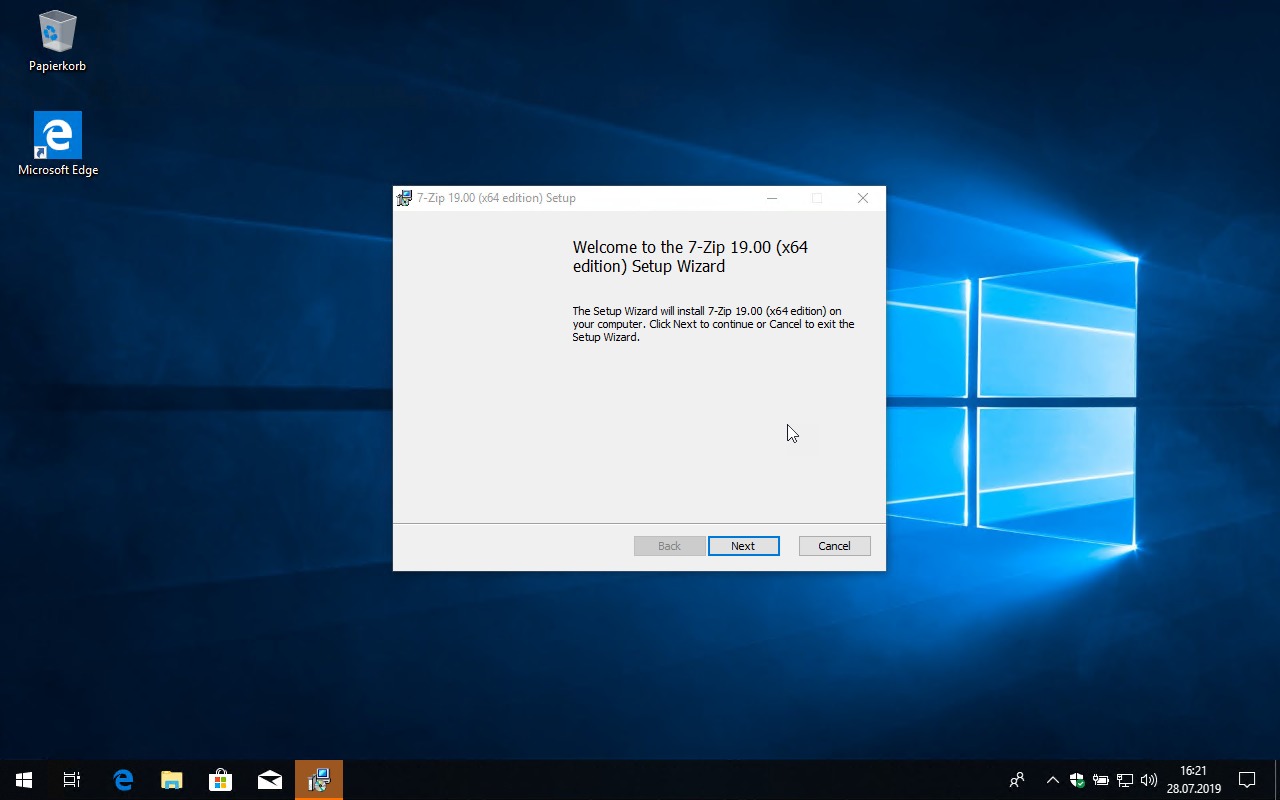
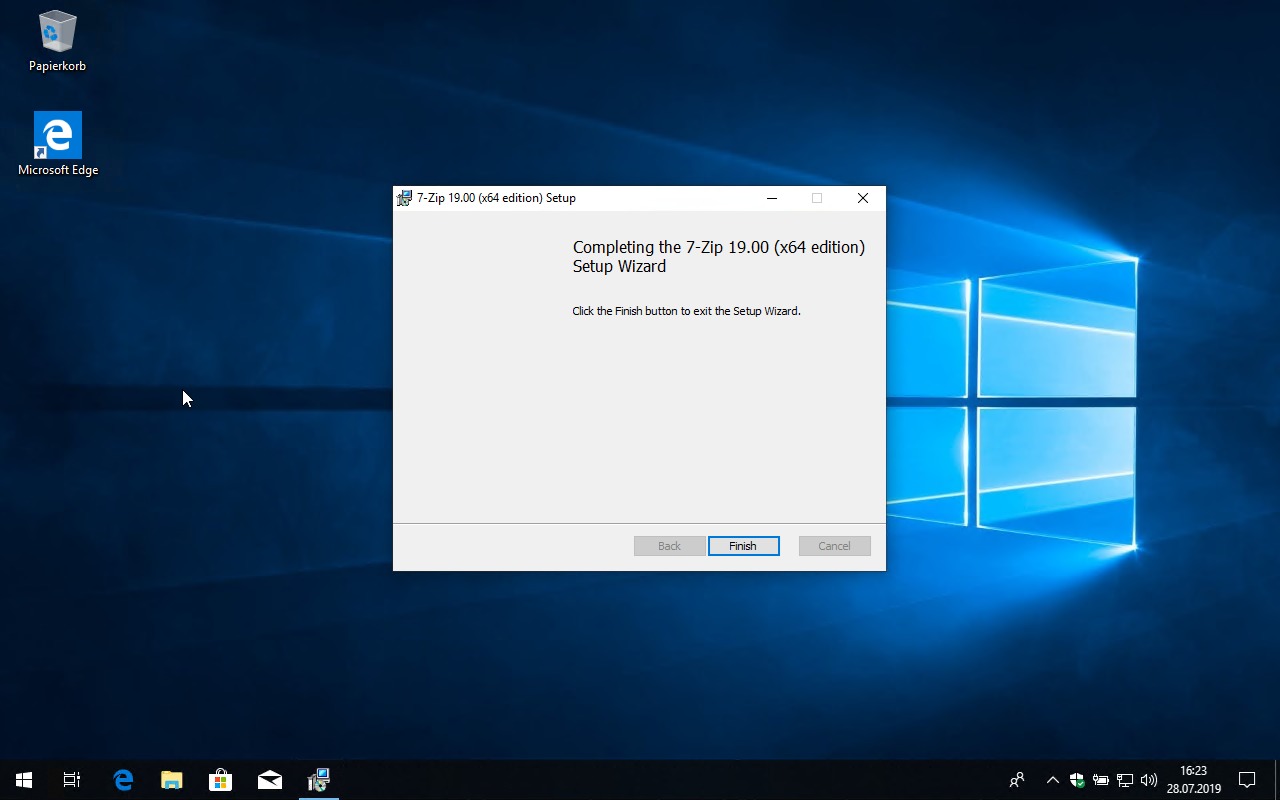
I save the individual steps of a 7zip.org installation.
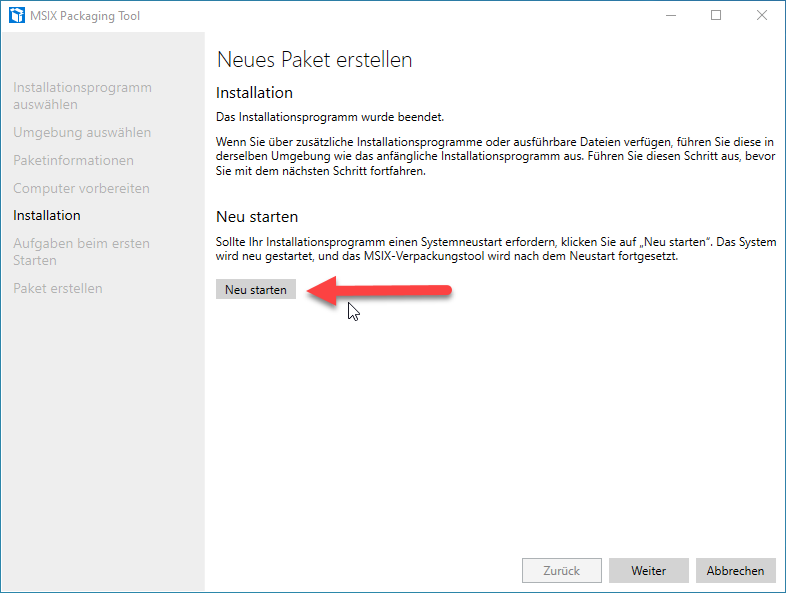
If a restart is required, the “Restart” button in the MSIX Packaging Tool must be used. After the installation is complete, you will continue again in the MSIX Packaging Tool.
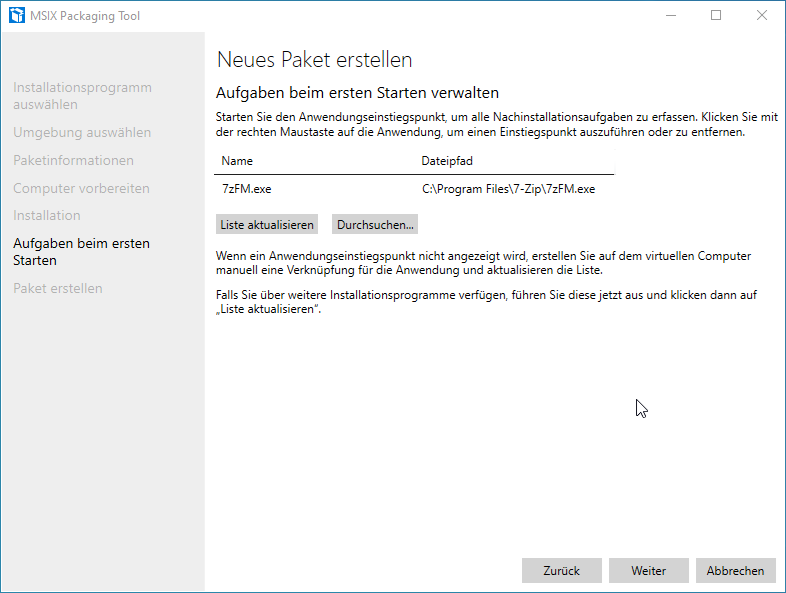
Next, the post-installation tasks must be entered. To do this, the application entry points are added on if they were not automatically captured.
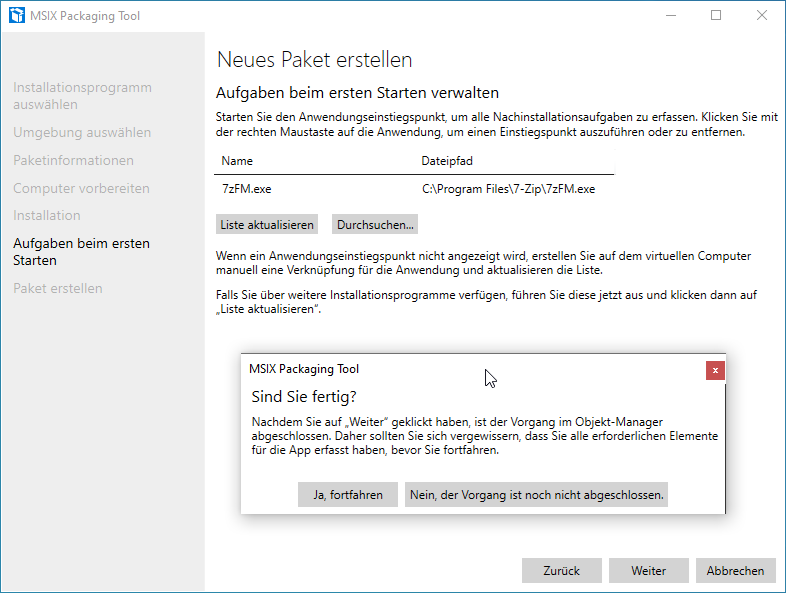
A confirmation prompt follows to complete the process.
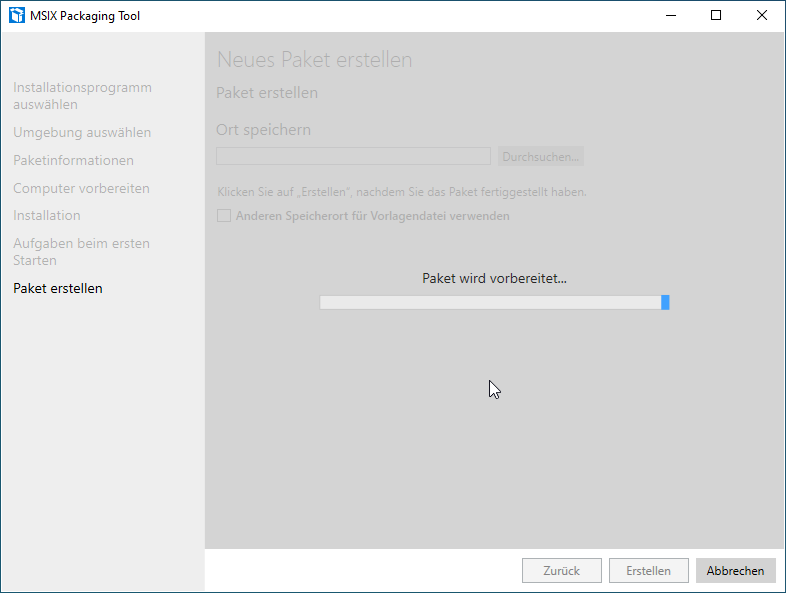
This is followed by the preparation of the package.
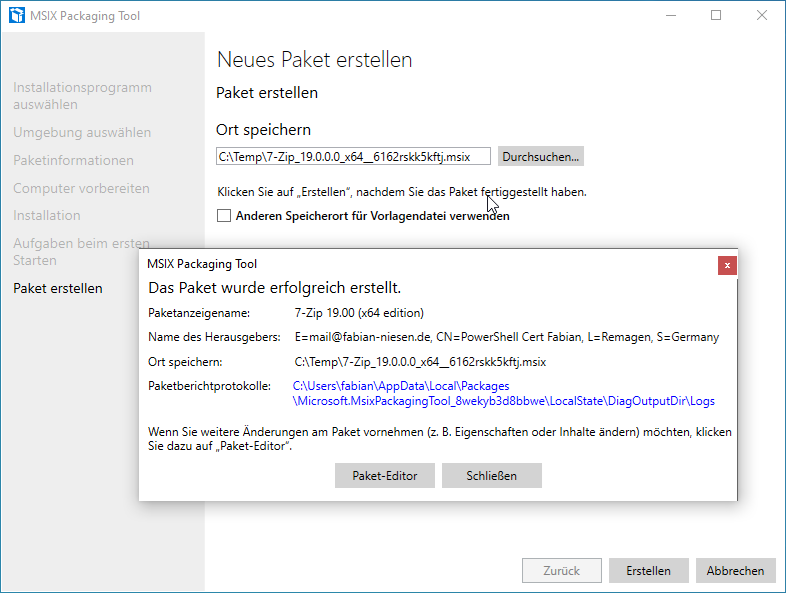
Now the package has to be created.
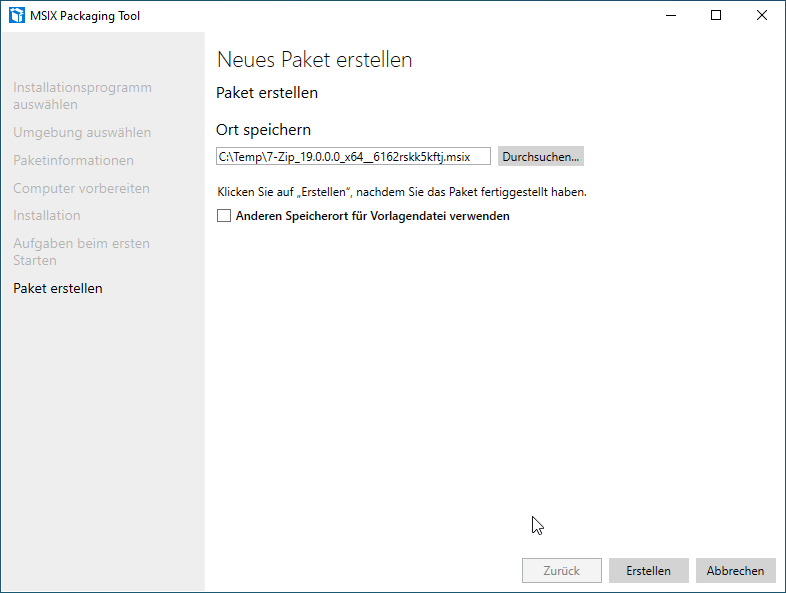
Now the package is installed and the VM is cleaned. If you have created a checkpoint for the VM, wait until MSIX Packaging Tool has finished its cleanup before resetting.
Note to this article
This article was automatically translated from German from our German partner blog InfrastrukturHelden.de.
