In this article I show you how to create an Android Test device with Android Studio and how to enroll it to Microsoft Intune.
Prerequisites:
- Office 365 Tenant with Microsoft Intune licenses
- Google Account to link the tenant with.
- Android Studio
- Google Account to access the Google Play Store on the test device.
Create a Test Device with Android Studio
Before you can implement an Android Service into your Organization it is important to test everything in detail.
It is also necessary to say that a virtual Machine will never substitute a real device but can help you establish a showcase or an environment for testing.
To have a Virtual Device will boost your confidence before presenting your thoughts and helps to save costs.
We start with the installation of Android Studio which is the basis to start with.
Download the latest version here: Download Android Studio and SDK tools | Android Developers
Like any other Virtual Machine this will take op round about 20gb of space (depending on the installed Apps) and at least 4gb of memory to run smoothly.
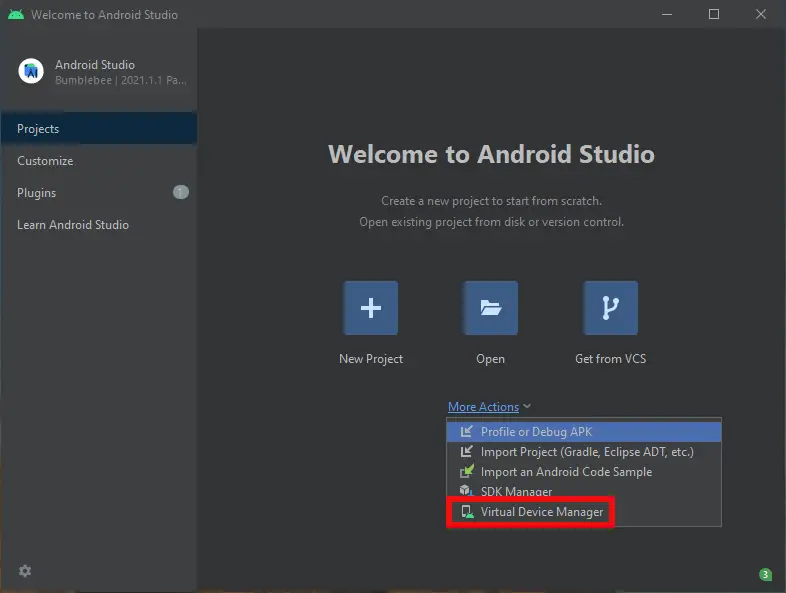
After the installation klick on “More Actions” and choose the Virtual Device Manager.
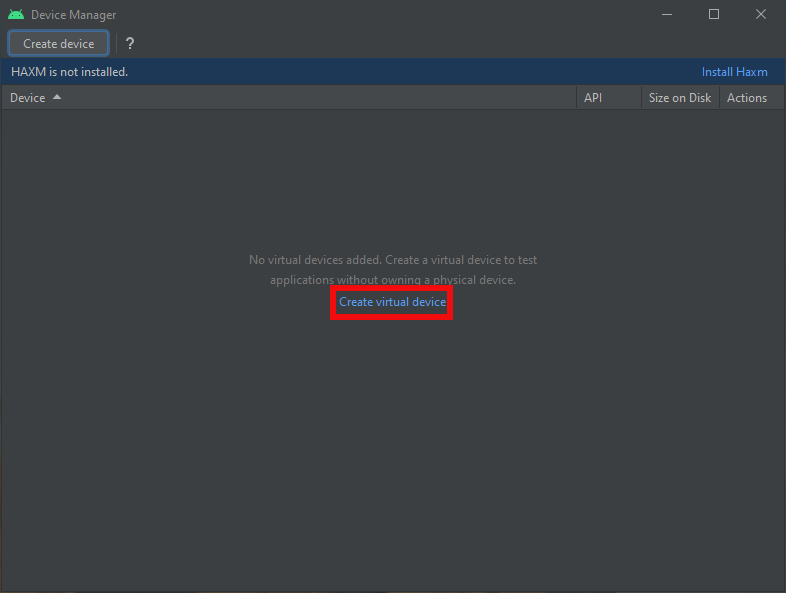
Click on” Create a new virtual device”.
It is very important to choose a device which can access the Google Play Store.
Otherwise, we won’t be able to install the Company Portal and enroll the device later to Microsoft Intune.
In my case I will choose the Pixel 4 because it is possible to run it with Android 12 in combination with access to the Google PlayStore.
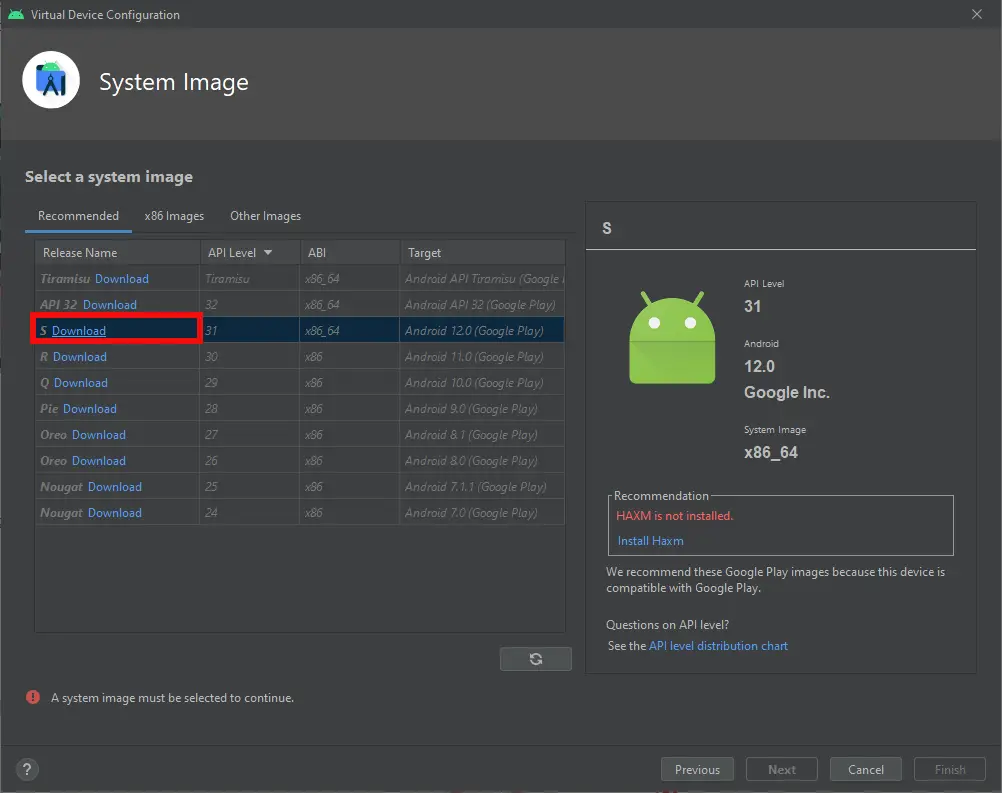
I go with Download of Android 12 because this is the latest available Android Version at this point in time.
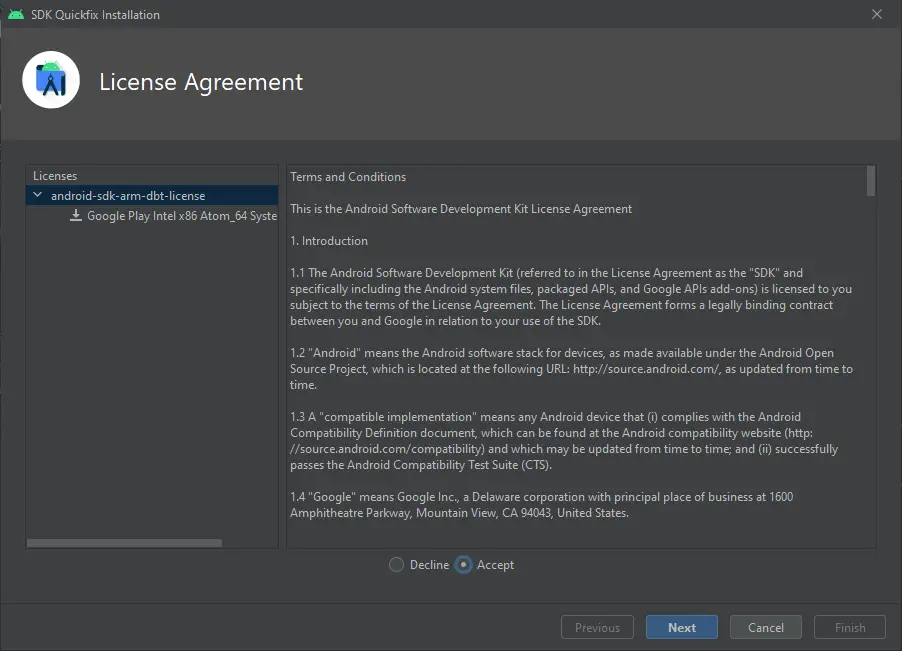
Accept the Terms and Conditions to finish the installation.
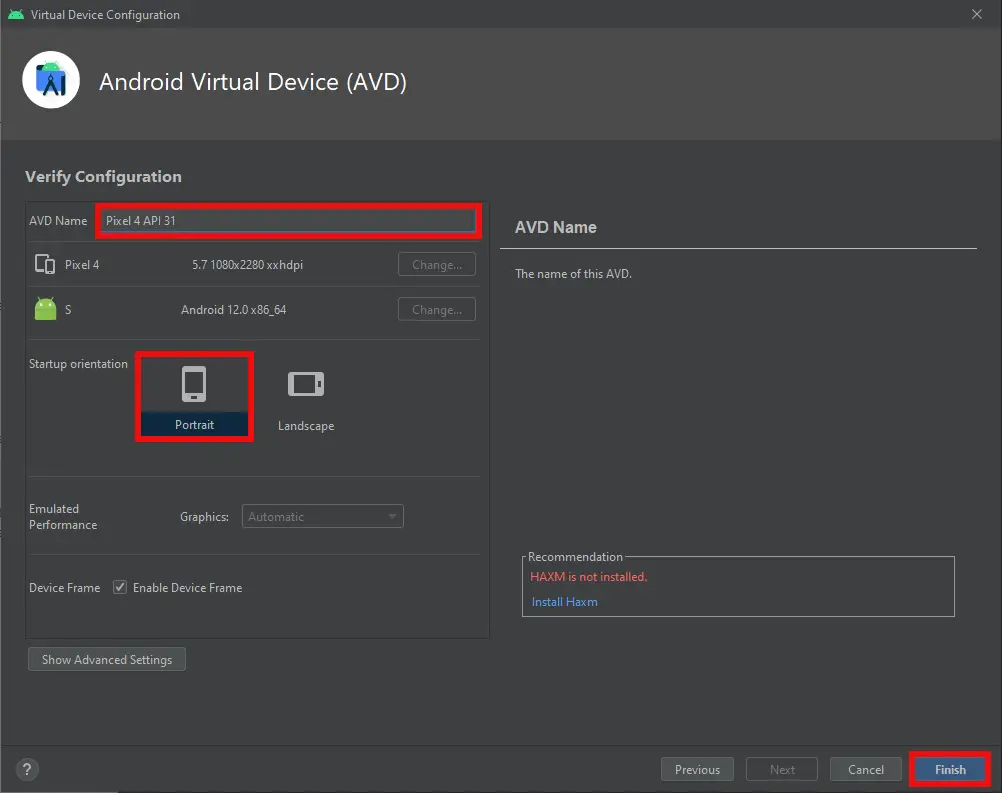
The last step before we can boot the device is to choose the Startup orientation. Optional: You can rename the Virtual Machine.

Klick on the ► Icon to finally start the Virtual Machine. In the next Article we will show you how to install Apps.
Install Company Portal and Enroll the Device
The entry point to your Company Data will be the Company Portal. You will need to authenticate against your tenant before the enrollment experience starts. I would like to show you an easy way which prevents entering the password on the small screen. This is also a plus if you are using second factor authentication because your users are already familiar with what will happen next.
During these steps the compliance policy will be checked upfront, and the company portal will show you for example if you need to update your phone or adjust your PIN before enrolling to the tenant. In our example the Phone is already matching the requirements and no additional popup will show up.
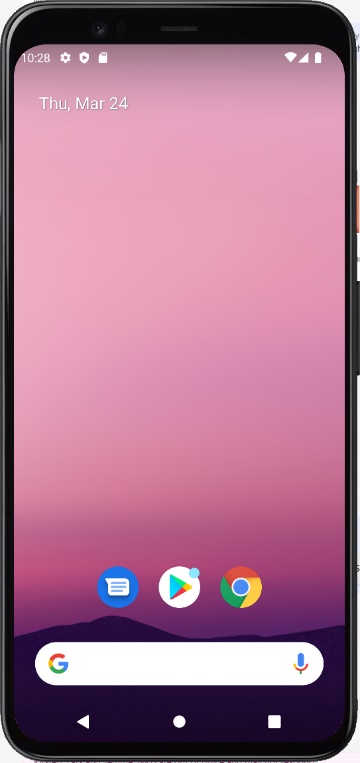 | The typical out of the Box experience you would face with a physical device will be skipped. Keep in mind that we will need some further adjustments like Lock screen and PIN later depending on your compliance policy configured in Microsoft Intune. To install the Company Portal, open the Google play Store first. |
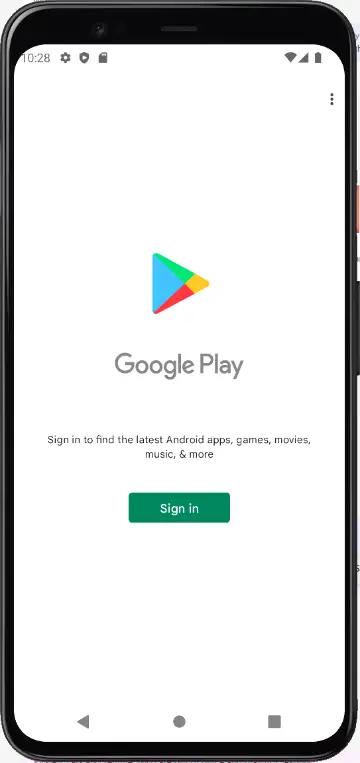 | Tap on “Sign In”. |
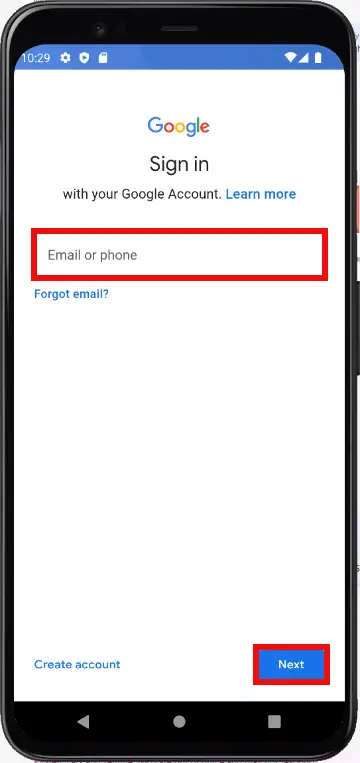 | Enter your Google Account. My suggestion is to create a fresh one only for testing. To create a new one you can use “Create Account” or this link Google Account |
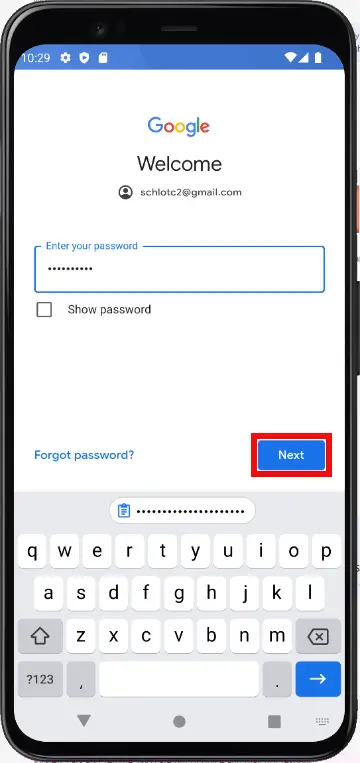 | Enter the password and tap on “Next”. |
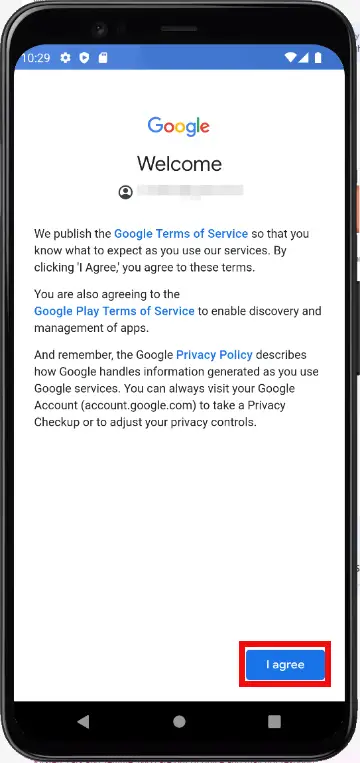 | Tap on “I agree”. |
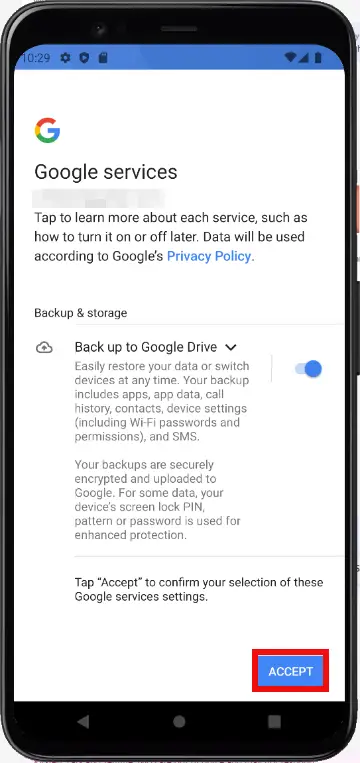 | For the Google Services you can decide your own preferences. Keep in mind that even if you enable Back up to Google Drive nothing in the Work area will be in any backup. It is only possible to back up the private area. |
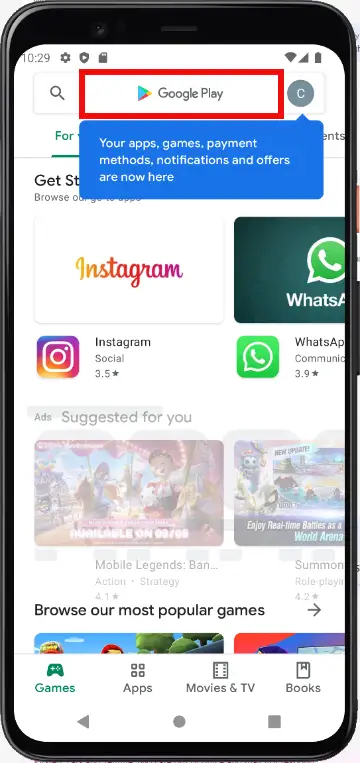 | Tap on the search field. |
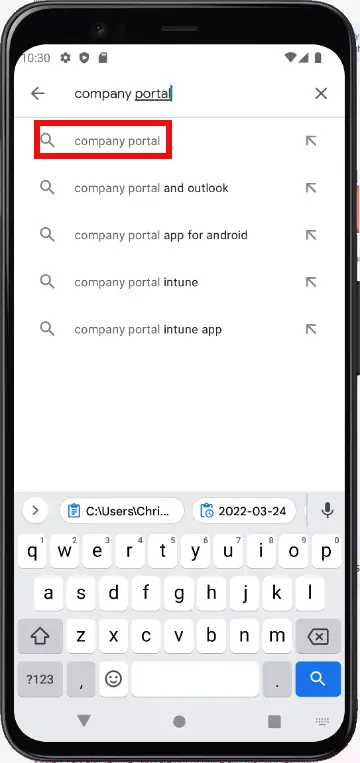 | Search for “Company Portal”. |
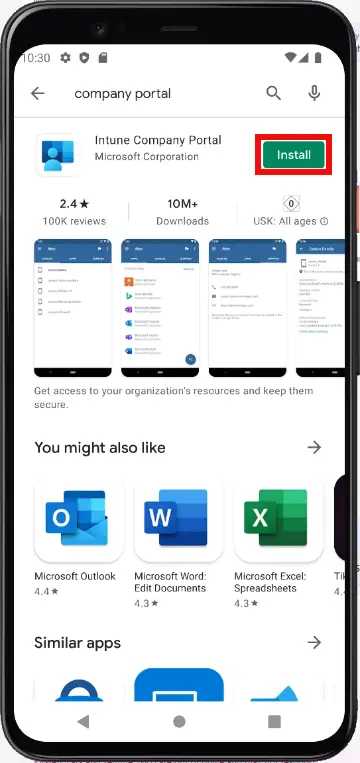 | Tap on “Install”. |
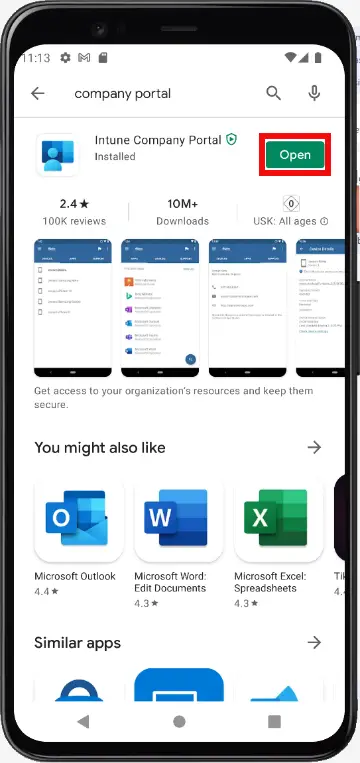 | Tap on “Open”. |
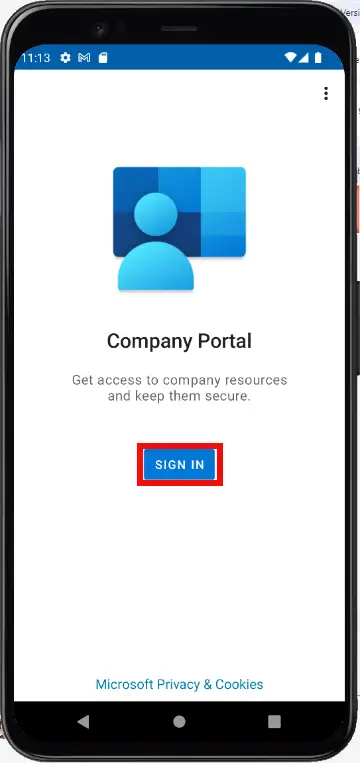 | Tap on “SIGN IN”. |
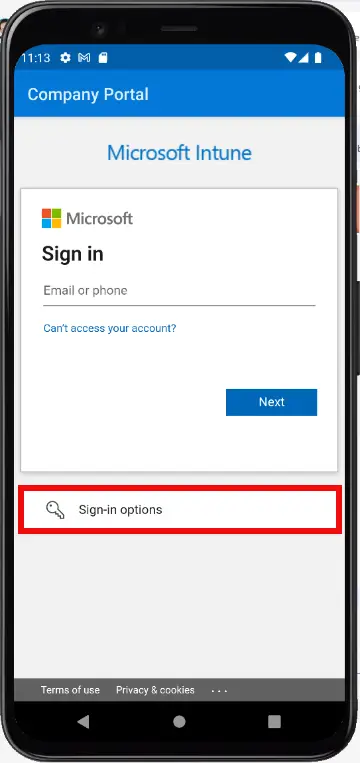 | Normally users would enter their credentials, but I would like to show you an easier solution. Tap on “Sign-in options”. |
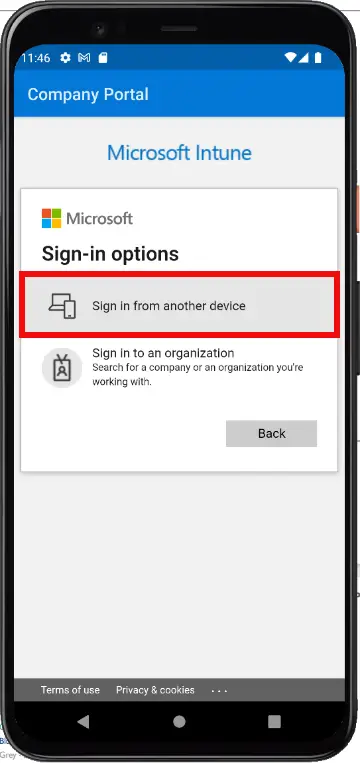 | Tap on “Sign in from another device”. |
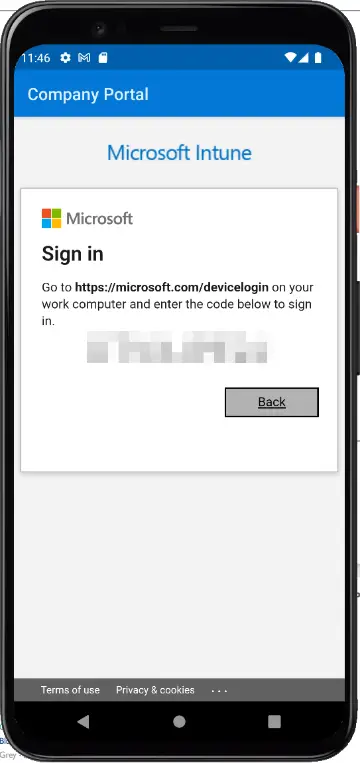 | At this point you will need to switch to your browser on your workplace device. |
Open https://aka.ms/devicelogin. In some cases, it is necessary to reauthenticate with your Office 365 user account.
This step will reduce the risk of our End-users to enter the wrong password on the small phone display.
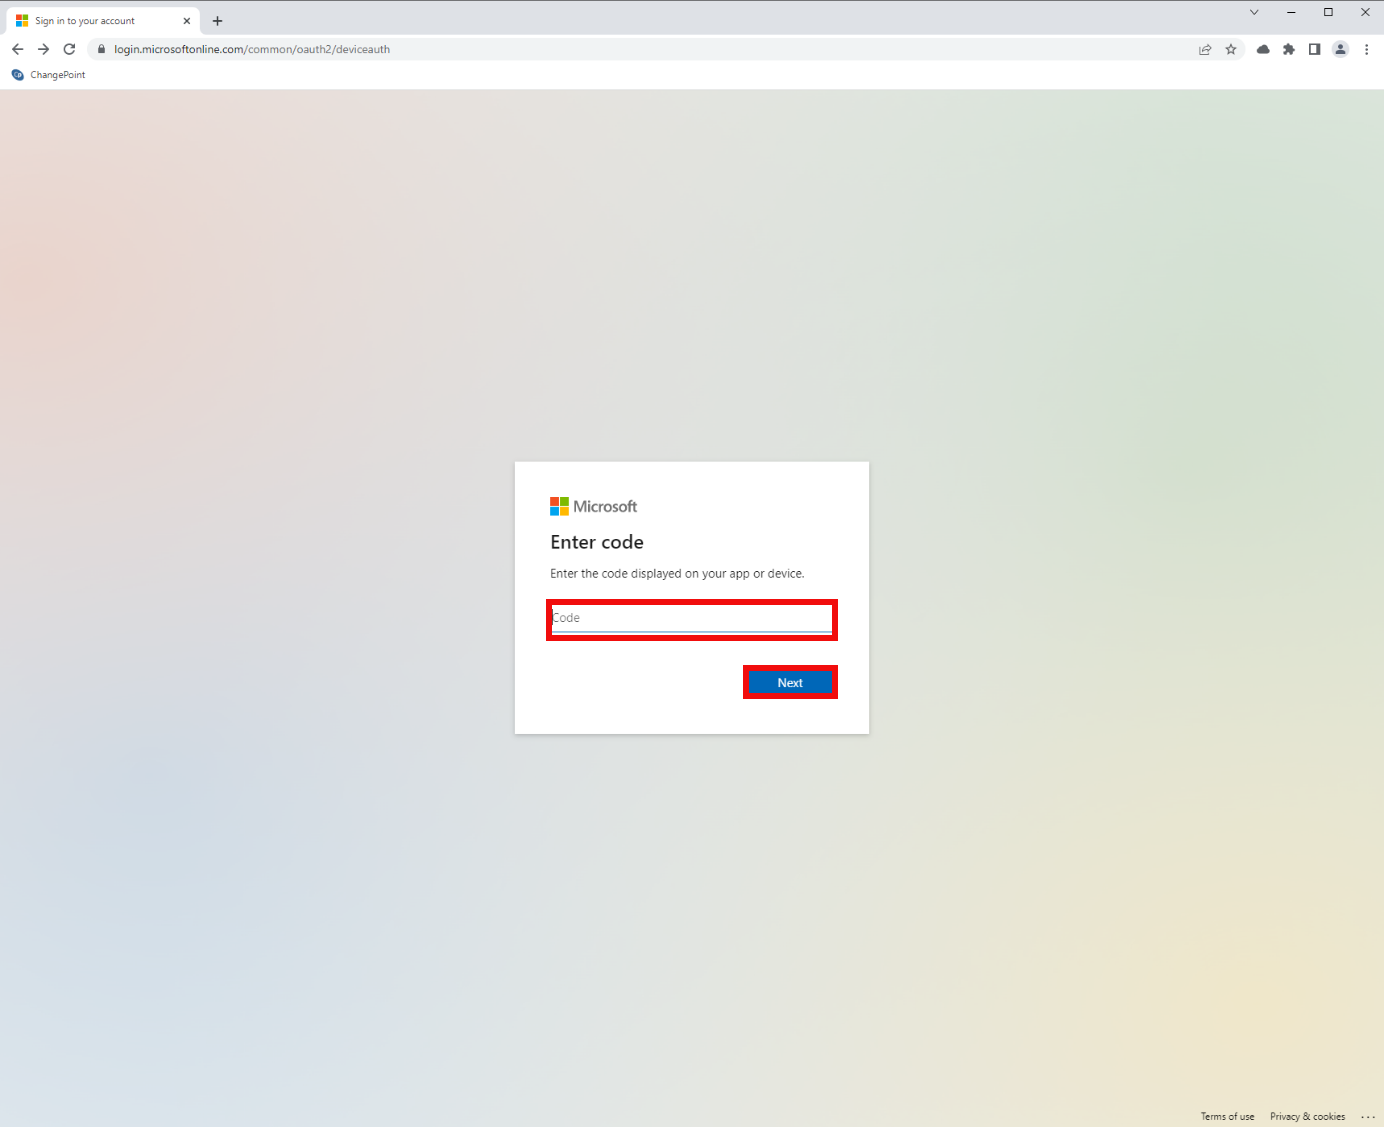
Enter the displayed code on your Phone.
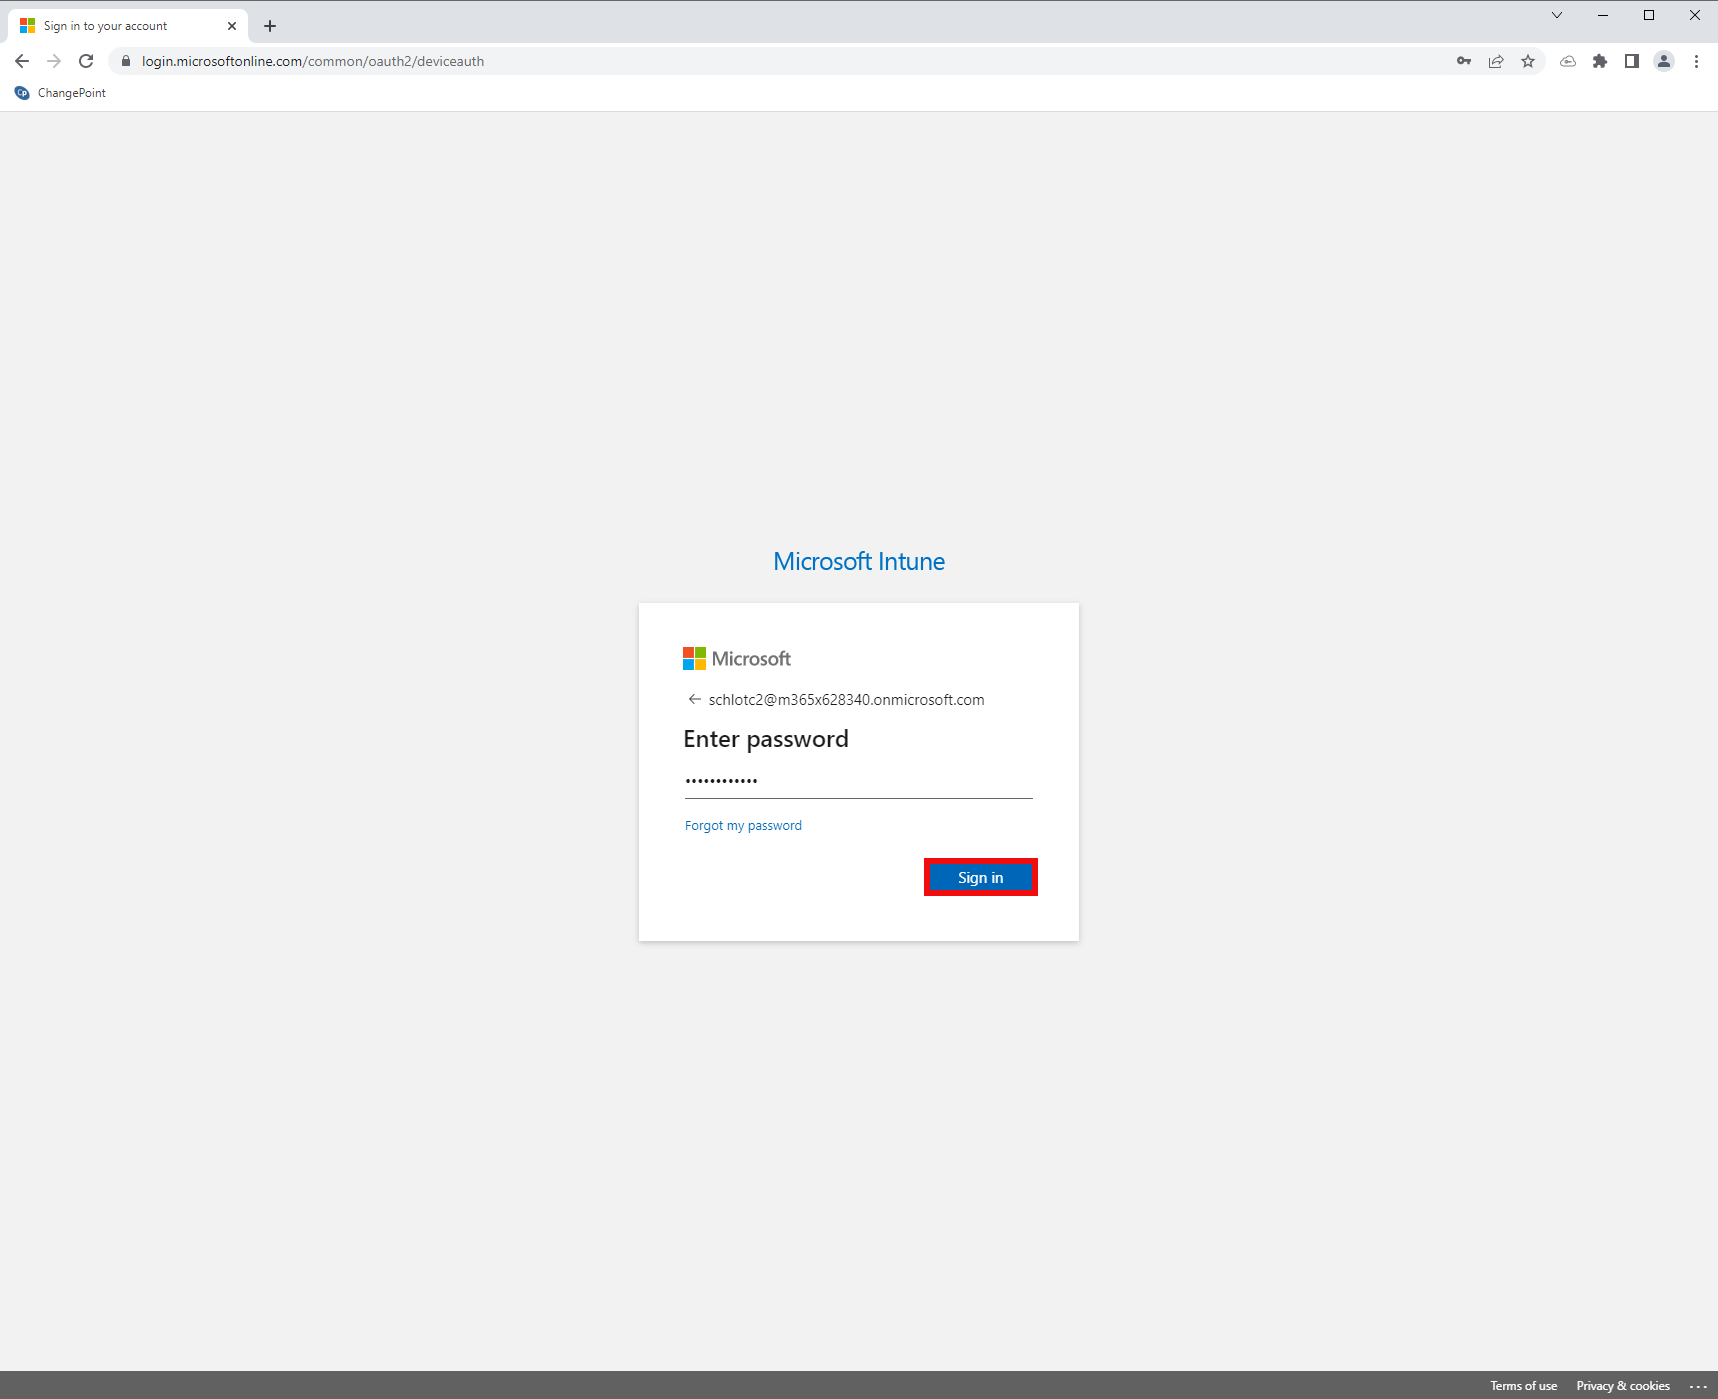
Enter your Password to authenticate.
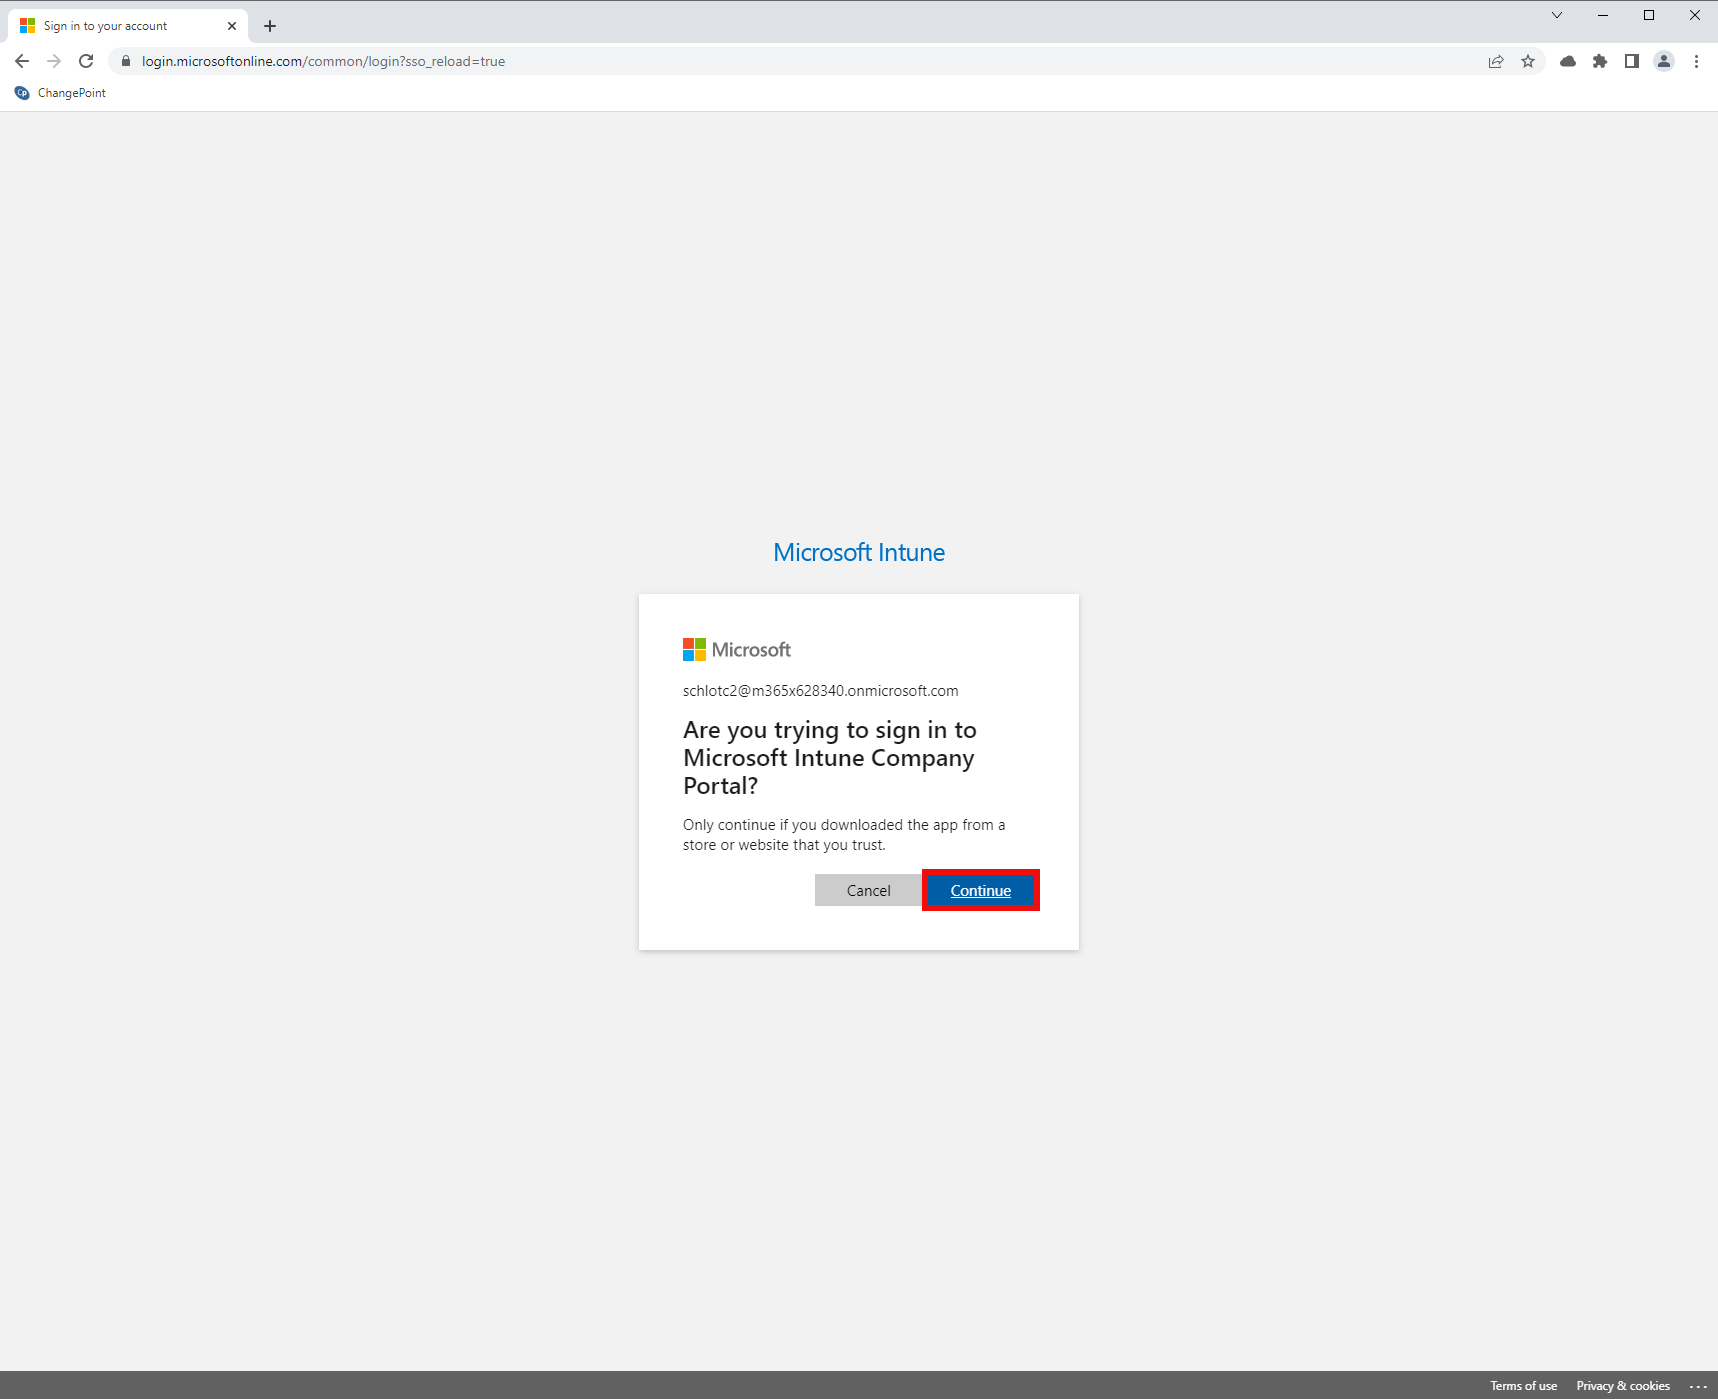
Click on “Continue” to proceed.
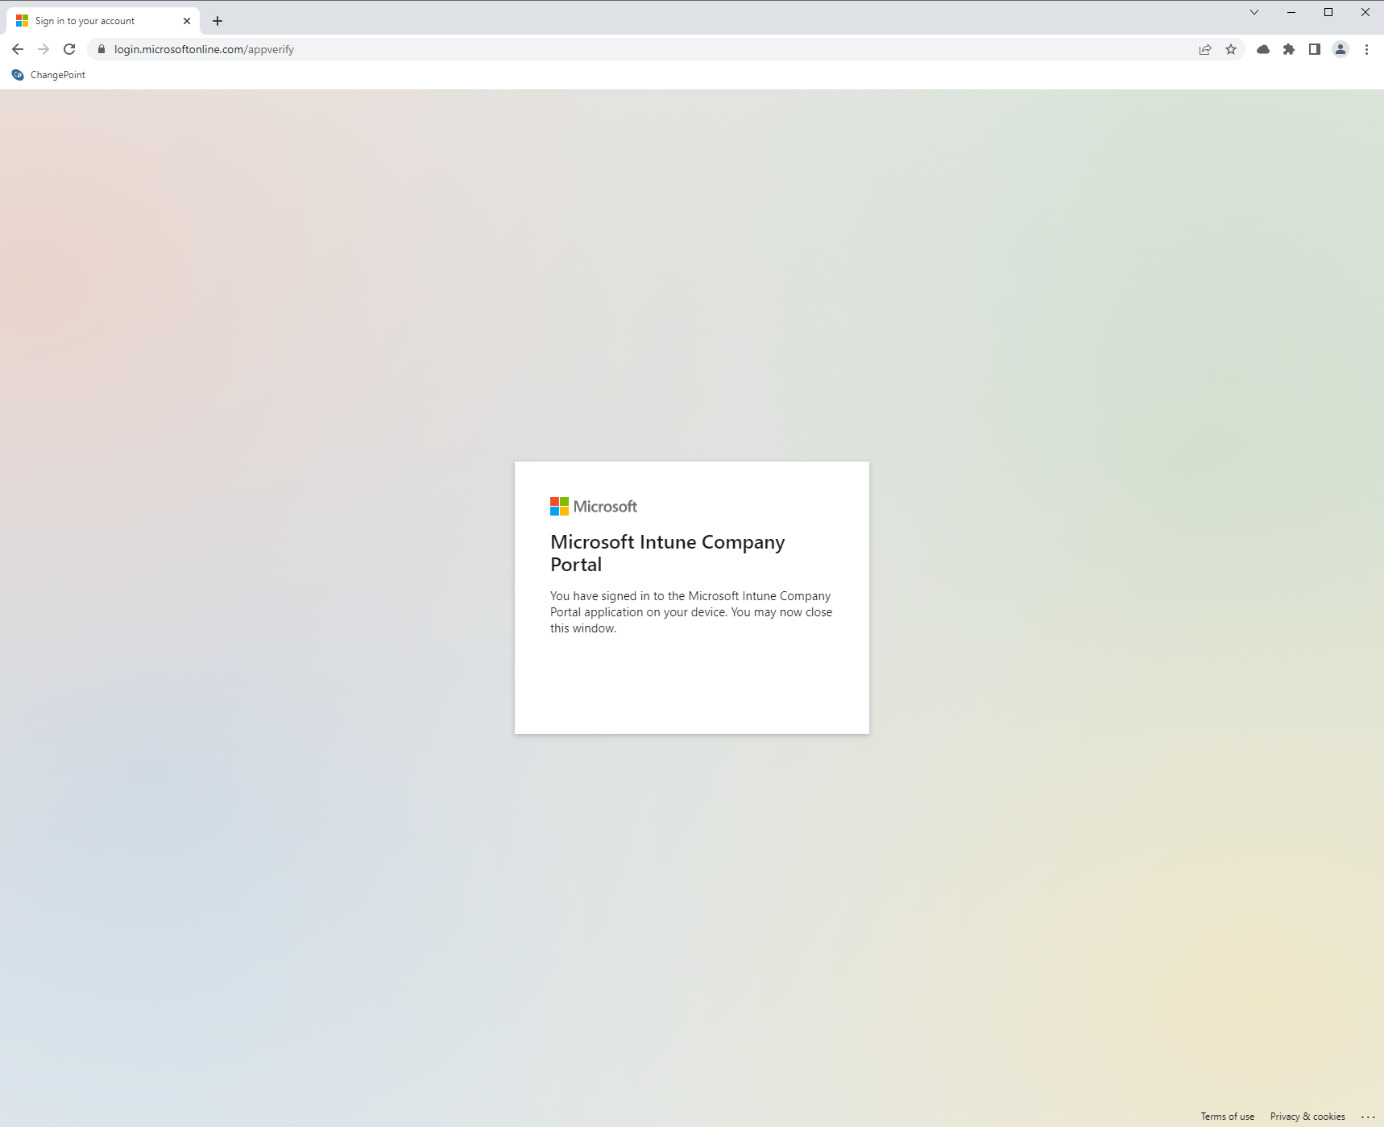
Afterwards you can continue on the Phone.
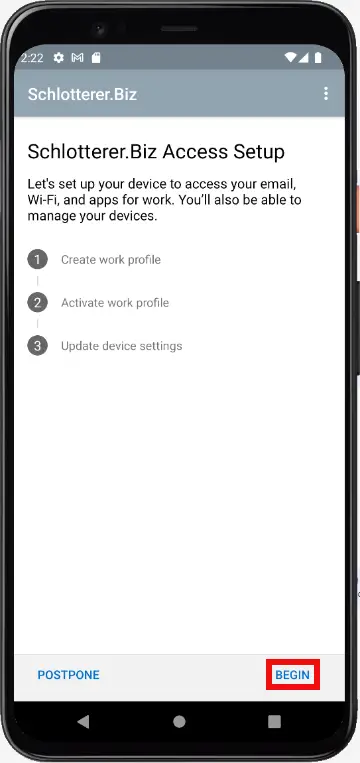 | Tap on “BEGIN” to start the enrollment after the successful authentication. |
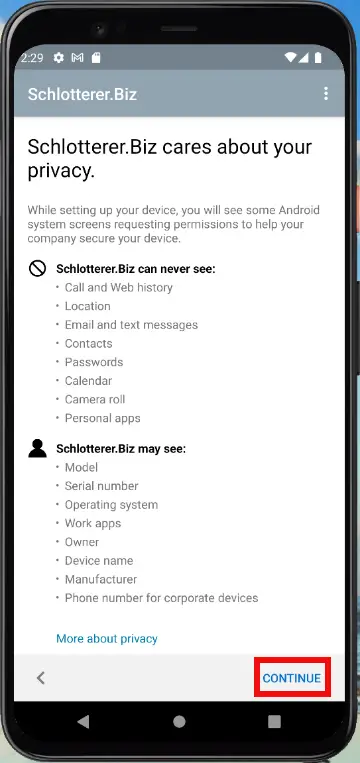 | Tap on “Continue”. |
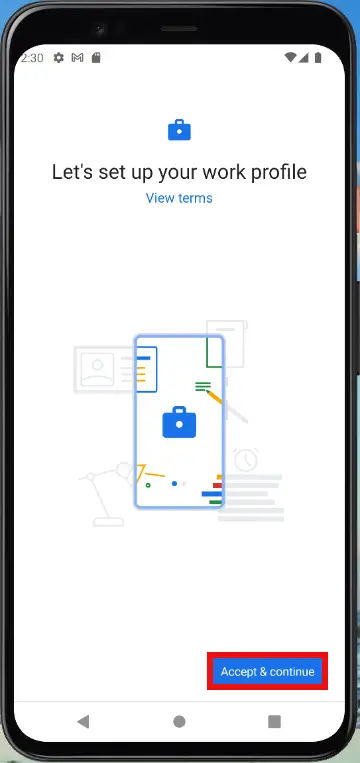 | Tap on “Accept & continue”. If you are using a device from another vendor this step can look different. |
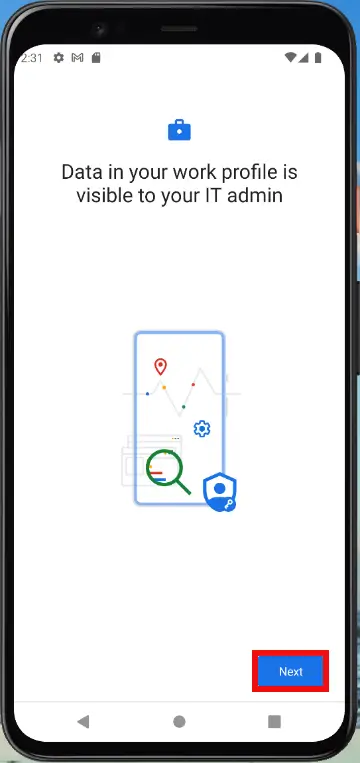 | Tap on “Next”. |
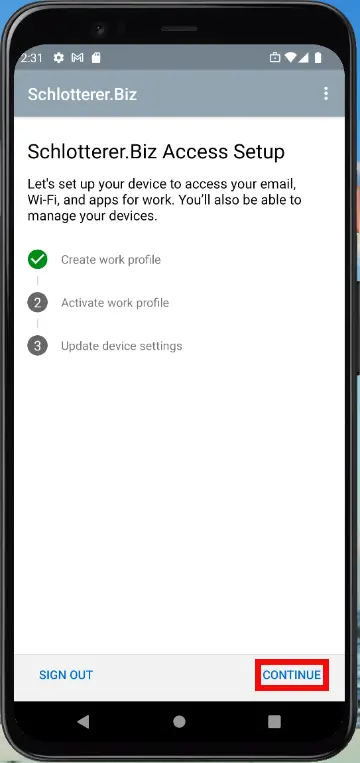 | Tap on “CONTINUE”. |
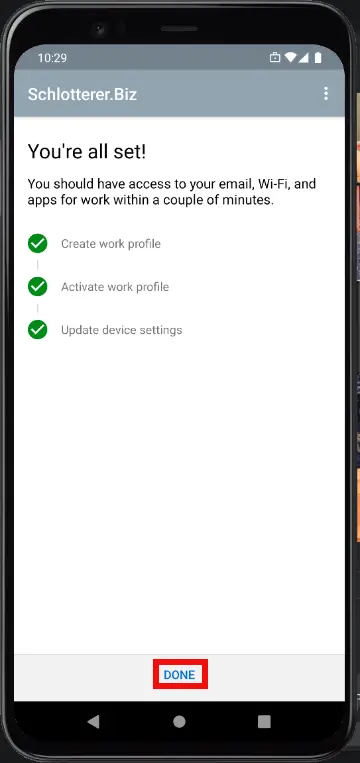 | At this point the device will be visible in Microsoft Intune and in Microsoft Azure AD. Tap on “DONE” to proceed. |
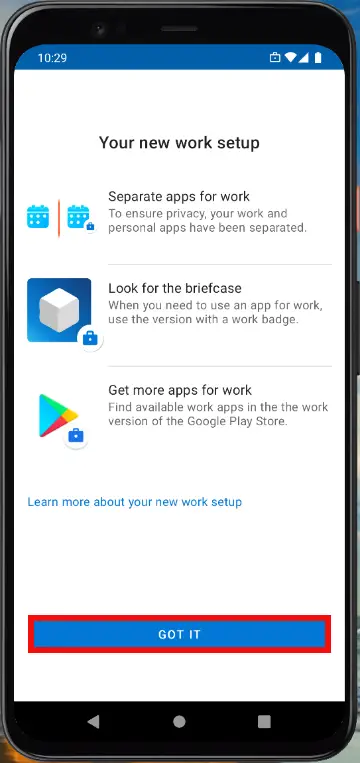 | The Smartphone will show you that apps with the briefcase now belong to the Organization. All apps for work will be marked with the blue briefcase badge. |
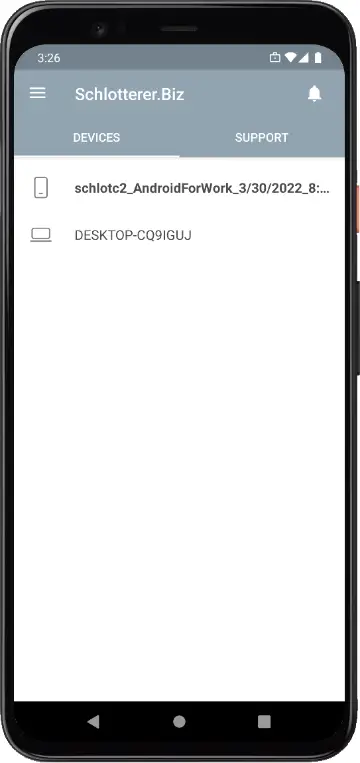 | Afterwards your phone will show all enrolled devices. |
