The Microsoft Windows 10 Sandbox is a new security feature in Windows 10 Pro and Enterprise. The idea behind it is to try something out in a safe “sandbox”. For example, installing a potentially insecure application.
Let’s get started with the sandbox game….
How exactly does the Windows 10 Sandbox work?
The Windows 10 Sandbox is basically a slimmed-down and customised virtual Windows 10 machine. This is non-persistent, which means that all changes are gone after use. This means that all malware is deleted when the sandbox is closed and the next sandbox is clean again for playing.
What are the hardware requirements for Windows 10 Sandbox?
Since the Windows 10 Sandbox is based on virtualisation, the hardware must support virtualisation and hardware-based virtualisation for kernel isolation. Other requirements are at least 4GB of RAM according to Microsoft (My tip: not less than 16GB), and at least 1GB of free hard disk space. For the CPU, Microsoft recommends 4 cores with hyper-treading, but at least 2 cores.
Can you test the Windows 10 Sandbox in a VM?
Yes, this works if “Nested Virtualization is supported. Under Hyper-V, the is activated with the following command: Set-VMProcessor -VMName -ExposeVirtualizationExtensions $true
Are there any restrictions in the Windows Sandbox?
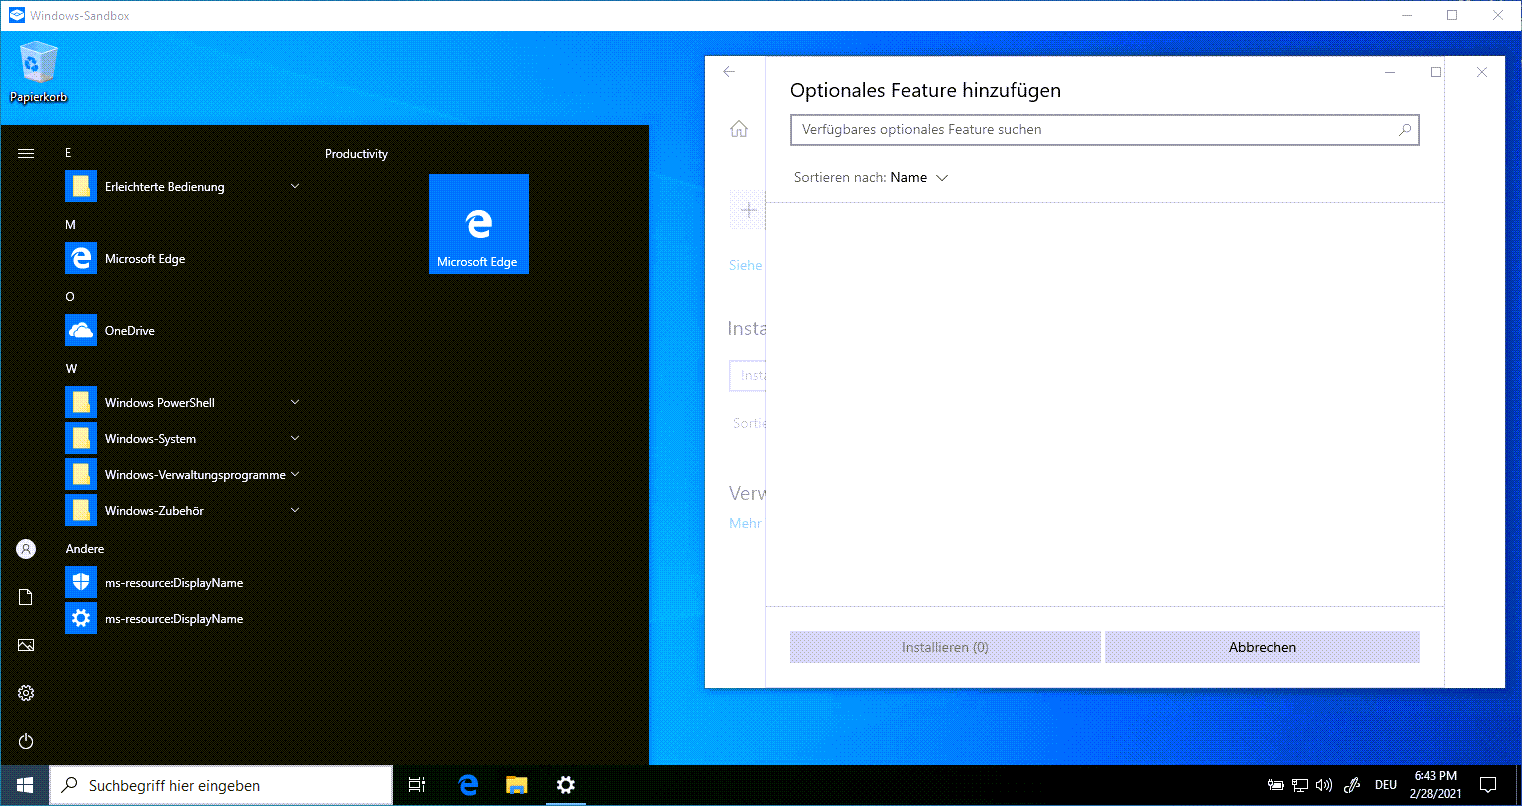
Yes, the environment is reduced. No features are included and the Windows Store is also missing.
How to install and use the Windows 10 Sandbox?
How to install and use the Windows 10 Sandbox?
-
Preparation
Make sure that the required settings for virtualisation are made in the BIOS / UEFI. For a VM, activate the nested virtualisation.
-
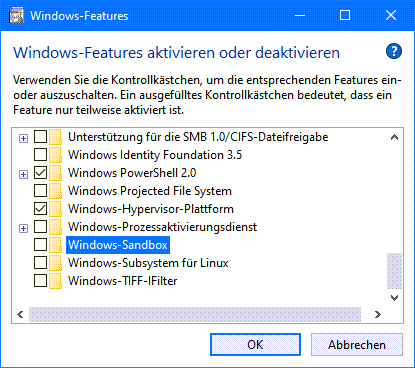
Installation with the GUI

Select the “Windows Sandbox” feature under “Activate or deactivate Windows features”.
-
Alternativ: Installation mit der PowerShell

Alternatively, you can install the feature with the PowerShell command “Enable-WindowsOptionalFeature -Online -FeatureName Containers-DisposableClientVM”.
-
Restarting the computer
Restart the computer.
-
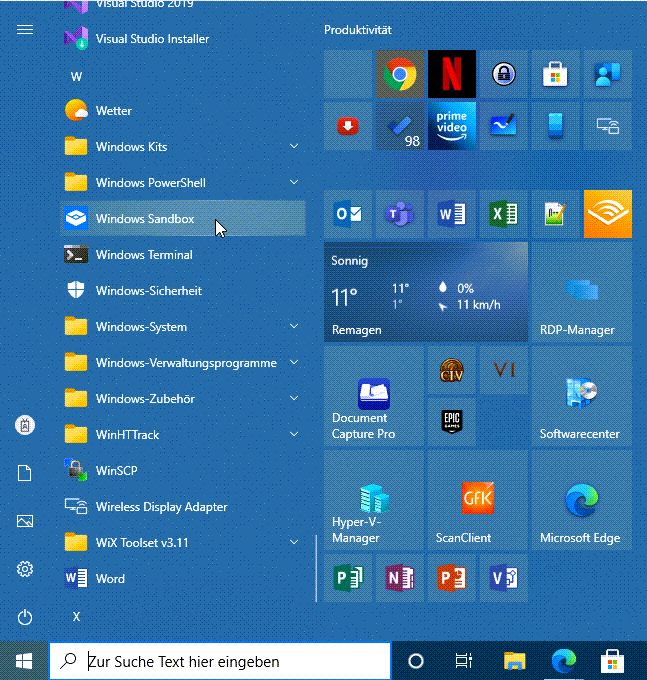
Checking the installation

After installation, look for the Windows Sandbox in the Start menu
-
Starting the Windows Sandbox

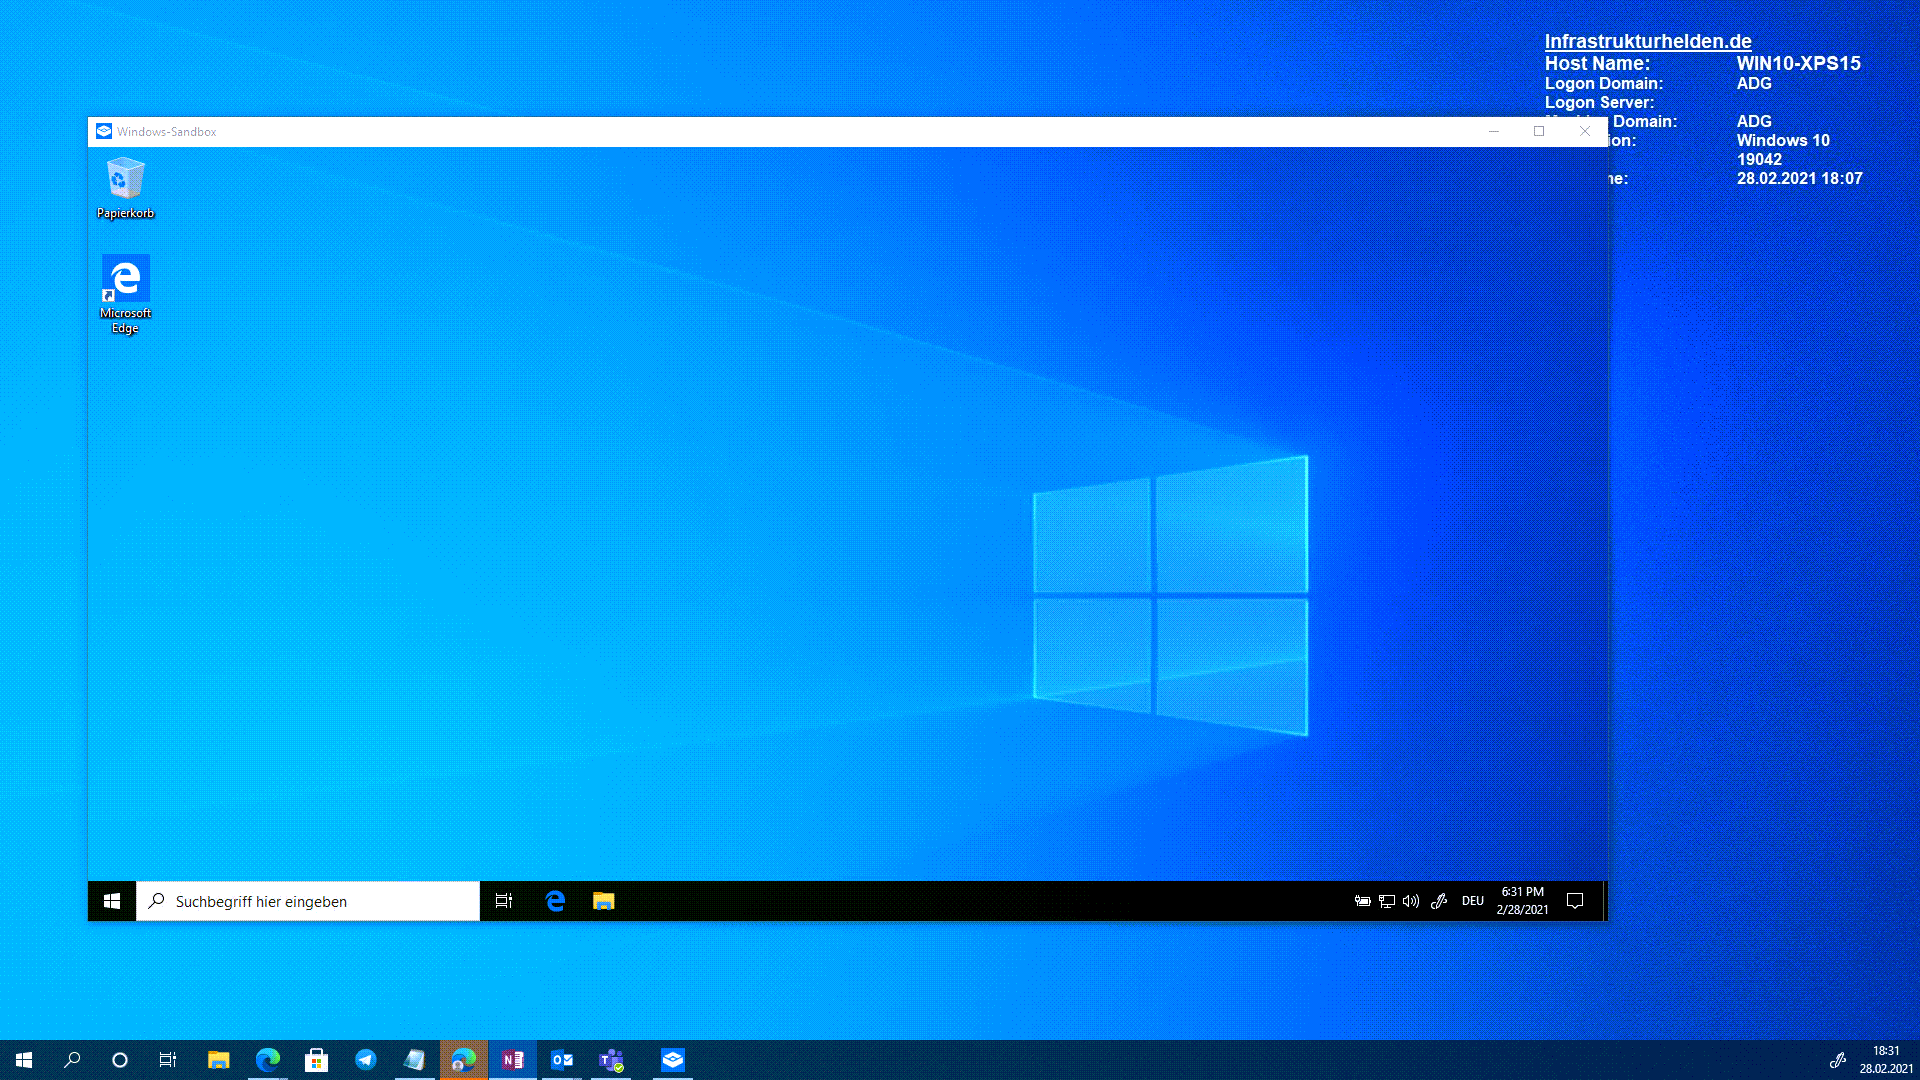
After starting, a window opens with its own Windows 10
-
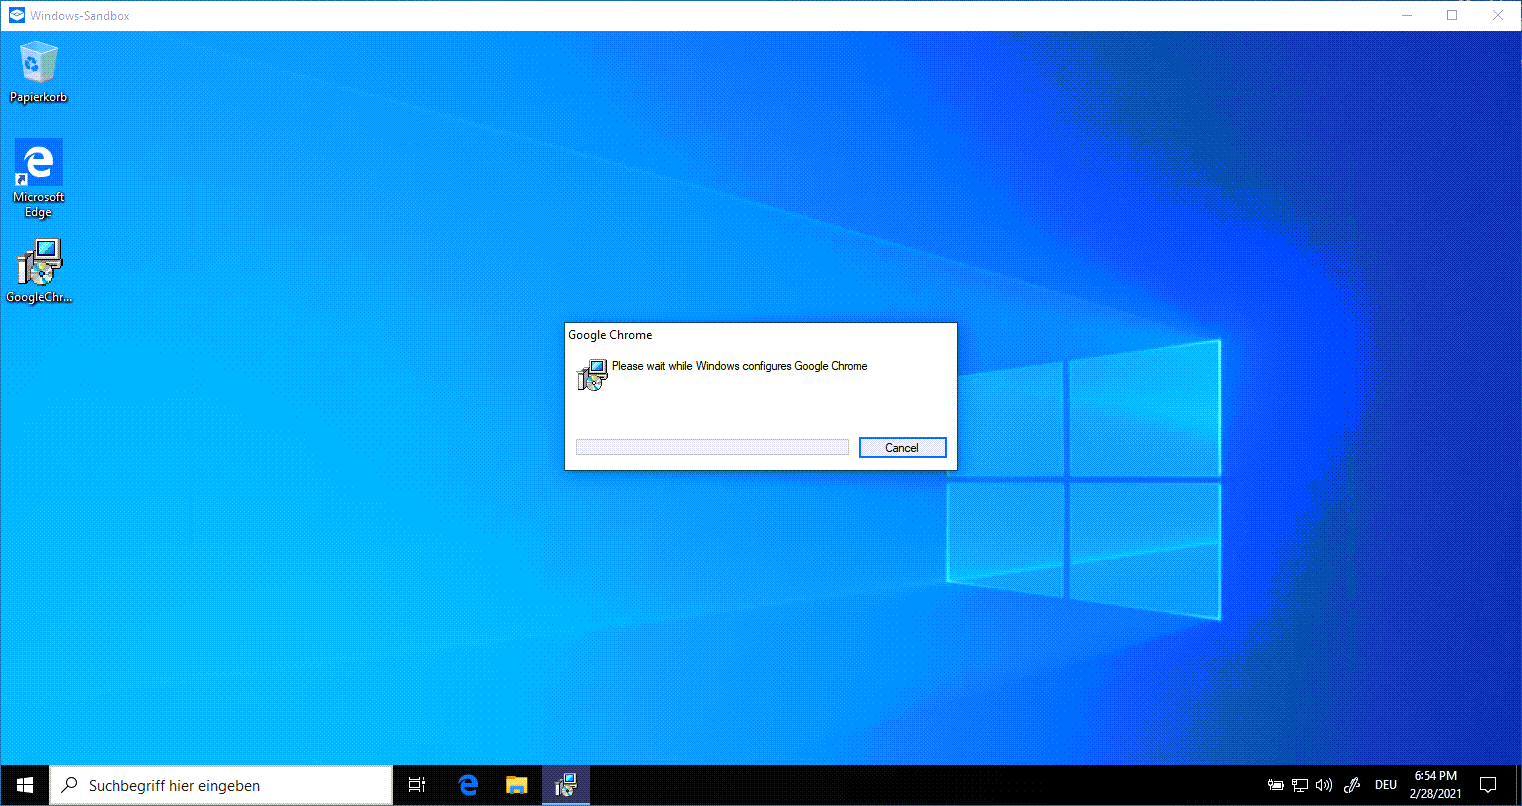
Inserting the software to be tested

Copy the application you want to test into the sandbox and start the installation. Here I will use Google Chrome.
-
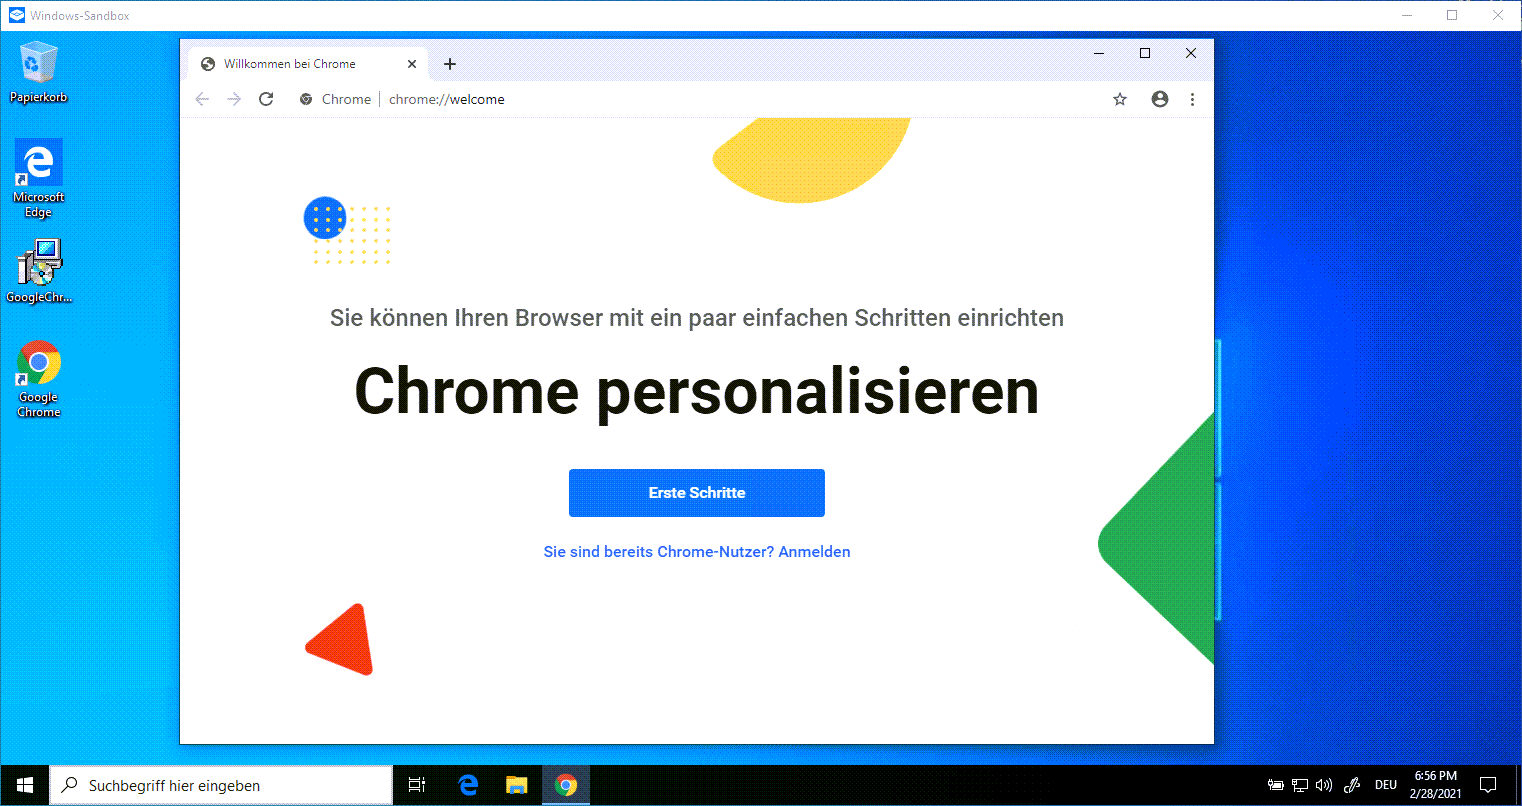
Using the application under test

After installation, Google Chrome can be used as usual. This way, you could also surf without worrying about tracking and browser history or drive-by virus attacks.
-
Exiting the Windows Sandbox

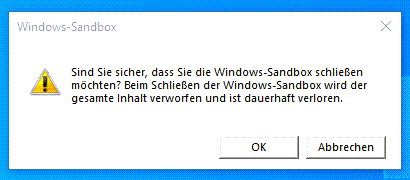
When you exit the sandbox, you will be informed again that everything will be discarded.
Tool Tip (advertising, but from the heart)
I always use Techsmith Snagit€ for my screenshots, and I wouldn’t want to miss it. Whether it’s blurring, arrows, inserting text or cropping, everything I need is possible with it.
You can try it for free at the link. If you like it, you can support this project by buying it via the link. You will not incur any additional costs when buying Snagit (affiliate link).
Note to this article
This article was automatically translated from German from our German partner blog InfrastrukturHelden.de.

